File list
From Vorpal Robotics Wiki
This special page shows all uploaded files.
| Date | Name | Thumbnail | Size | User | Description | Versions |
|---|---|---|---|---|---|---|
| 17:09, 6 June 2017 | ServoChassisInsert.png (file) |  |
109 KB | Vorpalwiki | 1 | |
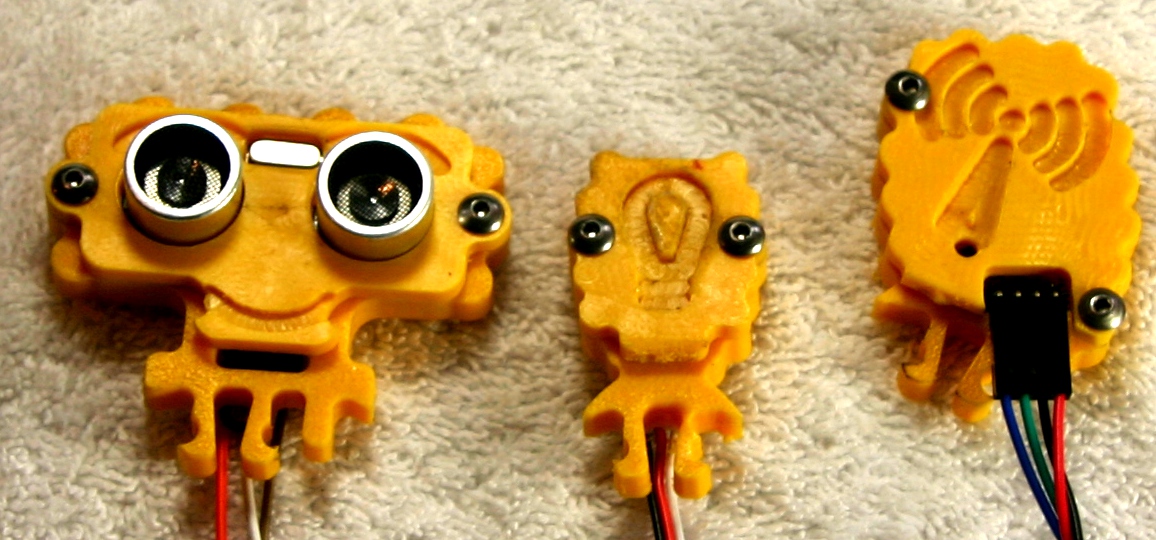
| 13:10, 17 November 2018 | SensorFace.jpg (file) |  |
110 KB | Vorpalwiki | 1 | |
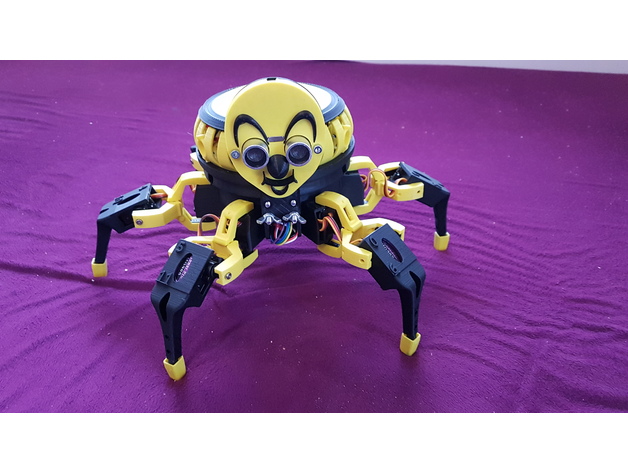
| 02:52, 12 November 2017 | Hexapod-Nano-Diagram.JPG (file) |  |
113 KB | Vorpalwiki | 1 | |
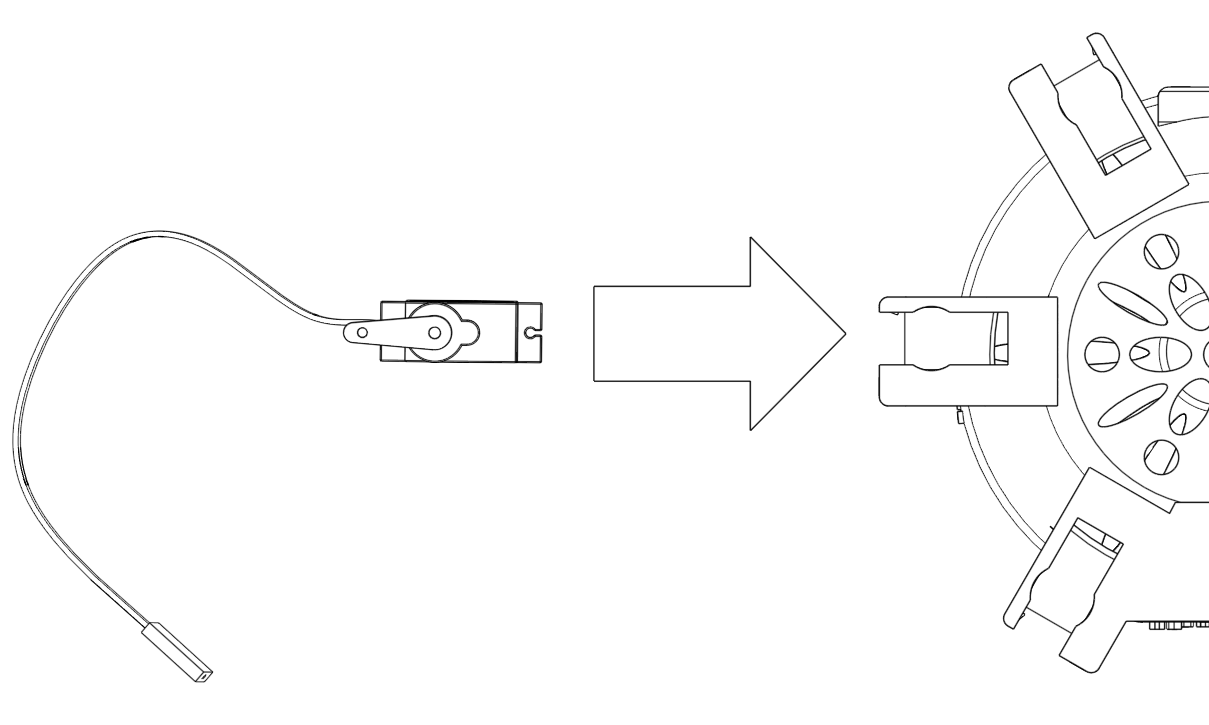
| 21:57, 28 June 2015 | Mimsy-build-fig-07.jpg (file) |  |
117 KB | Vorpalwiki | Mimsy Build figure 7. Insert the cross shaped servo horn in the matching slot in the 20-tooth gear. Make sure the collar (in the center) is facing up. | 1 |
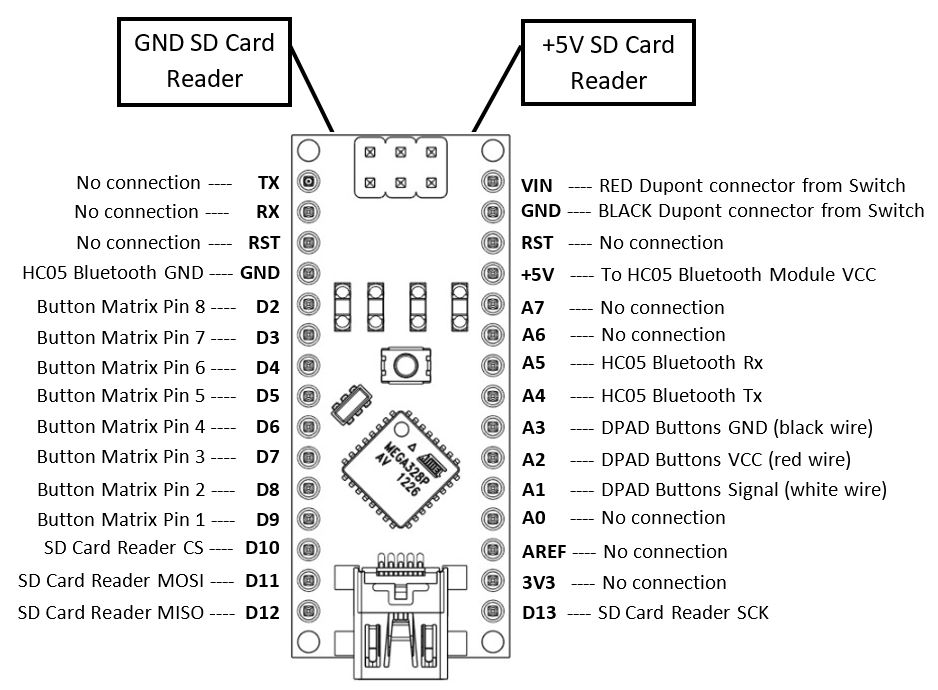
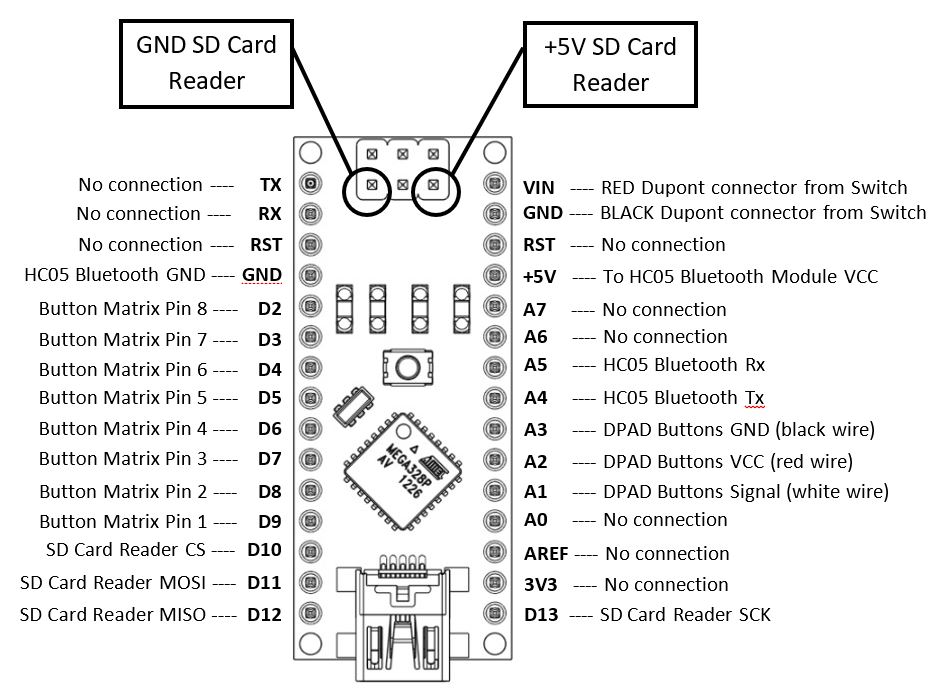
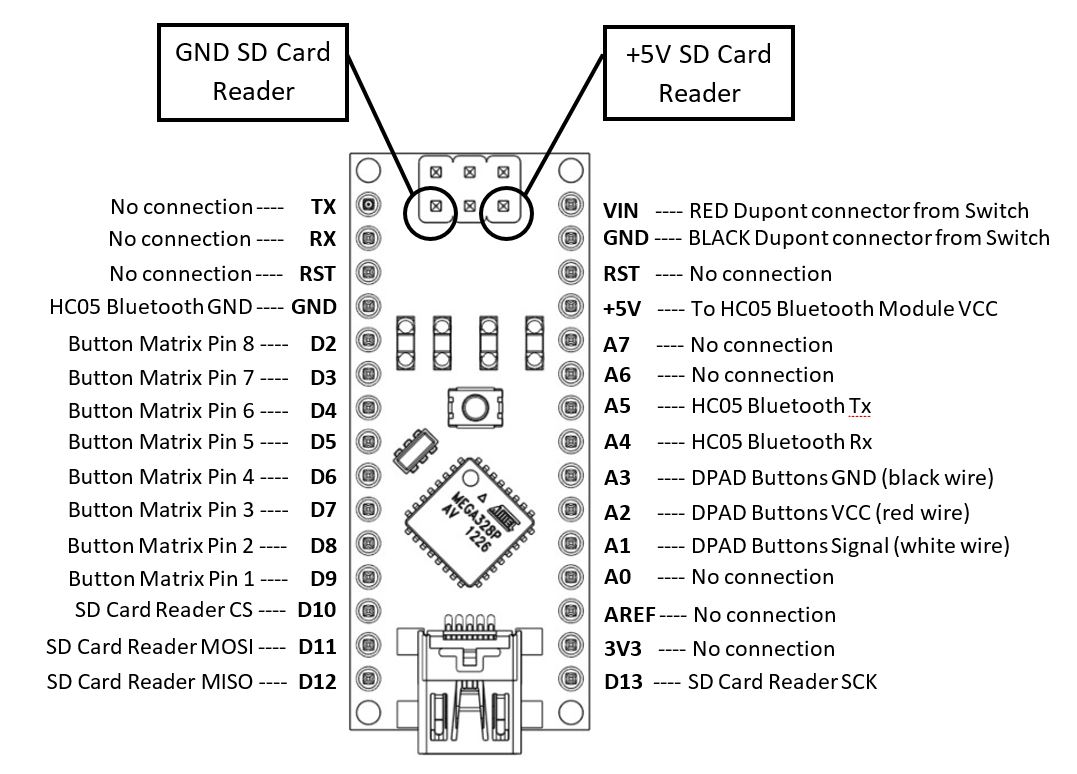
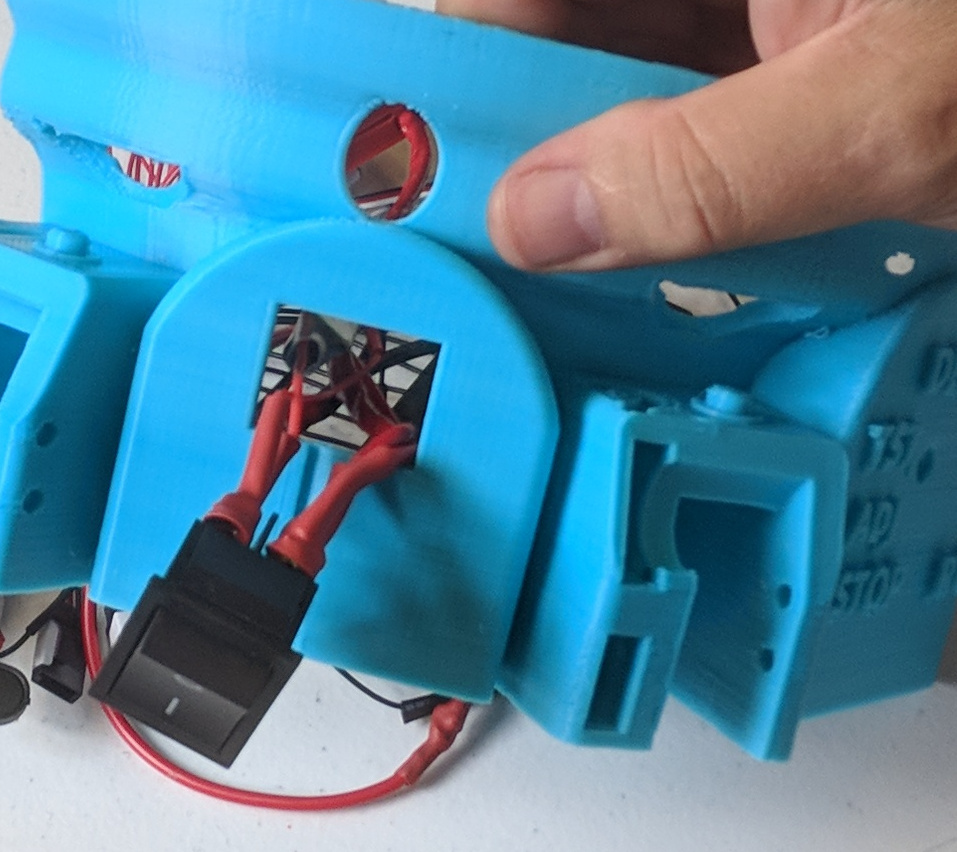
| 17:22, 3 October 2018 | Megapod-Nano-Connections-v1.JPG (file) |  |
121 KB | Vorpalwiki | 1 | |
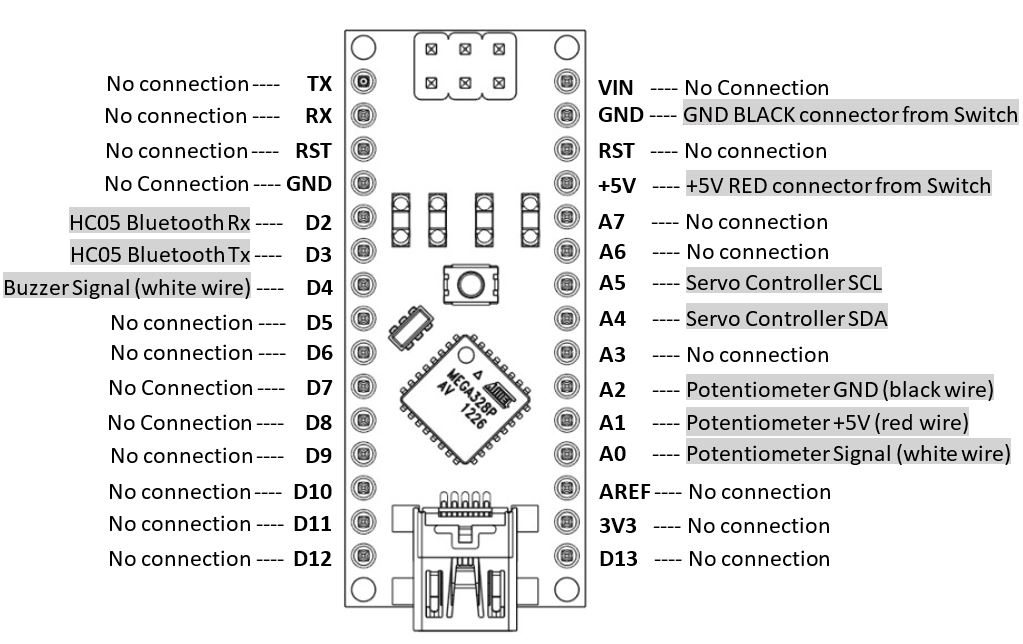
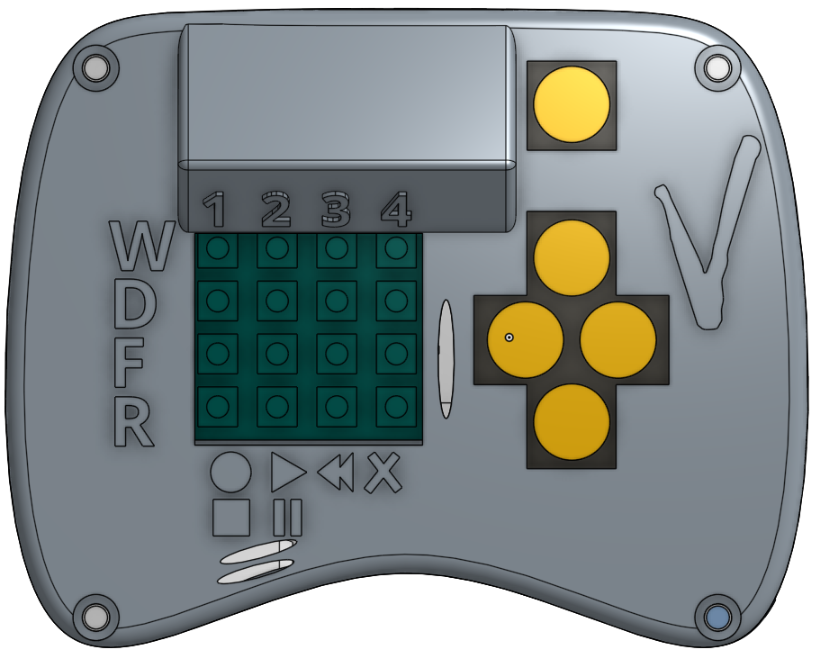
| 02:36, 12 November 2017 | Gamepad-Nano-Diagram.JPG (file) |  |
121 KB | Vorpalwiki | 1 | |
| 02:44, 12 November 2017 | Gamepad-Nano-Diagram-v2.JPG (file) |  |
125 KB | Vorpalwiki | 1 | |
| 22:12, 30 April 2019 | Megapod-Foam-Squares.jpg (file) |  |
126 KB | Vorpalwiki | 1 | |
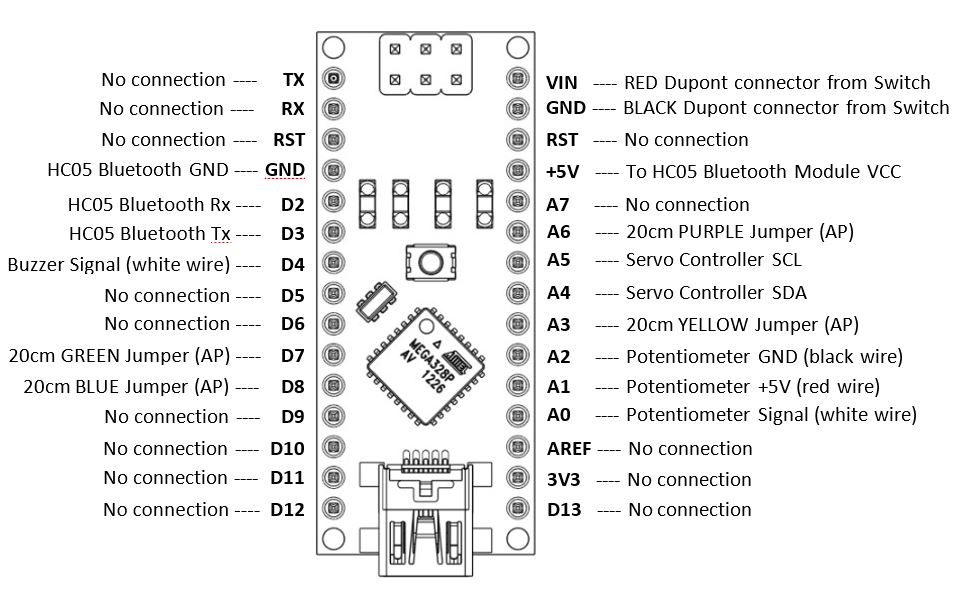
| 00:28, 10 July 2015 | Funduino-image-annotated.jpg (file) |  |
126 KB | Vorpalwiki | Annotated funduino nano io shield. | 1 |
| 03:02, 19 November 2017 | Gamepad-Nano-Diagram-v3.JPG (file) |  |
137 KB | Vorpalwiki | 1 | |
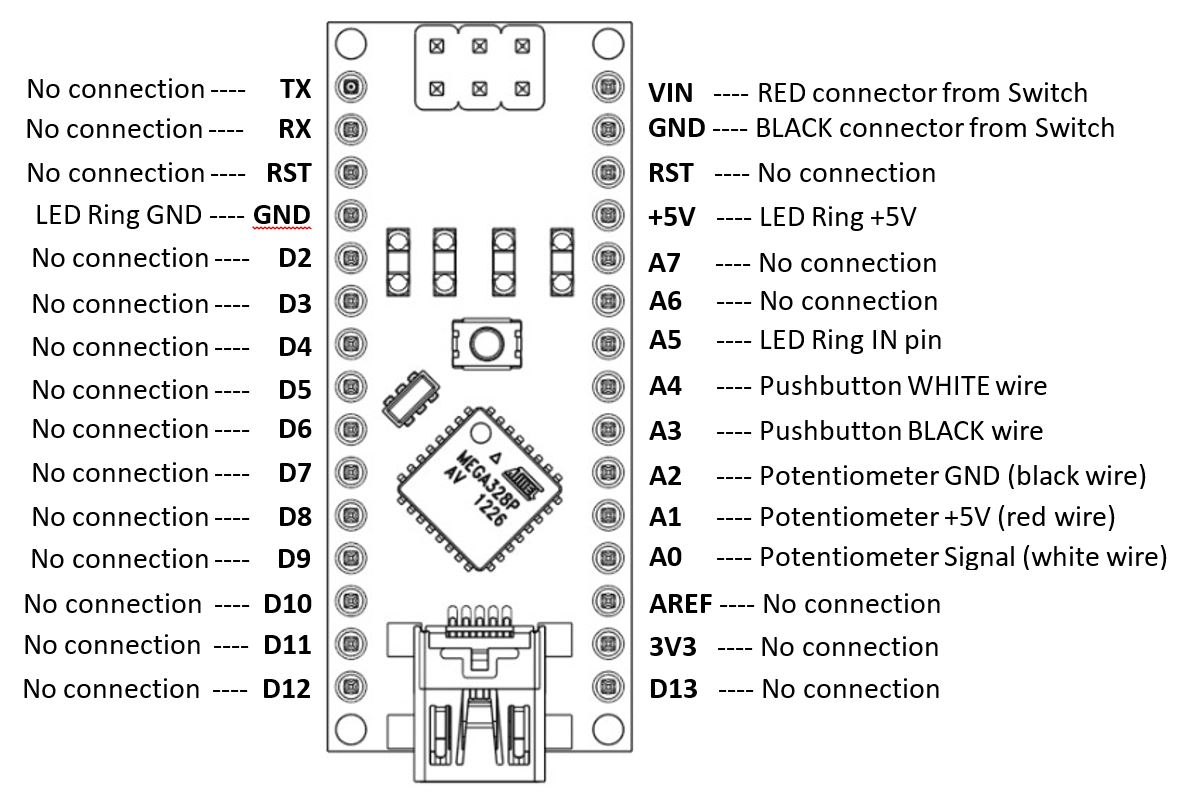
| 13:38, 19 January 2018 | LightBase-Nano-Connections.JPG (file) |  |
151 KB | Vorpalwiki | 1 | |
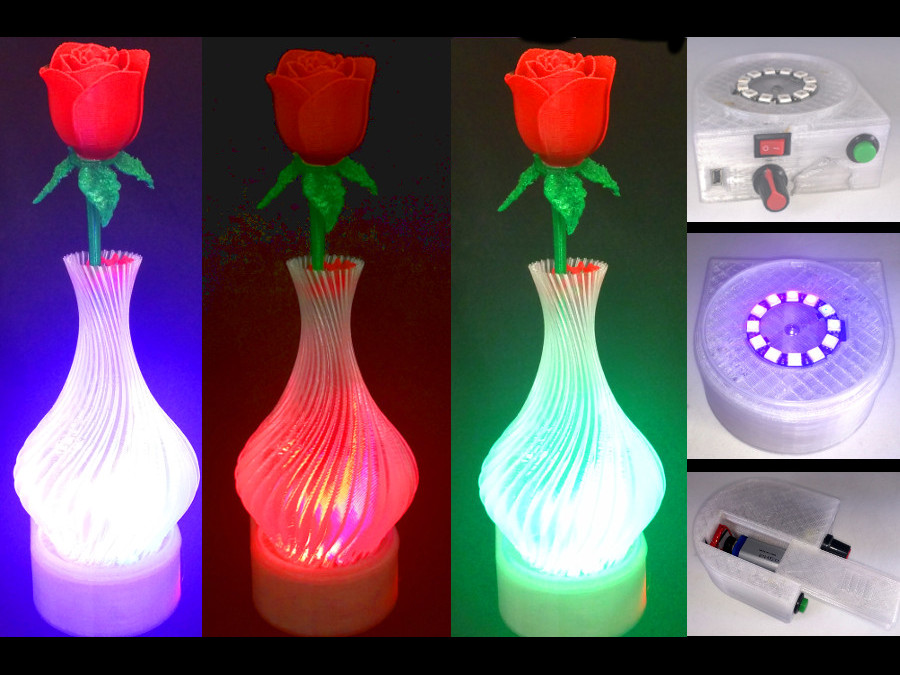
| 19:23, 31 March 2018 | VaseDazzlerPromoPicture-4-3.jpg (file) |  |
153 KB | Vorpalwiki | 1 | |
| 00:39, 30 July 2017 | Gamepad-Function-Diagram.png (file) |  |
153 KB | Vorpalwiki | 2 | |
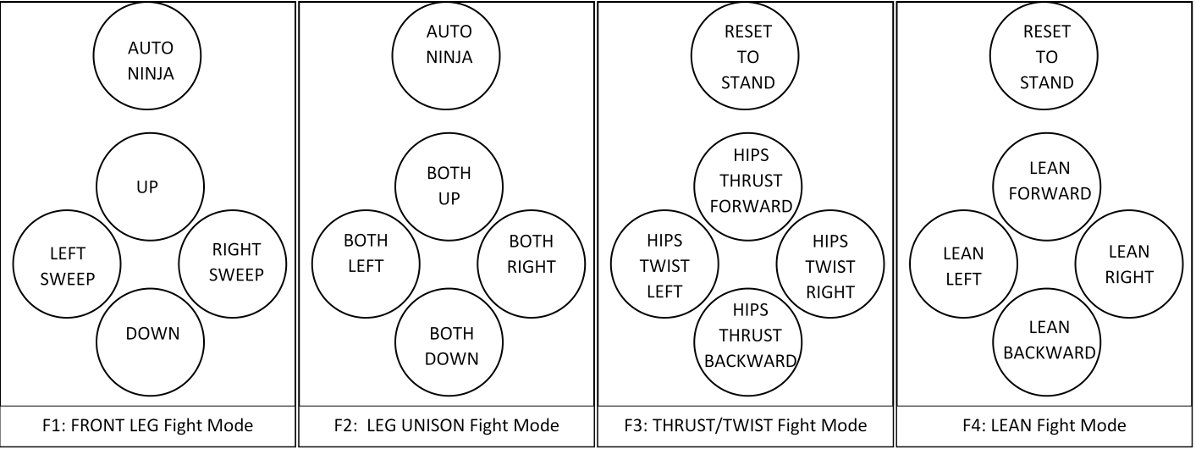
| 02:32, 30 July 2017 | DPAD-Fight-Modes-v2.png (file) |  |
155 KB | Vorpalwiki | 1 | |
| 15:56, 1 April 2018 | HC05-PAIR-STORE.png (file) |  |
160 KB | Vorpalwiki | 1 | |
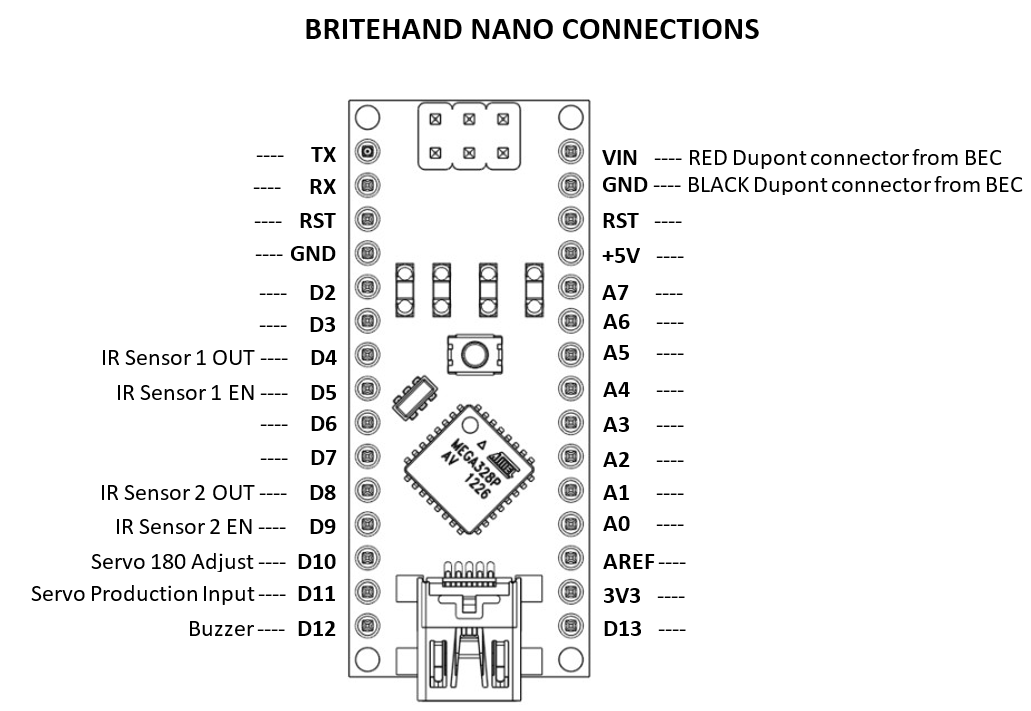
| 14:45, 9 June 2020 | BriteHand-Nano-Connections.png (file) |  |
161 KB | Vorpalwiki | 1 | |
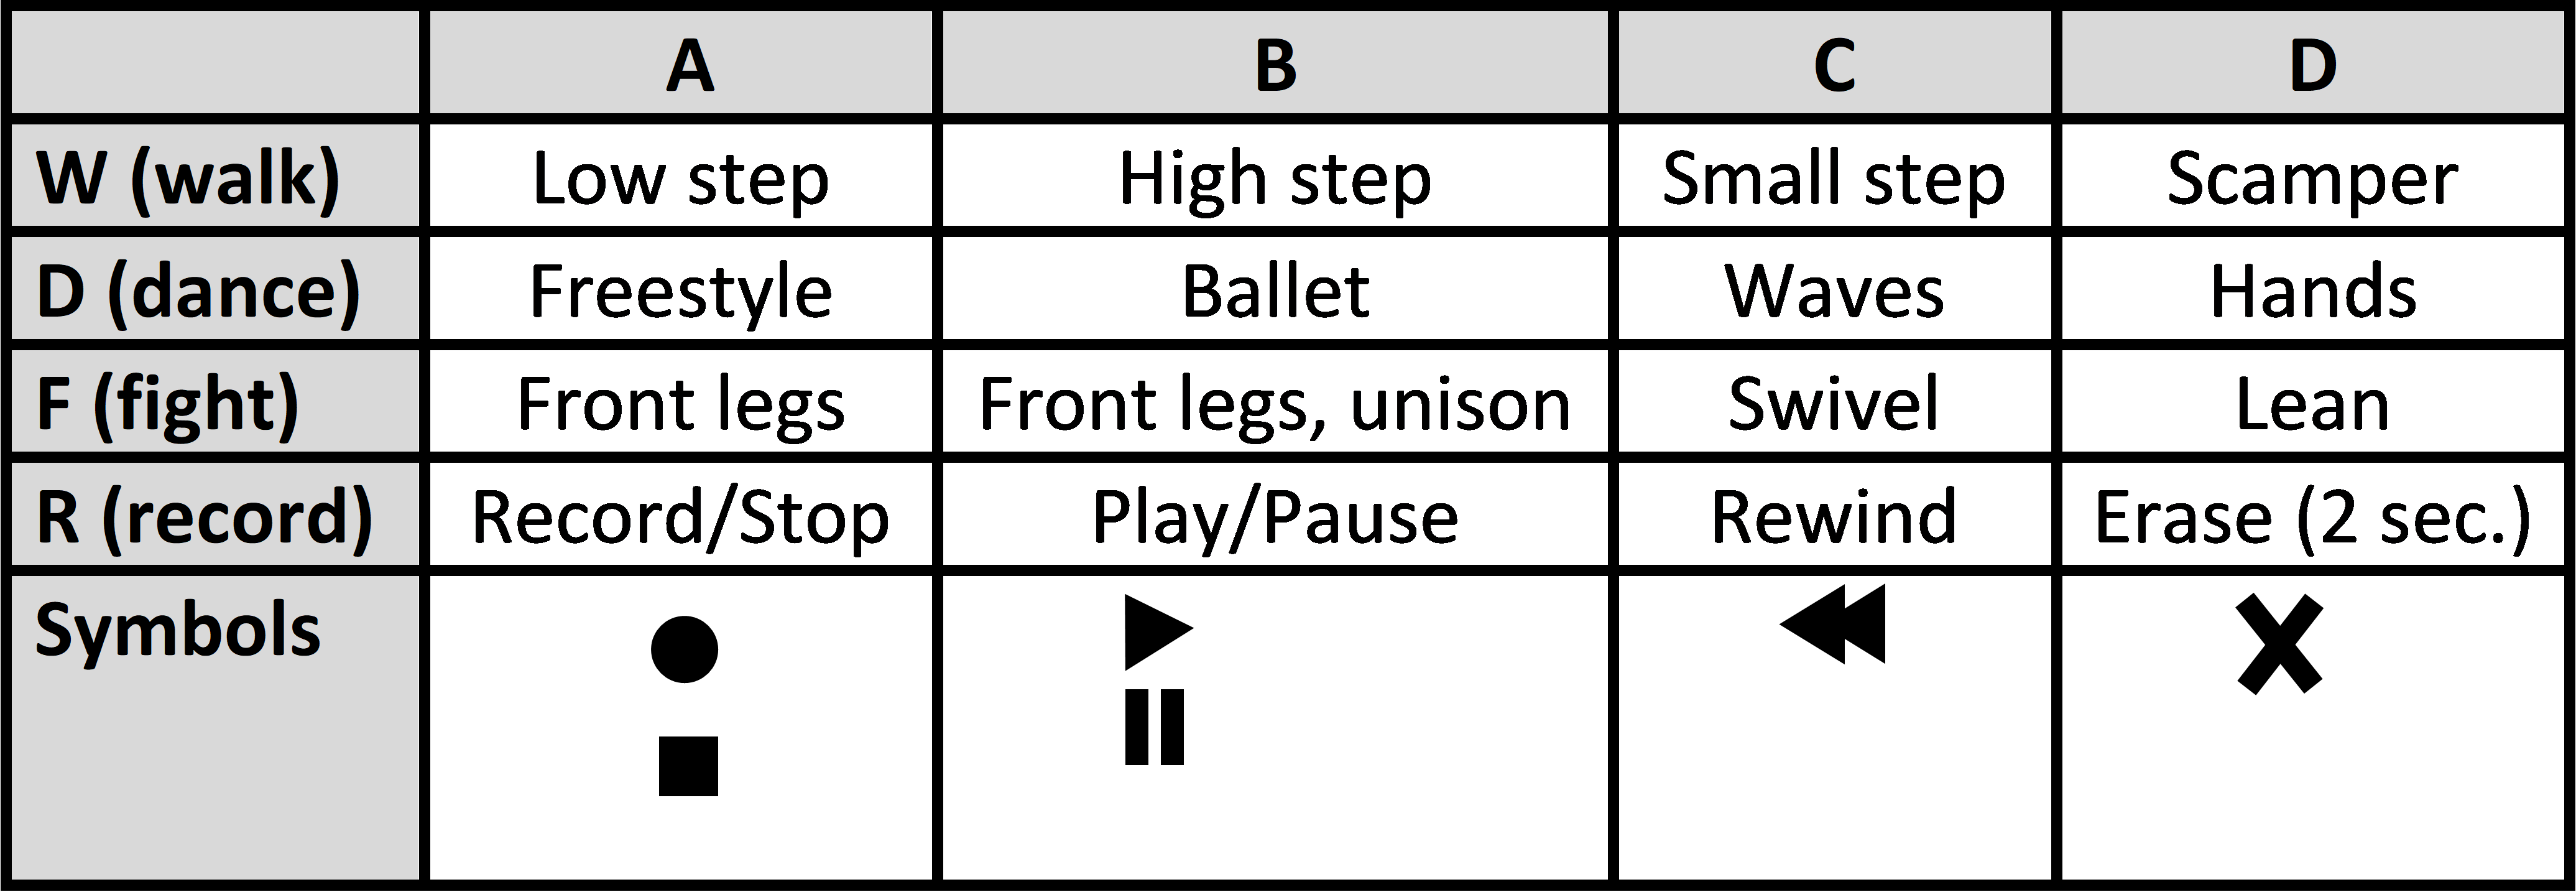
| 02:58, 30 July 2017 | DPAD-Dance-Modes-v2.png (file) |  |
163 KB | Vorpalwiki | 1 | |
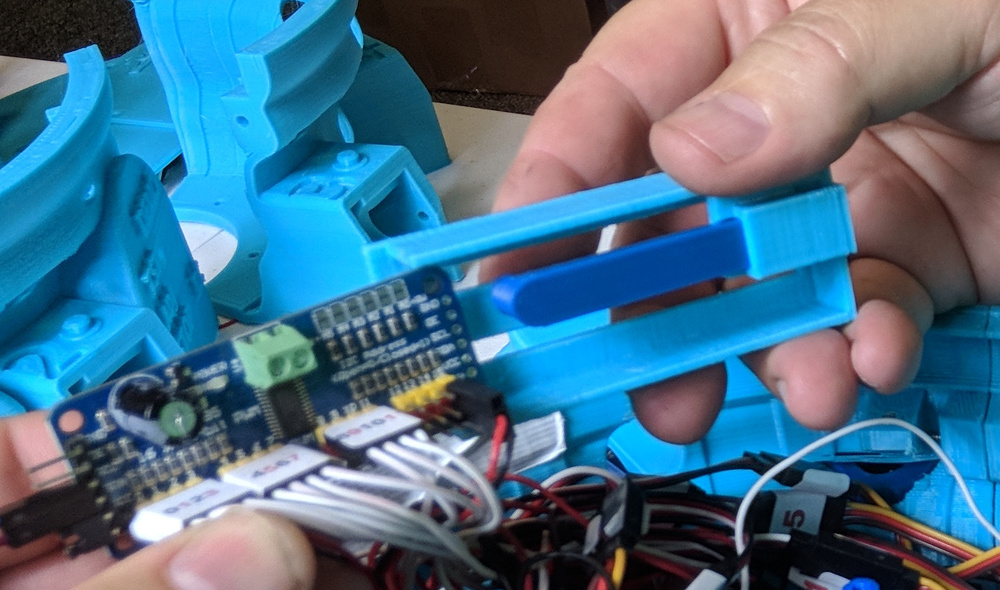
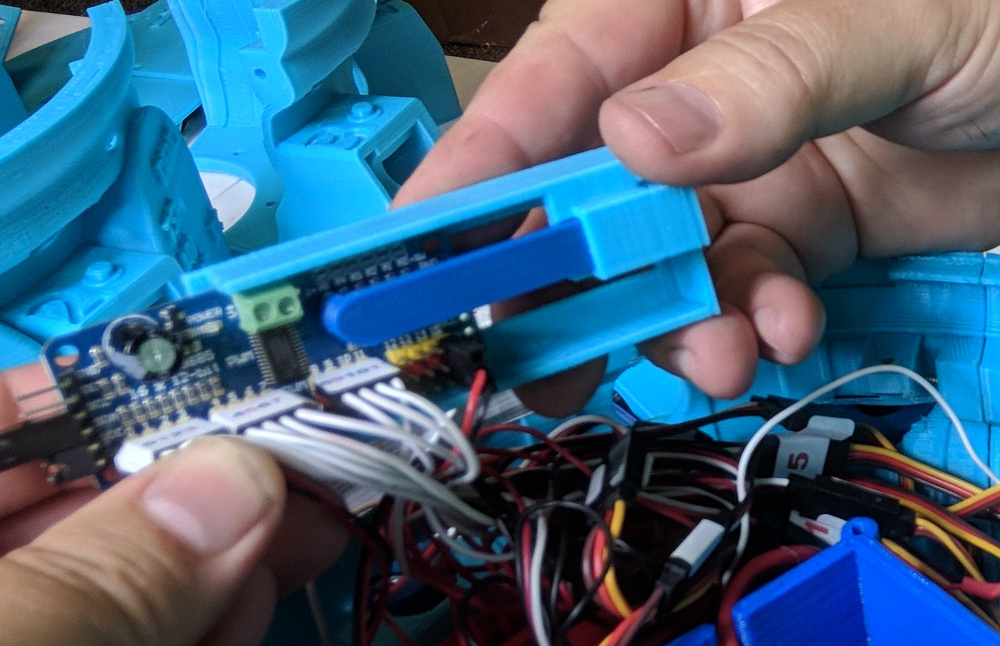
| 22:24, 3 October 2018 | Insert-ServoDriver-In-Caddy-3.jpg (file) |  |
174 KB | Vorpalwiki | 1 | |
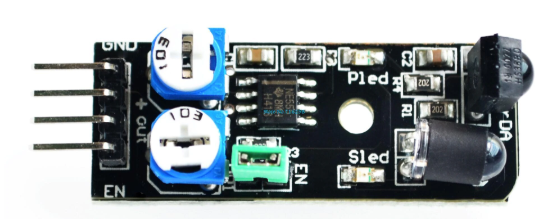
| 14:54, 9 June 2020 | KY-032-Sensor-Adjustment.png (file) |  |
175 KB | Vorpalwiki | 1 | |
| 13:02, 17 November 2018 | Vorpal-Pumpkin-Top.jpg (file) |  |
179 KB | Vorpalwiki | 1 | |
| 23:46, 28 June 2015 | Mimsy-build-fig-05.jpg (file) |  |
183 KB | Vorpalwiki | 2 | |
| 22:17, 3 October 2018 | Insert-Caddy-Bar-1.jpg (file) |  |
185 KB | Vorpalwiki | 1 | |
| 01:06, 29 June 2015 | Mimsy-build-fig-13.jpg (file) |  |
190 KB | Vorpalwiki | Mimsy Build figure 13. Make sure the locking tabs are pushed all the way through the slots so they are firmly connected. | 1 |
| 01:12, 31 July 2017 | Gamepad-Electronics-Layout.png (file) |  |
209 KB | Vorpalwiki | 1 | |
| 22:21, 3 October 2018 | Insert-HC05-in-Caddy-2.jpg (file) |  |
211 KB | Vorpalwiki | 1 | |
| 22:22, 3 October 2018 | Insert-HC05-in-Caddy-3.jpg (file) |  |
216 KB | Vorpalwiki | 1 | |
| 22:19, 3 October 2018 | Insert-HC05-in-Caddy-1.jpg (file) |  |
229 KB | Vorpalwiki | 1 | |
| 22:23, 3 October 2018 | Insert-Nano-In-Caddy-3.jpg (file) |  |
233 KB | Vorpalwiki | 1 | |
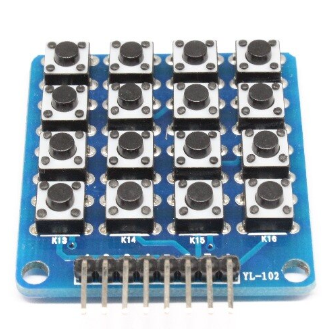
| 22:13, 2 August 2020 | 4x4-Matrix.png (file) |  |
234 KB | Vorpalwiki | 1 | |
| 18:31, 20 March 2018 | RainbowFidget-adding-flux-toPCB.JPG (file) |  |
236 KB | Vorpalwiki | 1 | |
| 02:03, 31 July 2017 | Gamepad-Overall-Assembly-Exploded.png (file) |  |
241 KB | Vorpalwiki | 1 | |
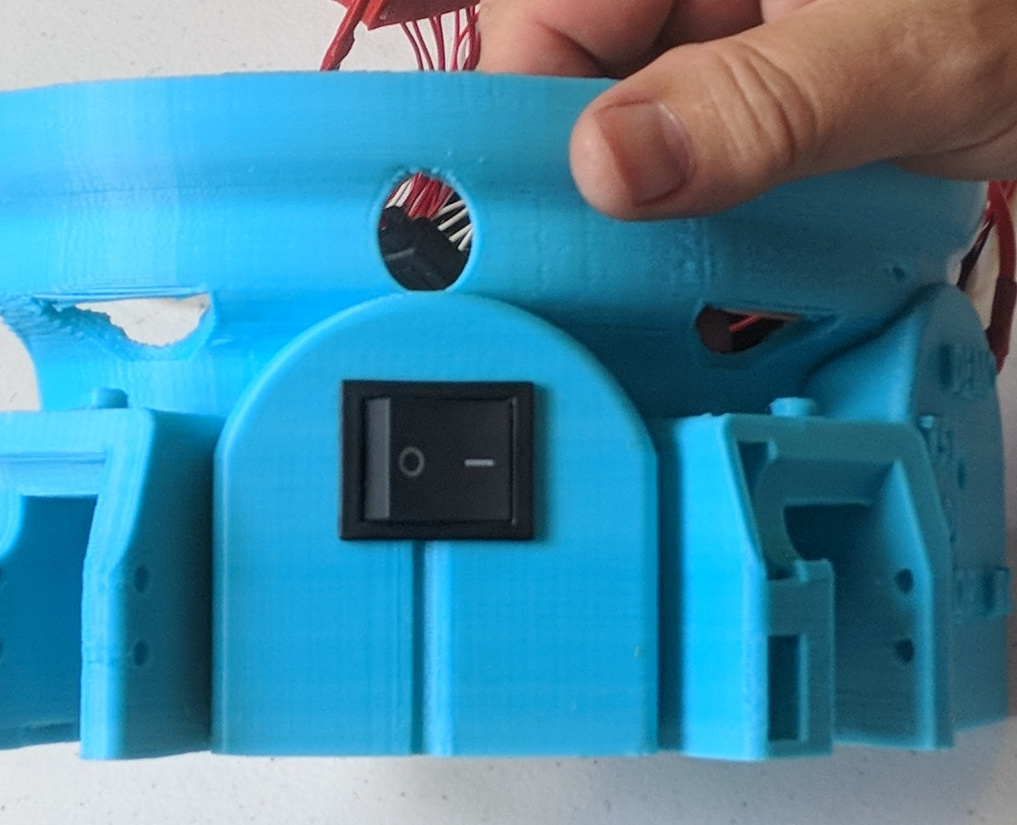
| 21:30, 1 October 2018 | Switch-Insert-2.jpg (file) |  |
246 KB | Vorpalwiki | 1 | |
| 18:33, 20 March 2018 | RainbowFidget-Trim-PCB.JPG (file) |  |
249 KB | Vorpalwiki | 1 | |
| 22:22, 3 October 2018 | Insert-Nano-In-Caddy-2.jpg (file) |  |
251 KB | Vorpalwiki | 1 | |
| 18:36, 20 March 2018 | RainbowFidget-HoldPCBInCarrier.JPG (file) |  |
256 KB | Vorpalwiki | 1 | |
| 00:41, 30 July 2017 | Gamepad-Top-View-v2.png (file) |  |
257 KB | Vorpalwiki | 2 | |
| 22:22, 3 October 2018 | Insert-Nano-In-Caddy-1.jpg (file) |  |
258 KB | Vorpalwiki | 1 | |
| 00:39, 30 July 2017 | Gamepad-Top-View.png (file) |  |
262 KB | Vorpalwiki | 3 | |
| 22:23, 3 October 2018 | Insert-ServoDriver-In-Caddy-1.jpg (file) |  |
269 KB | Vorpalwiki | 1 | |
| 21:31, 1 October 2018 | Switch-Insert-4.jpg (file) |  |
272 KB | Vorpalwiki | 1 | |
| 02:23, 29 June 2015 | Mimsy-build-fig-19.jpg (file) |  |
273 KB | Vorpalwiki | Mimys Build figure 19. Parts needed to install battery brackets and fences. | 1 |
| 21:30, 1 October 2018 | Switch-Insert-3.jpg (file) |  |
278 KB | Vorpalwiki | 1 | |
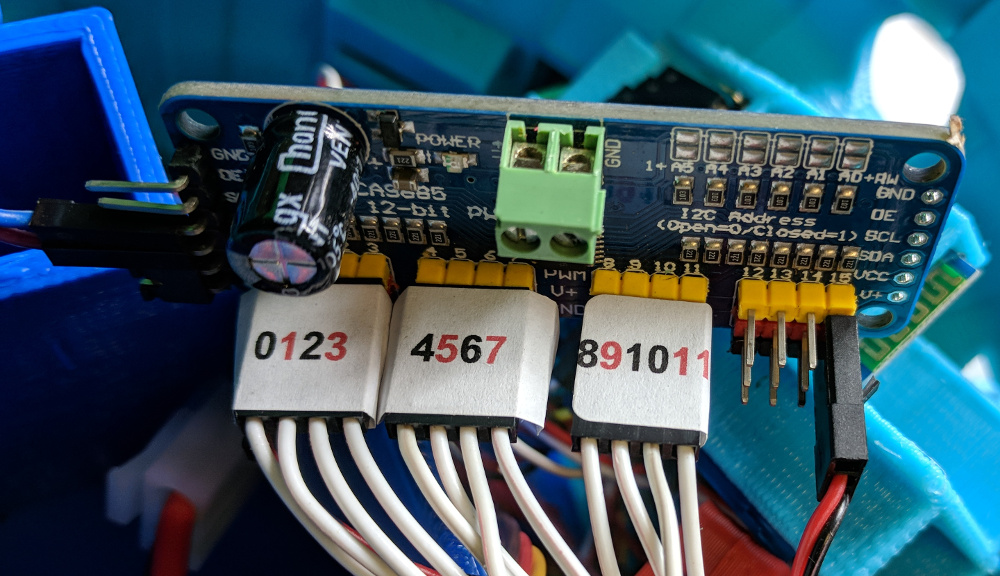
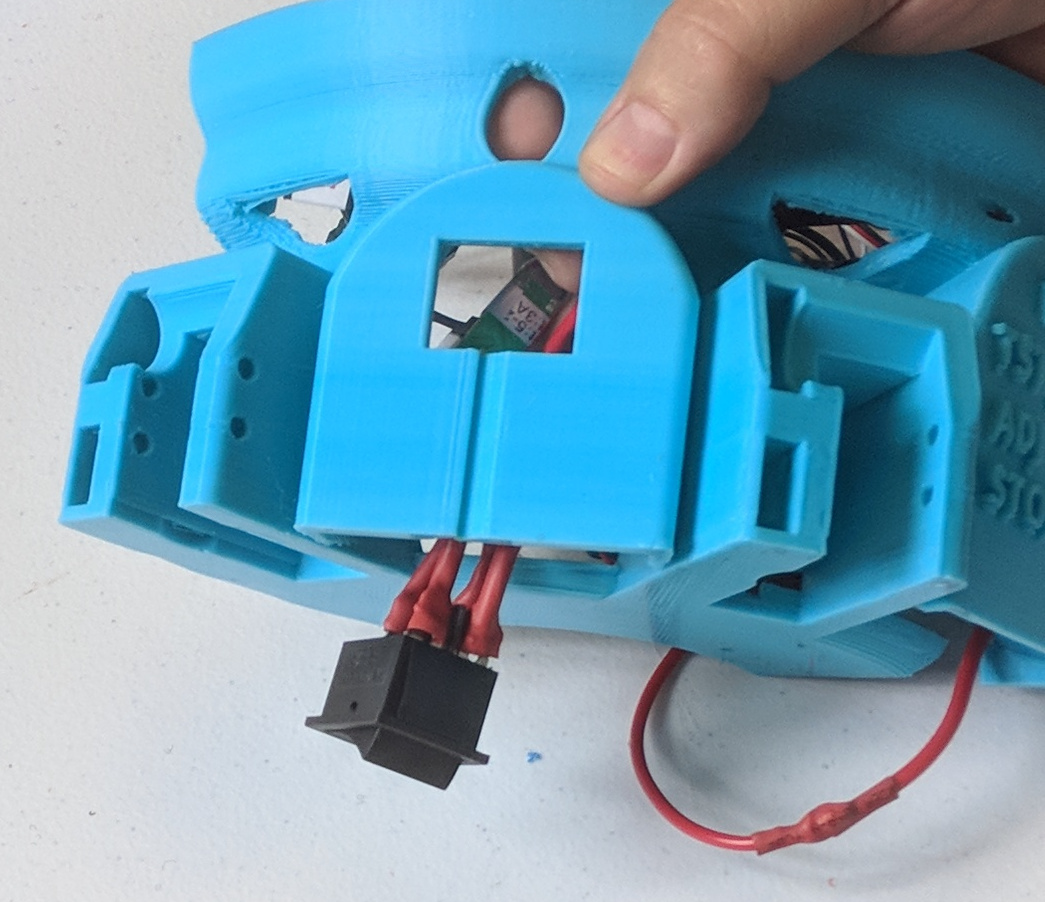
| 22:20, 3 October 2018 | Servo-Driver-With-Signal-Wires.jpg (file) |  |
283 KB | Vorpalwiki | 1 | |
| 22:24, 3 October 2018 | Insert-ServoDriver-In-Caddy-2.jpg (file) |  |
287 KB | Vorpalwiki | 1 | |
| 18:48, 9 July 2015 | Mimsy-build-fig-37.jpg (file) |  |
302 KB | Vorpalwiki | 2 | |
| 21:30, 1 October 2018 | Switch-Insert-1.jpg (file) |  |
303 KB | Vorpalwiki | 1 | |
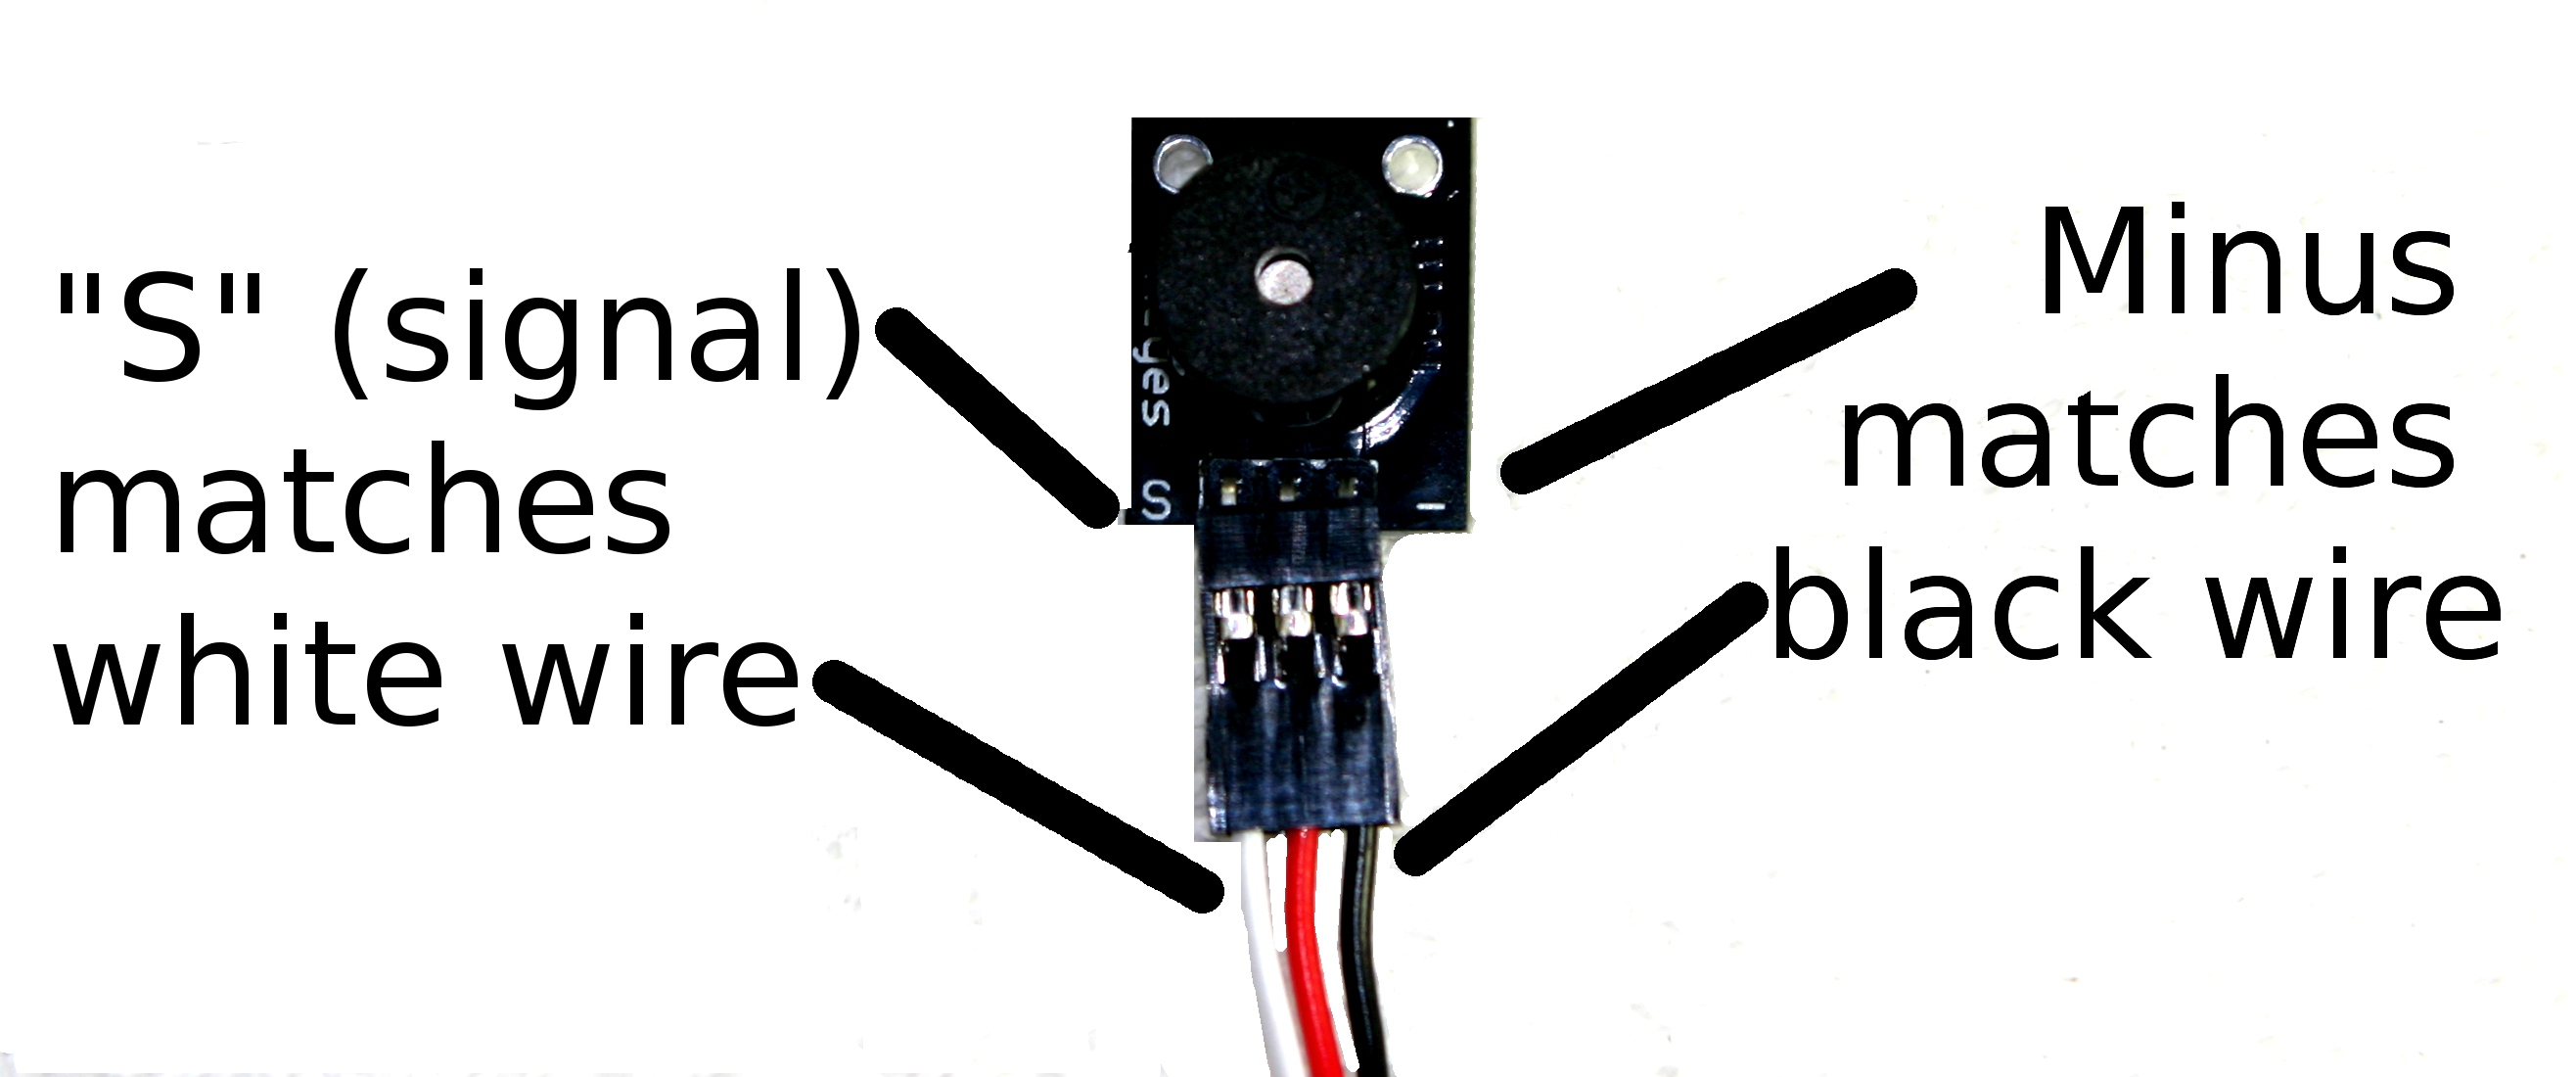
| 02:03, 30 June 2015 | Mimsy-build-fig-26.jpg (file) |  |
303 KB | Vorpalwiki | Mimsy Build figure 26. Attaching the 10cm 3-wire cable to the buzzer. The black wire matches with the "-" marking while the white matches the "S" marking. | 1 |
| 18:32, 20 March 2018 | RainbowFidget-PCB-soldered.JPG (file) |  |
324 KB | Vorpalwiki | 1 | |
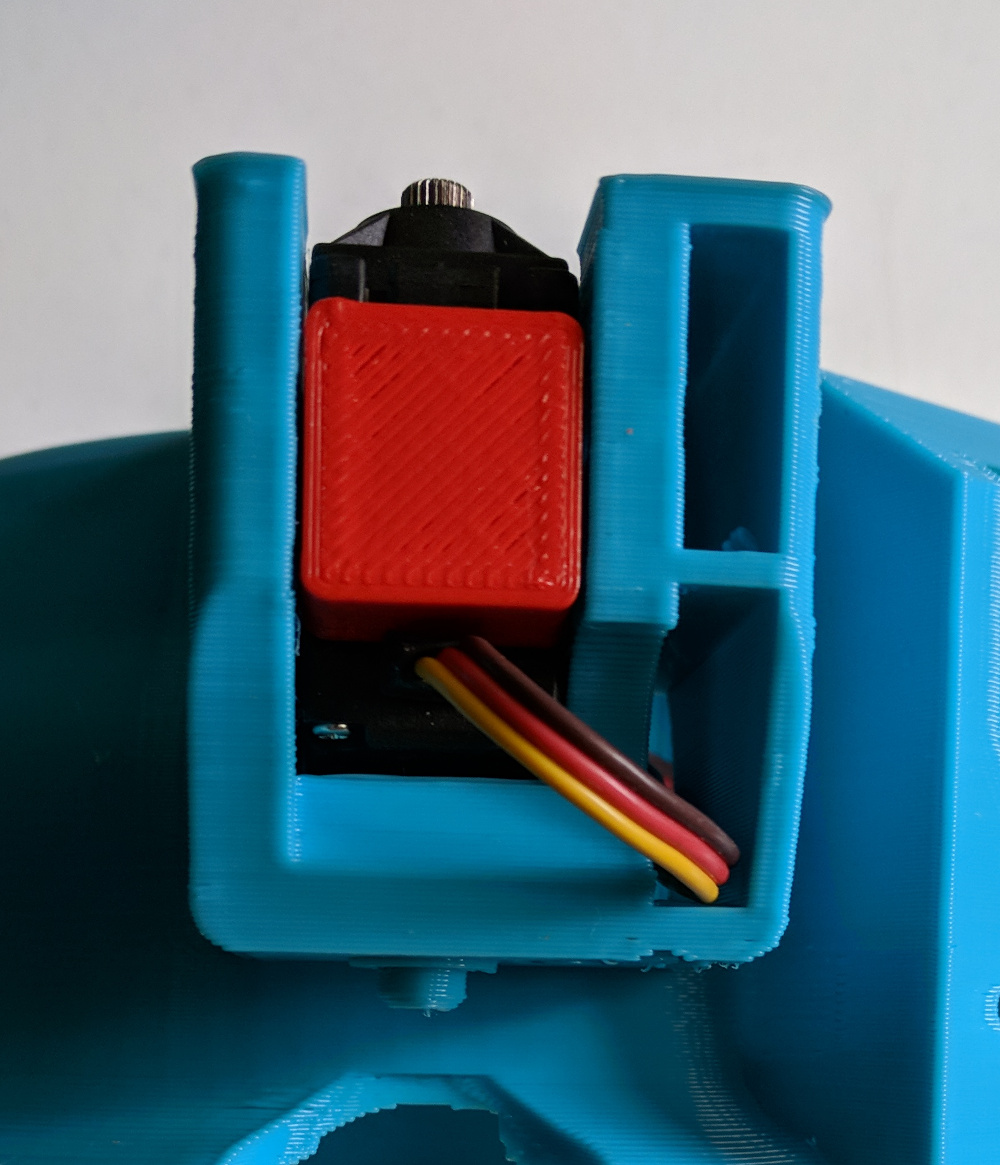
| 23:39, 4 October 2018 | Servo-in-Base-3.jpg (file) |  |
327 KB | Vorpalwiki | 1 | |
| 22:17, 2 August 2020 | Keyes-AD-Key.PNG (file) |  |
331 KB | Vorpalwiki | 1 |