File list
From Vorpal Robotics Wiki
This special page shows all uploaded files.
| Date | Name | Thumbnail | Size | User | Description | Versions |
|---|---|---|---|---|---|---|
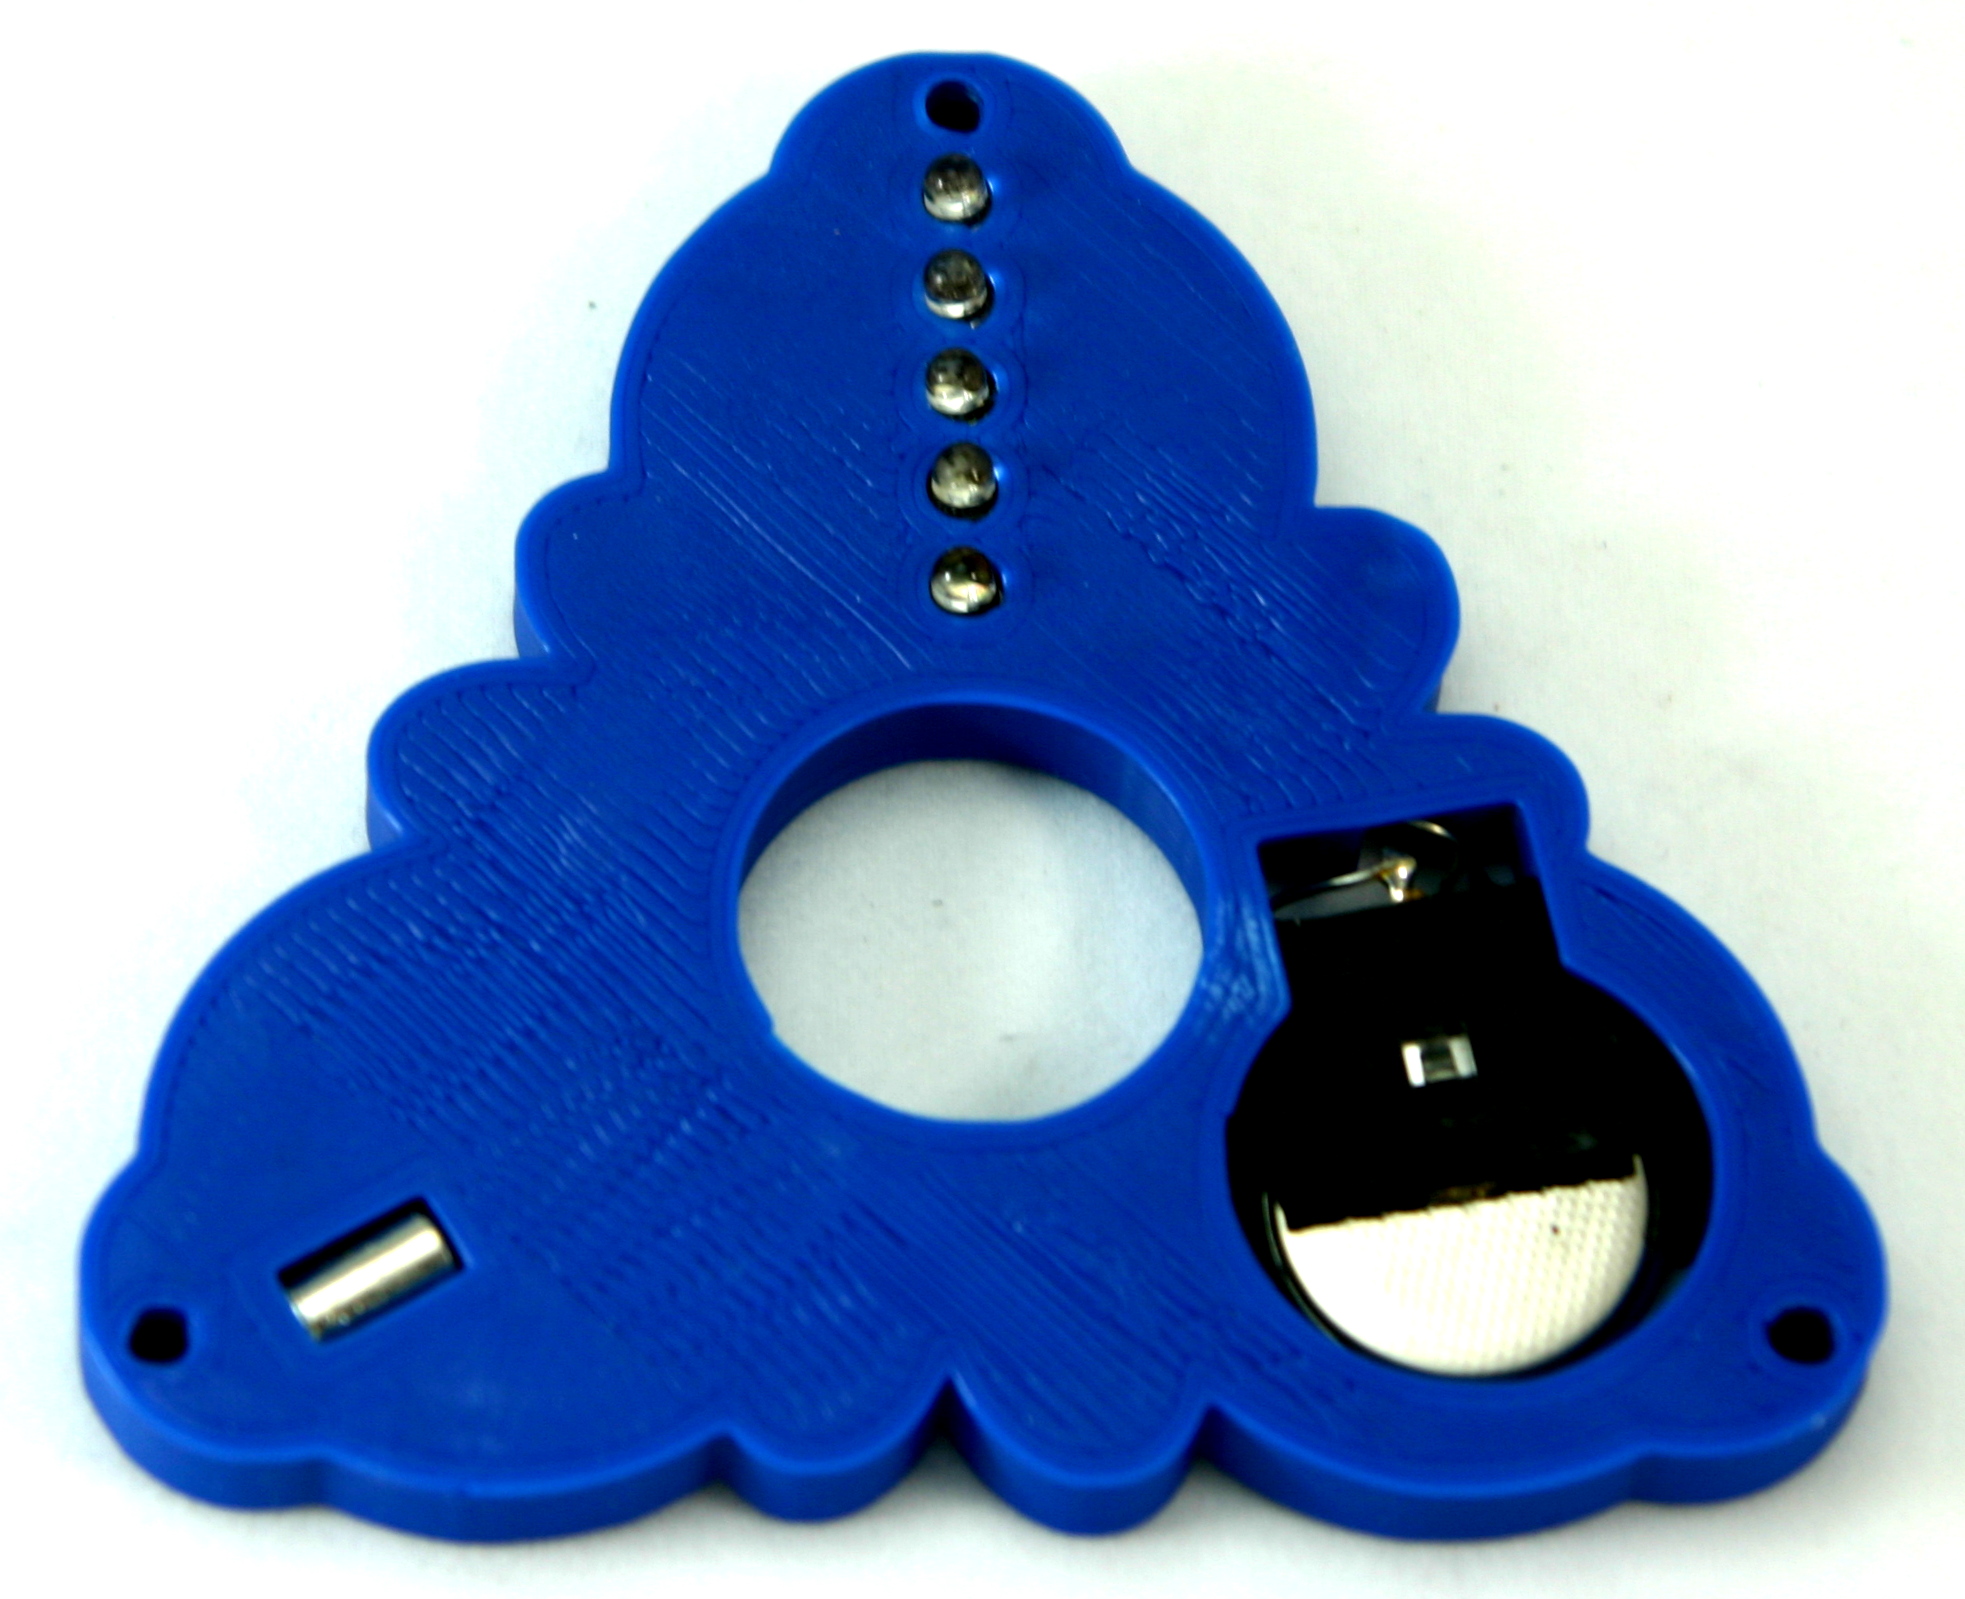
| 18:32, 20 March 2018 | RainbowFidget-CircuitInsertedLEDSide.JPG (file) |  |
765 KB | Vorpalwiki | 1 | |
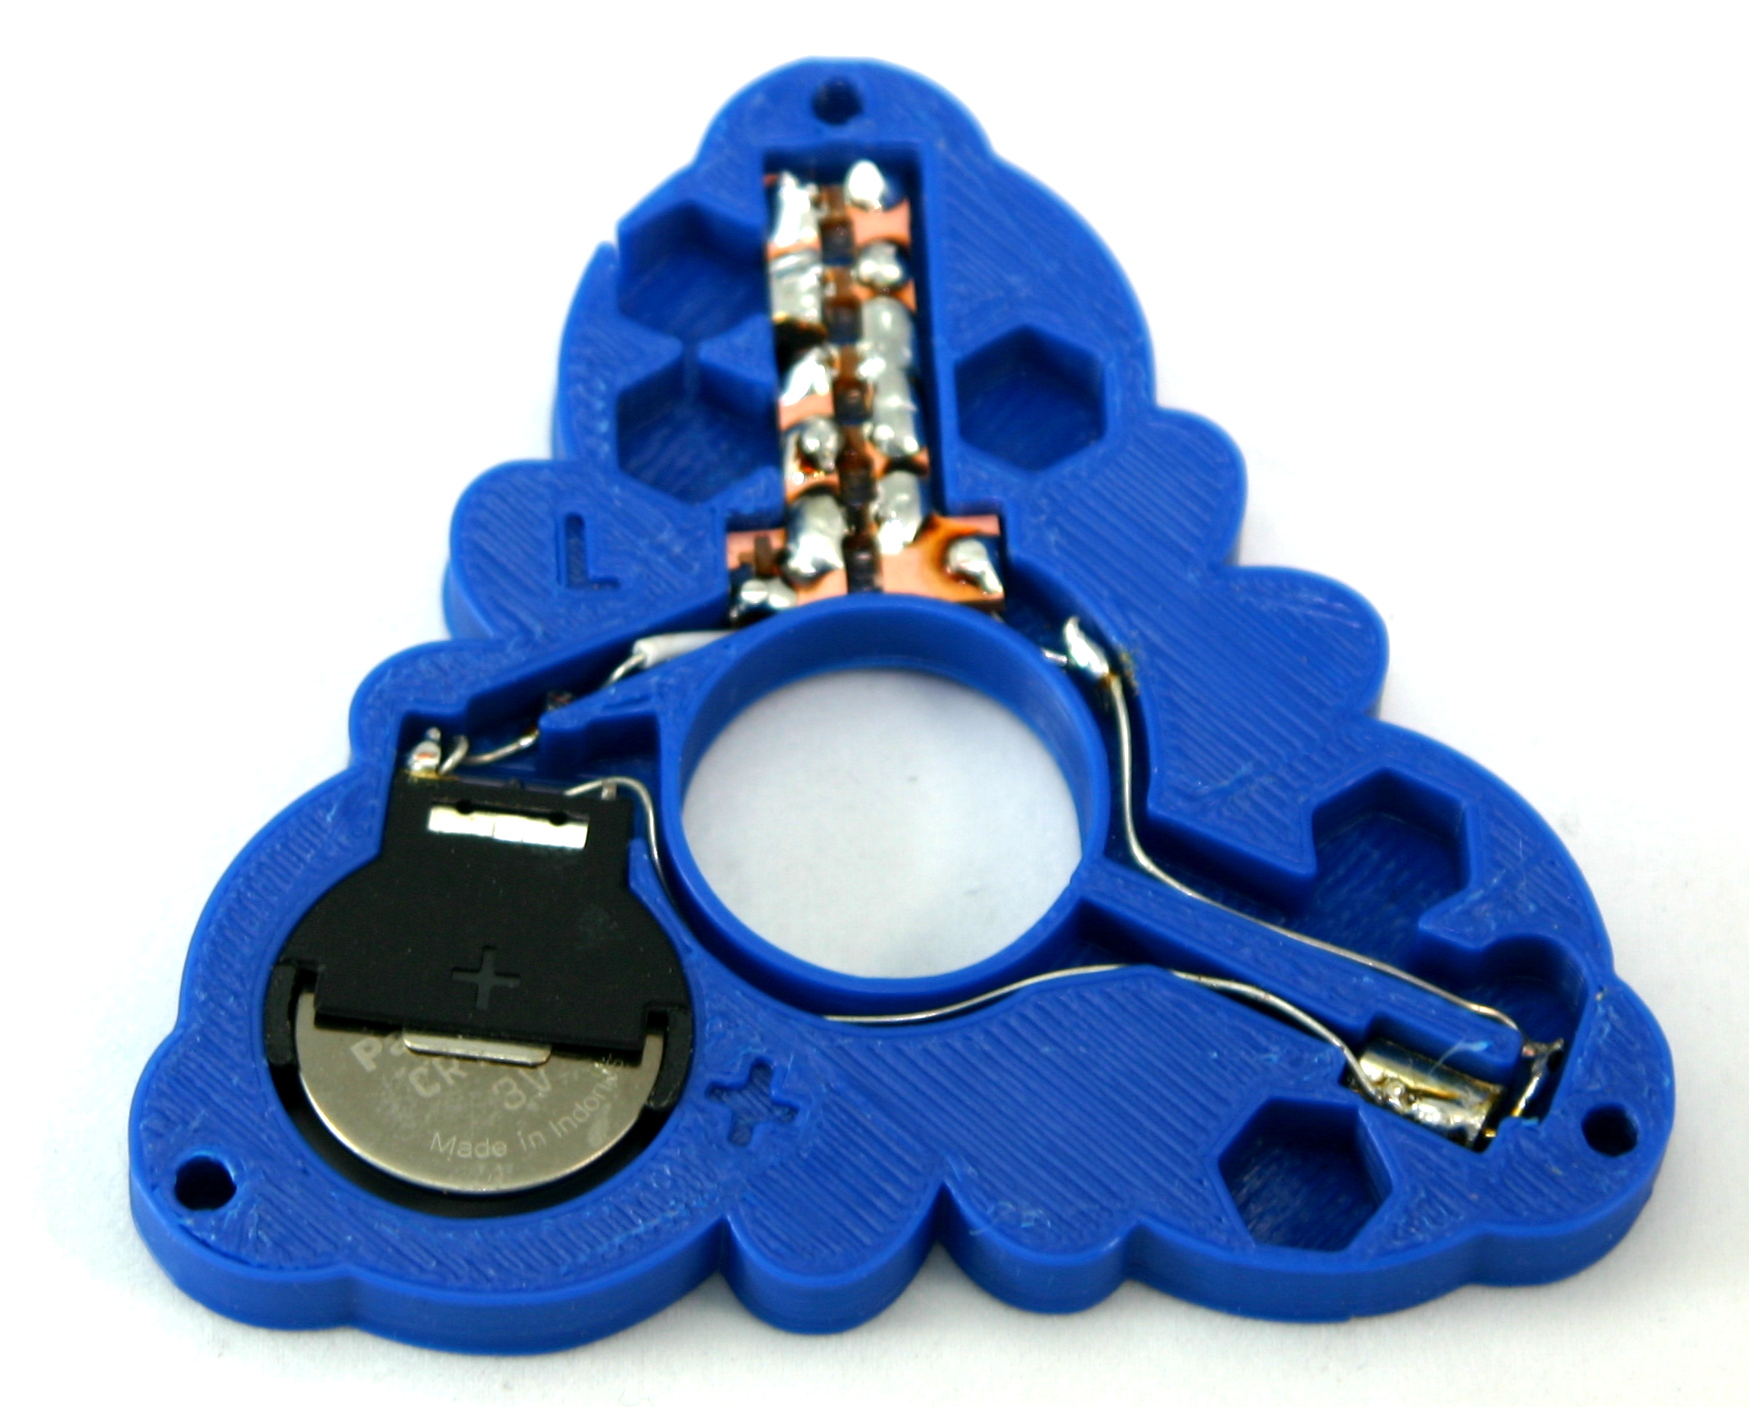
| 18:32, 20 March 2018 | RainbowFidget-CircuitInserted.JPG (file) |  |
587 KB | Vorpalwiki | 1 | |
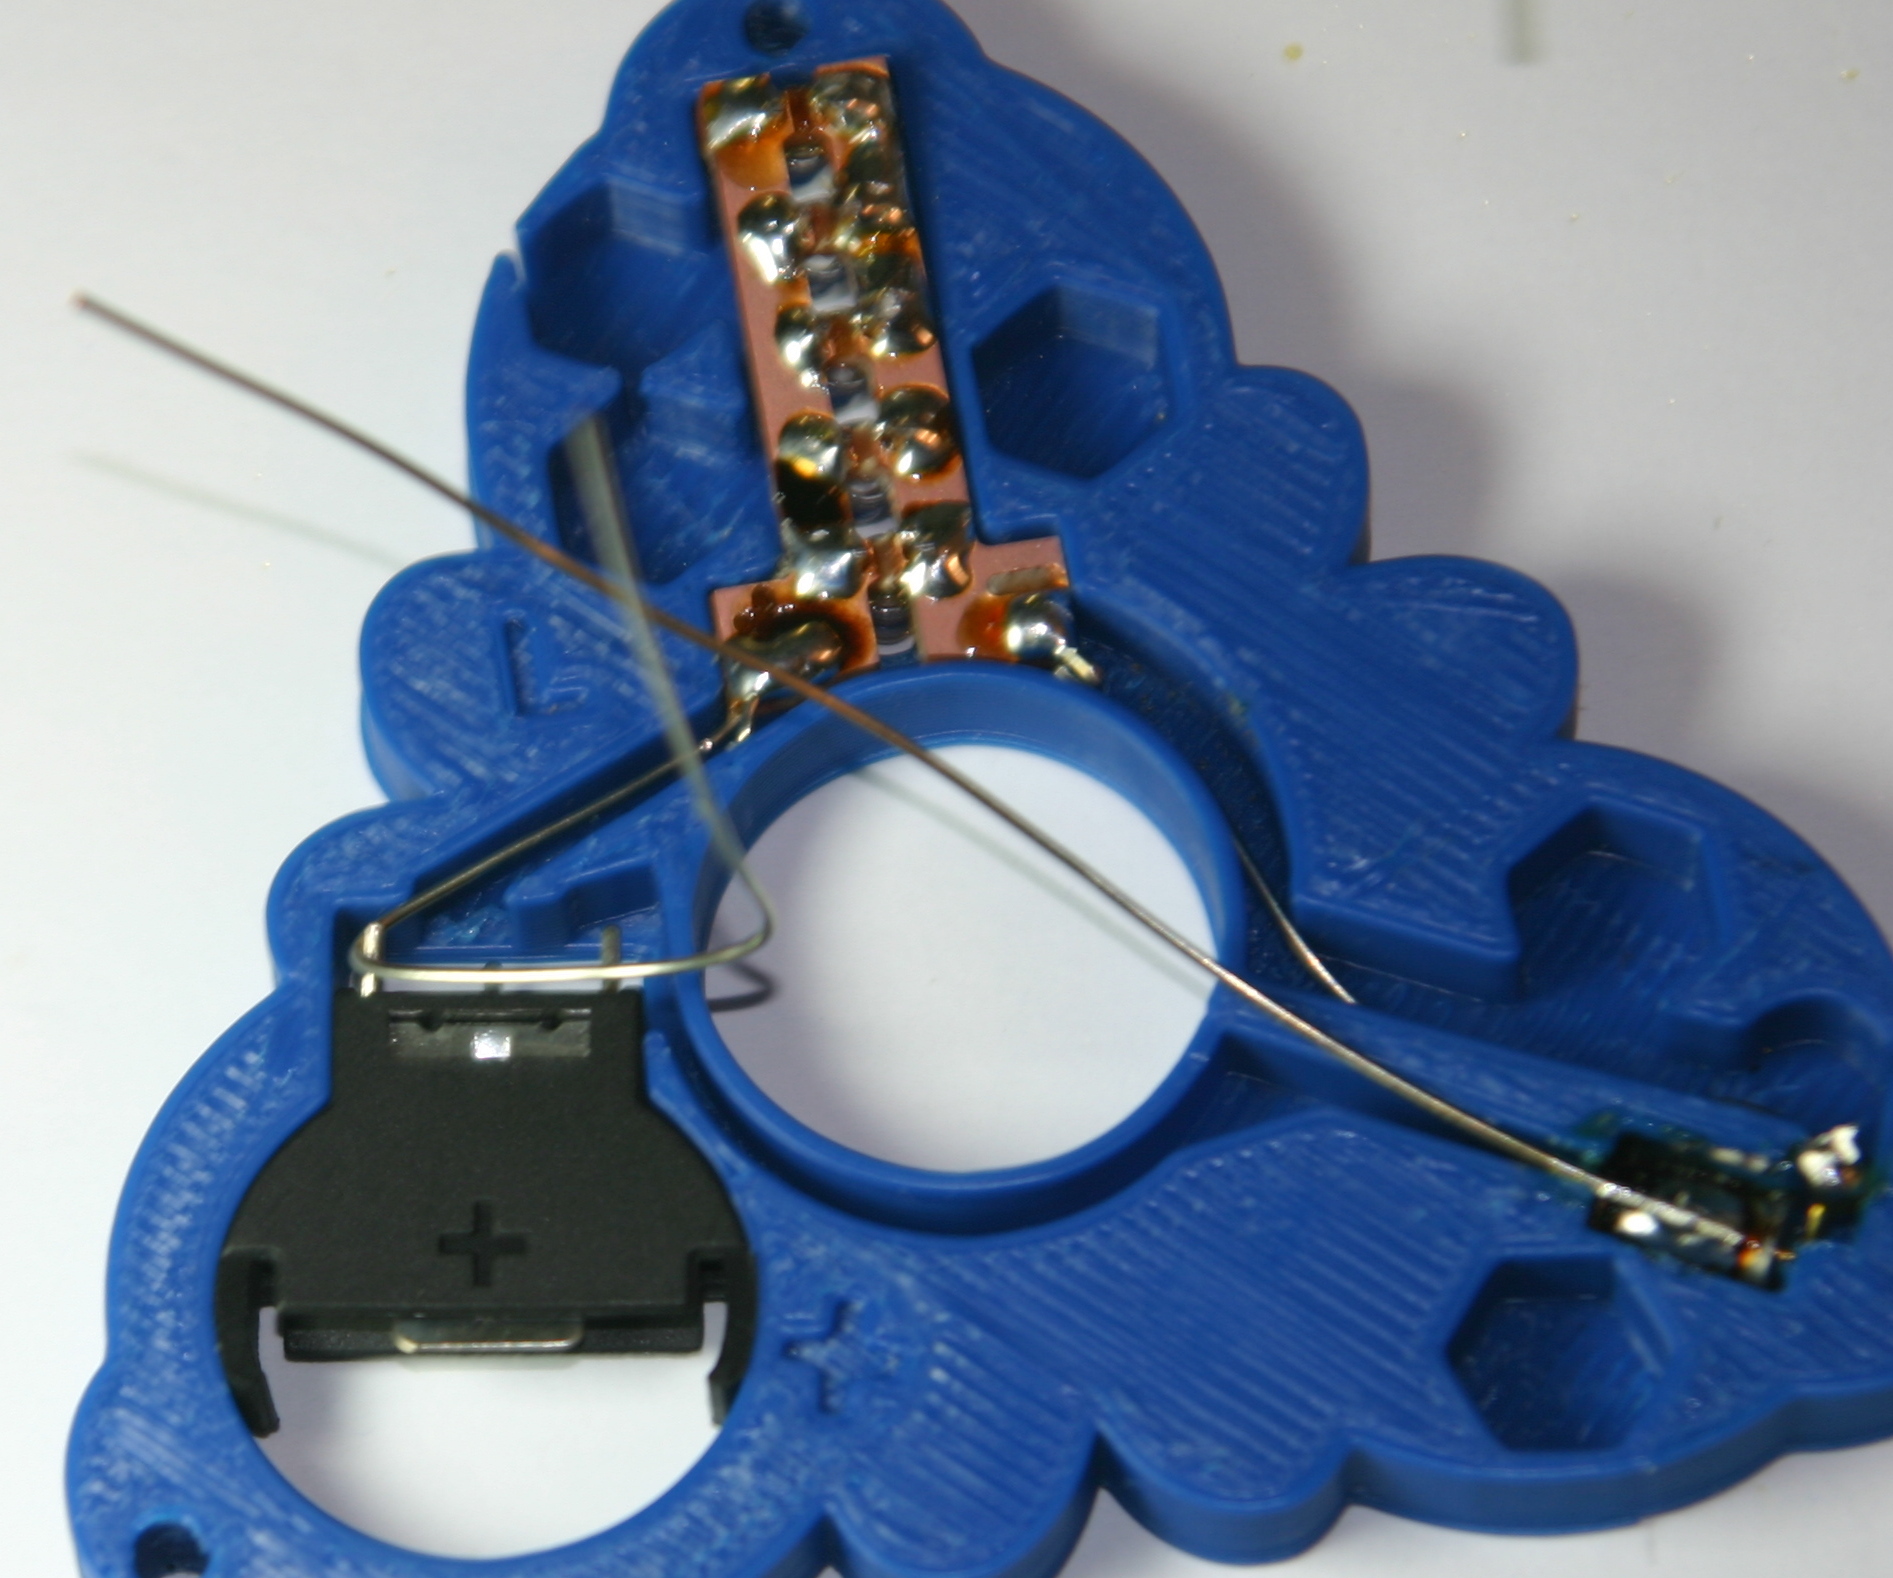
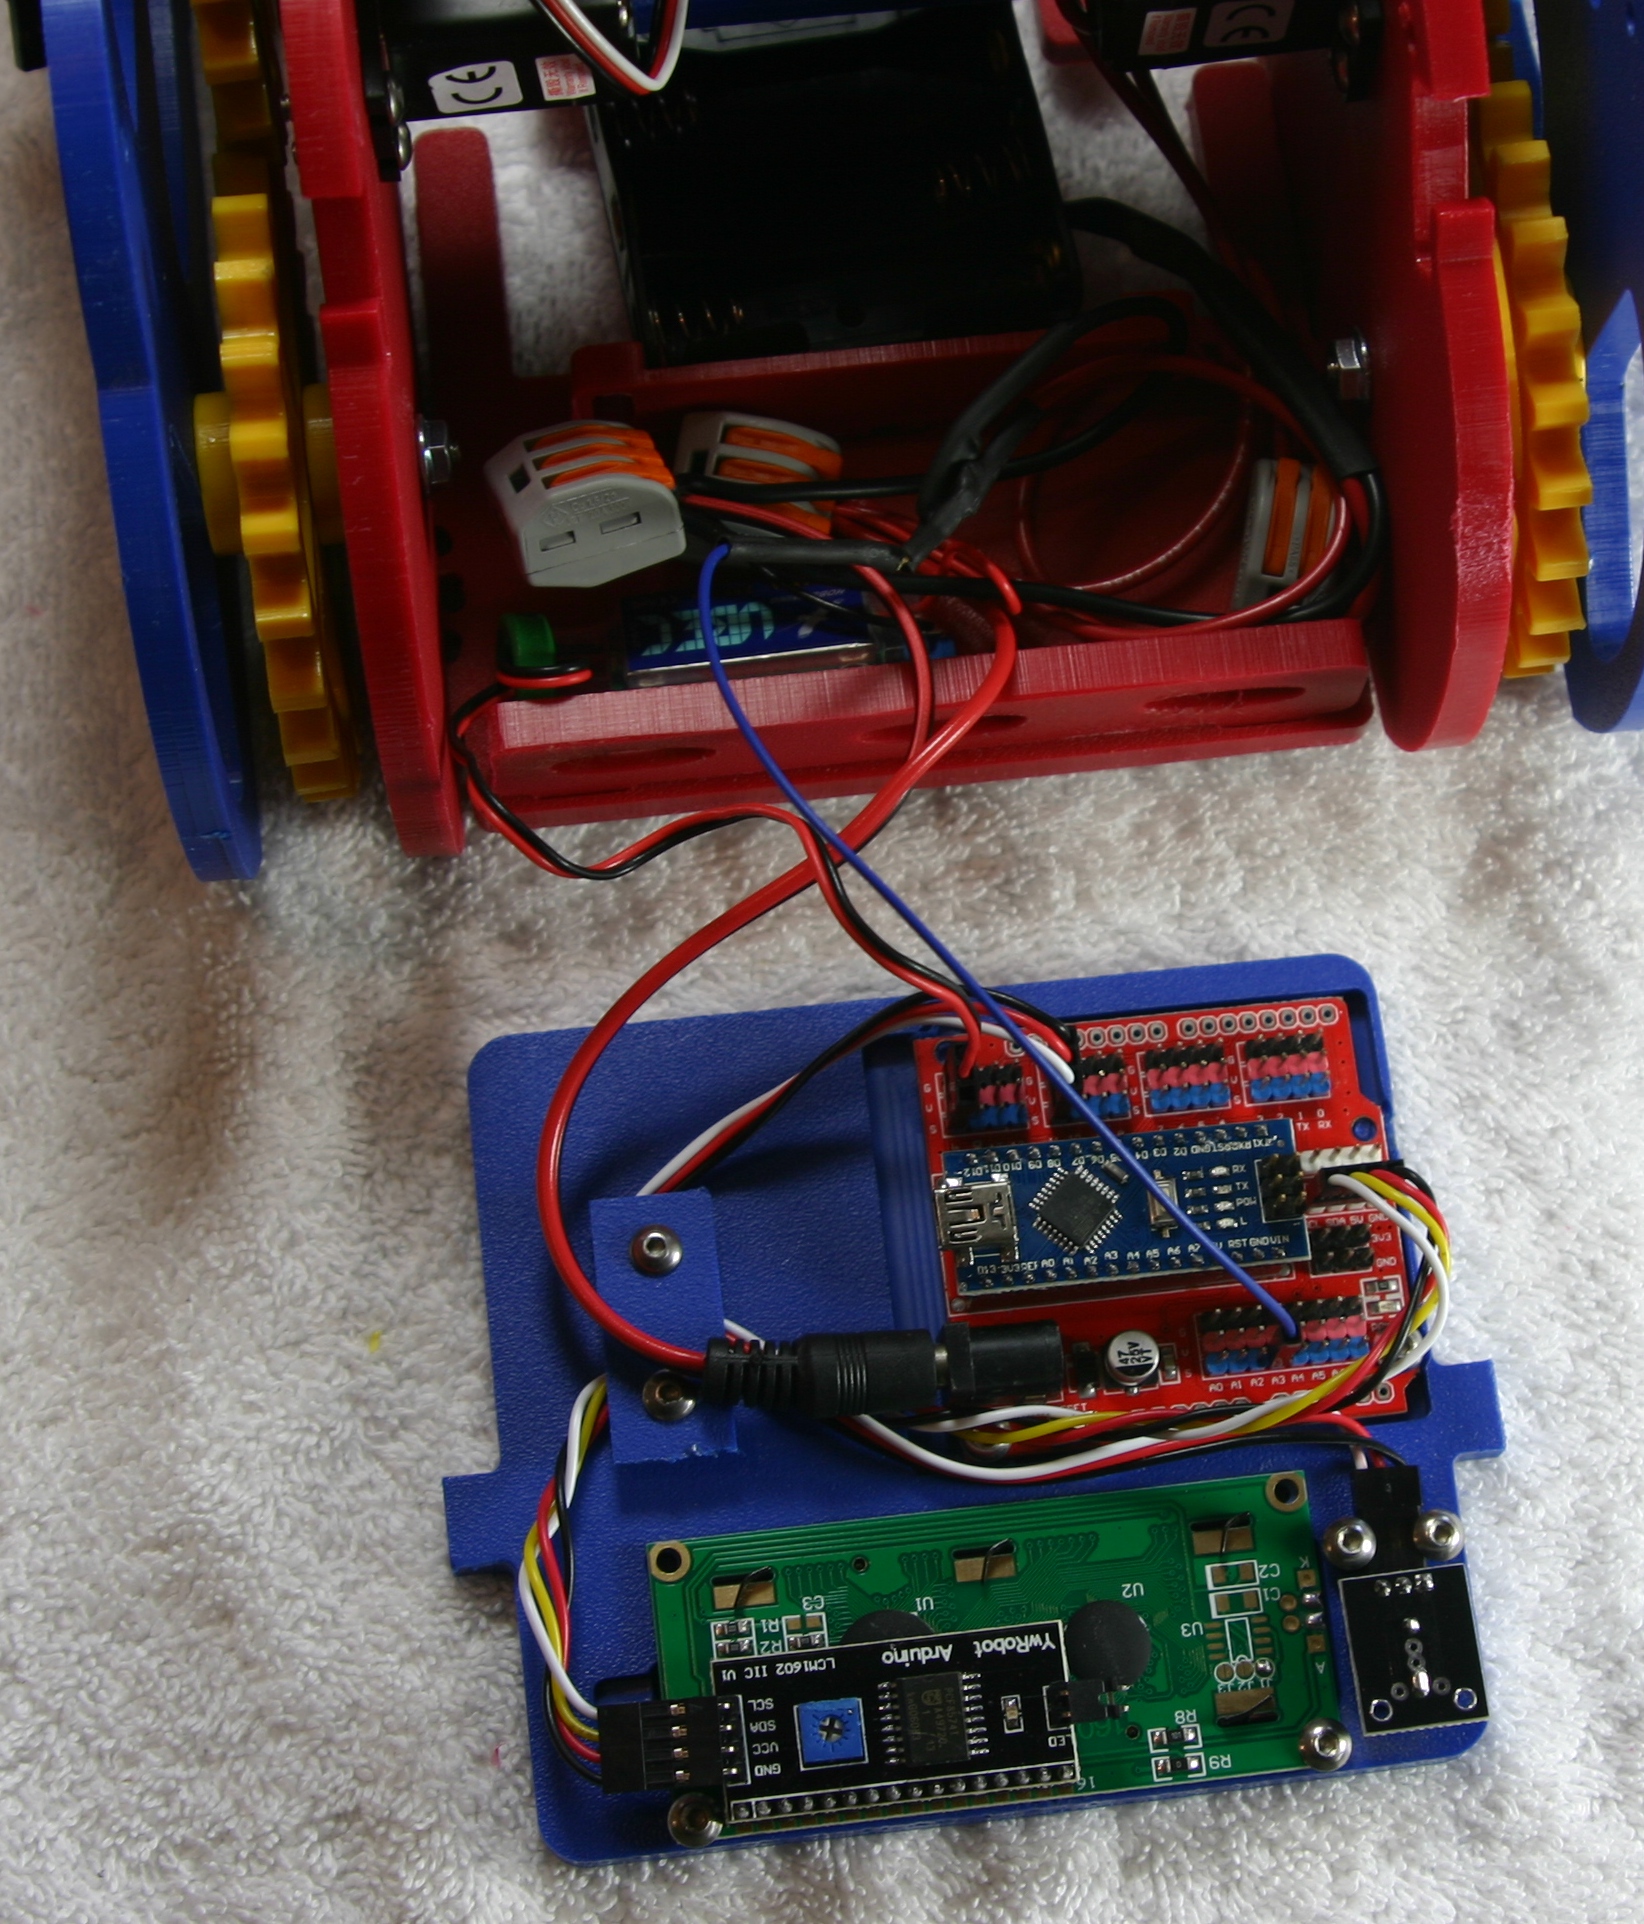
| 21:37, 20 March 2018 | RainbowFidget-Battery-Hookup.JPG (file) |  |
822 KB | Vorpalwiki | 1 | |
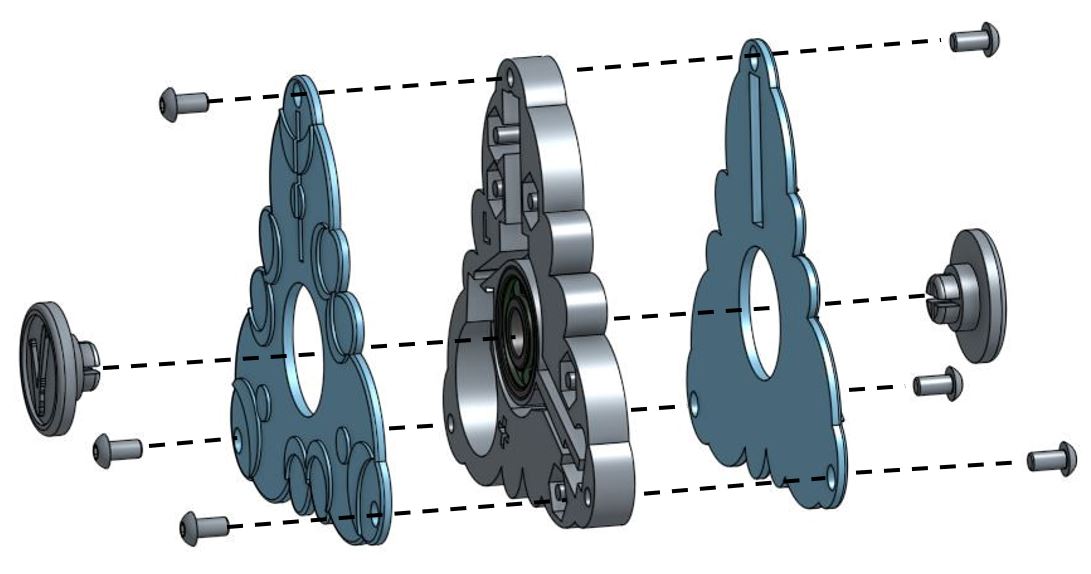
| 18:31, 20 March 2018 | Rainbow-Fidget-Exploded-View-With-Lines.JPG (file) |  |
66 KB | Vorpalwiki | 1 | |
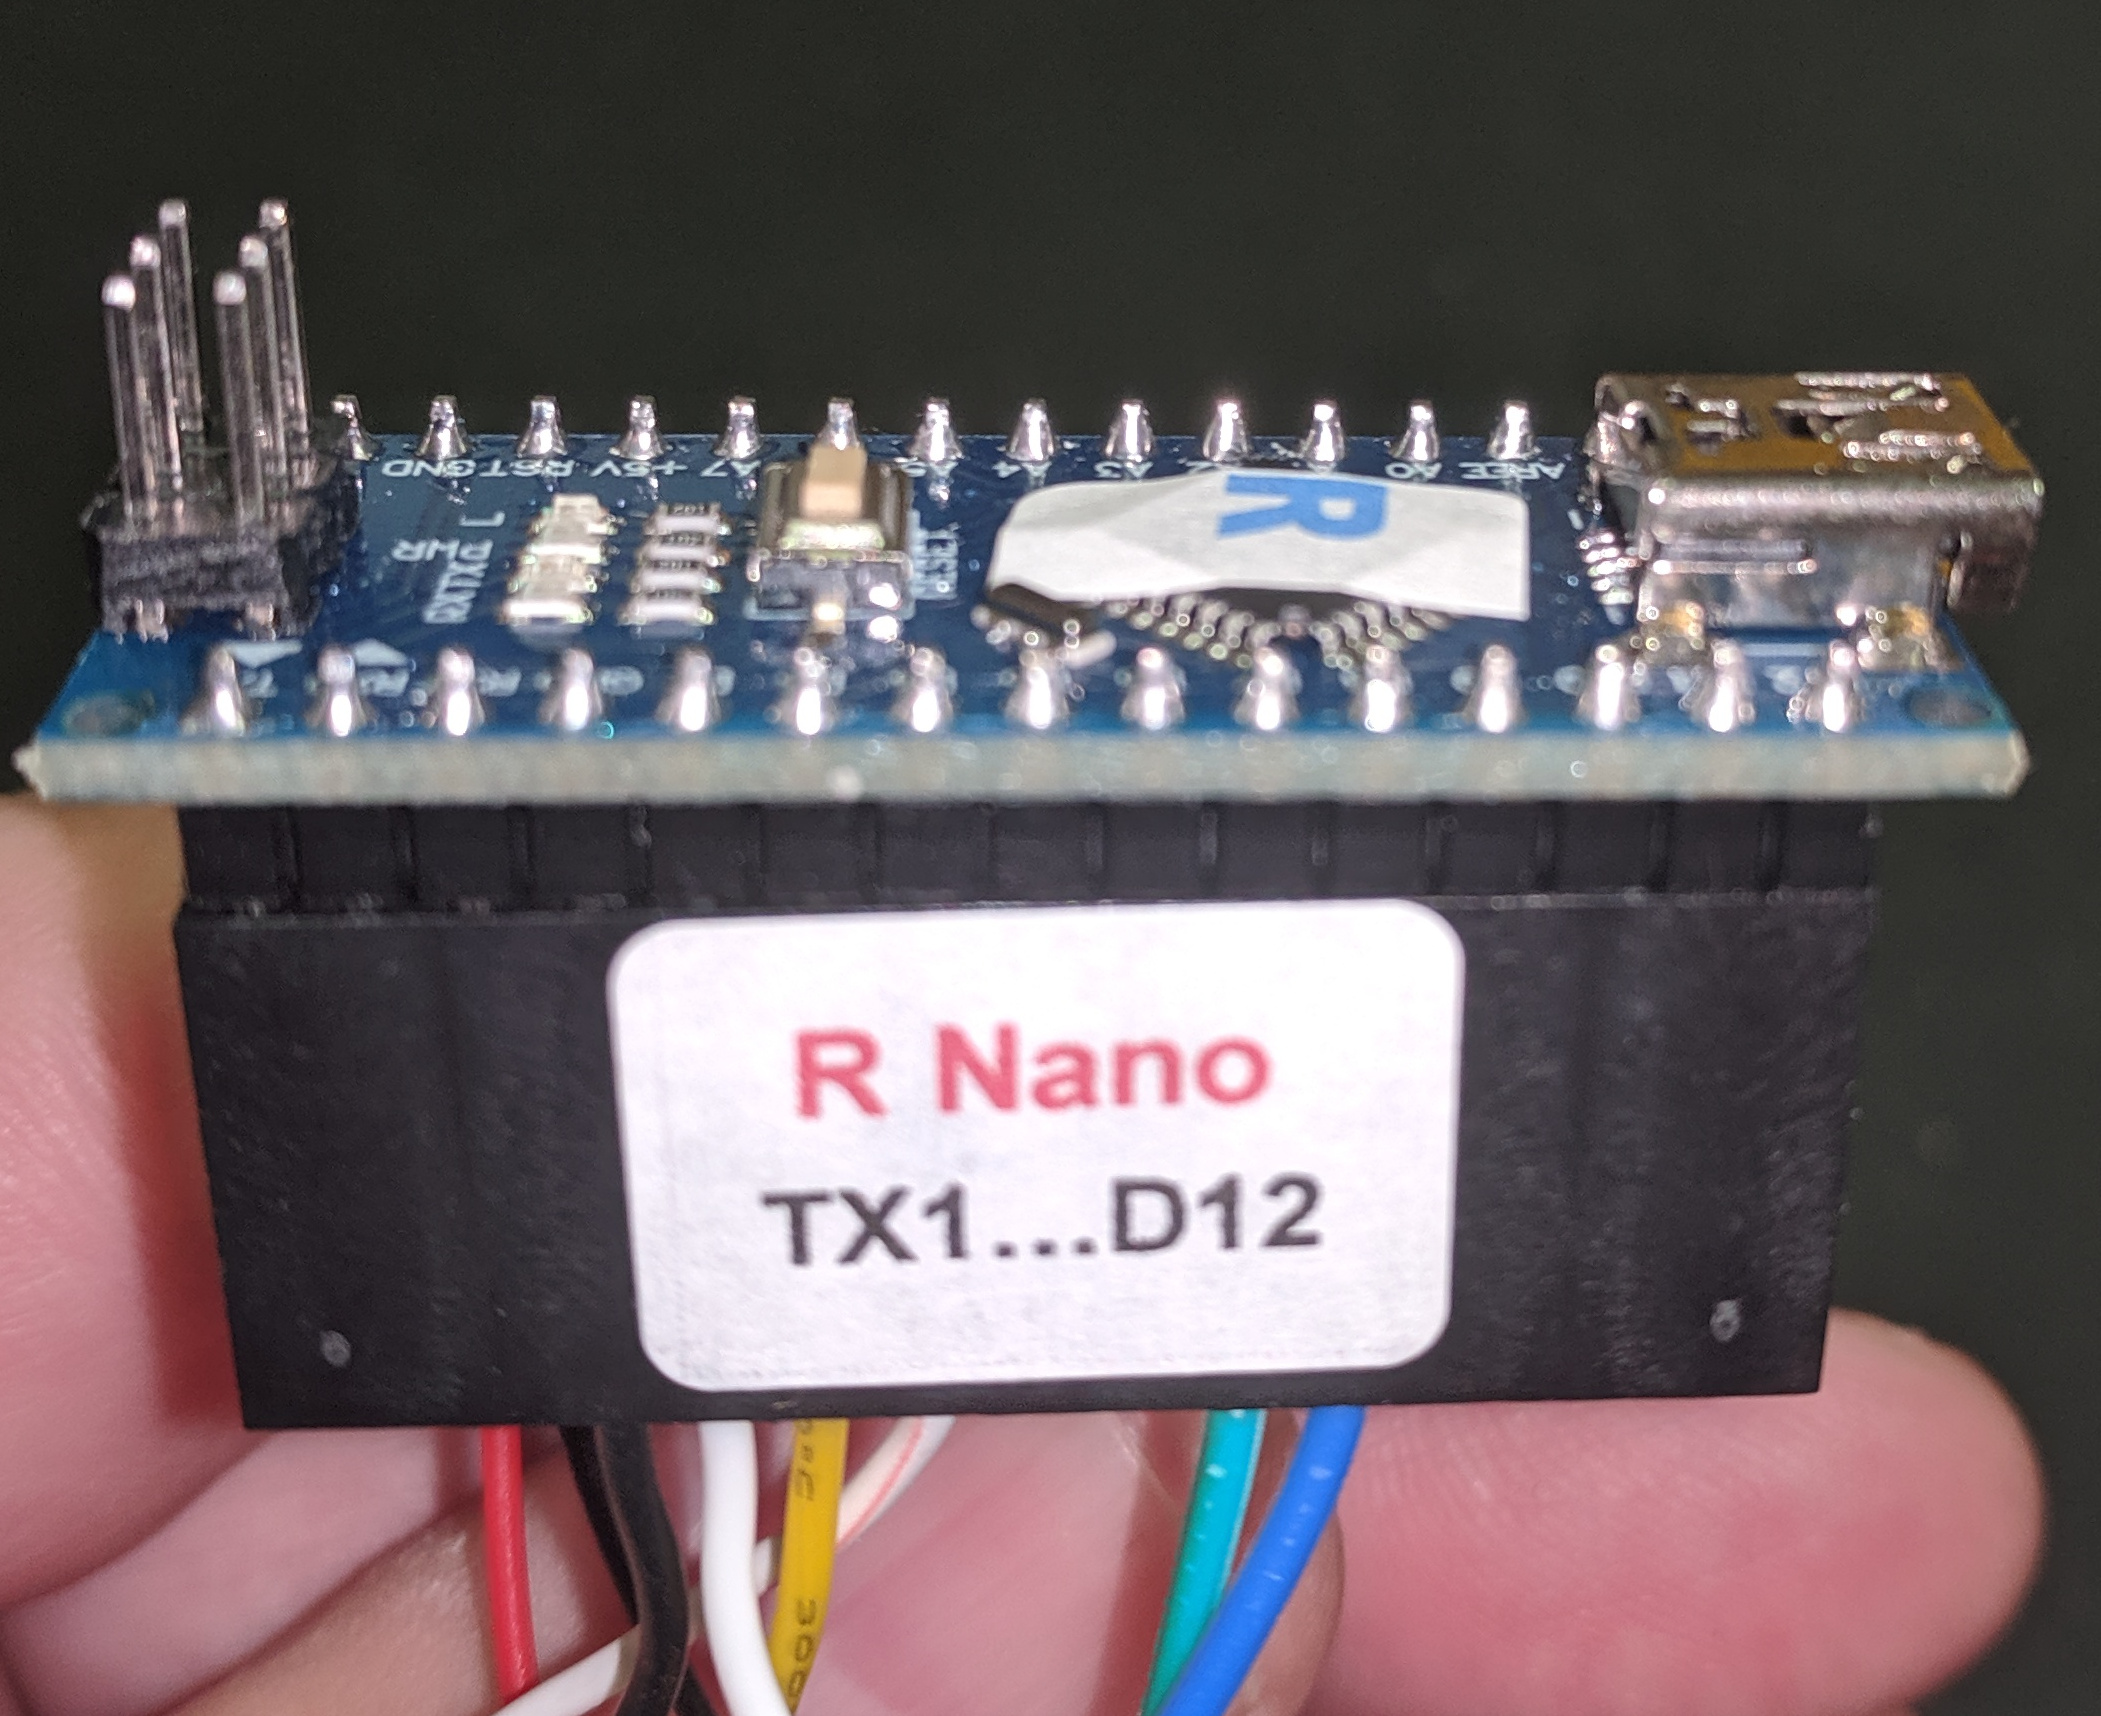
| 13:35, 22 October 2019 | RNANO-TX1-D12.JPG (file) |  |
936 KB | Vorpalwiki | 1 | |
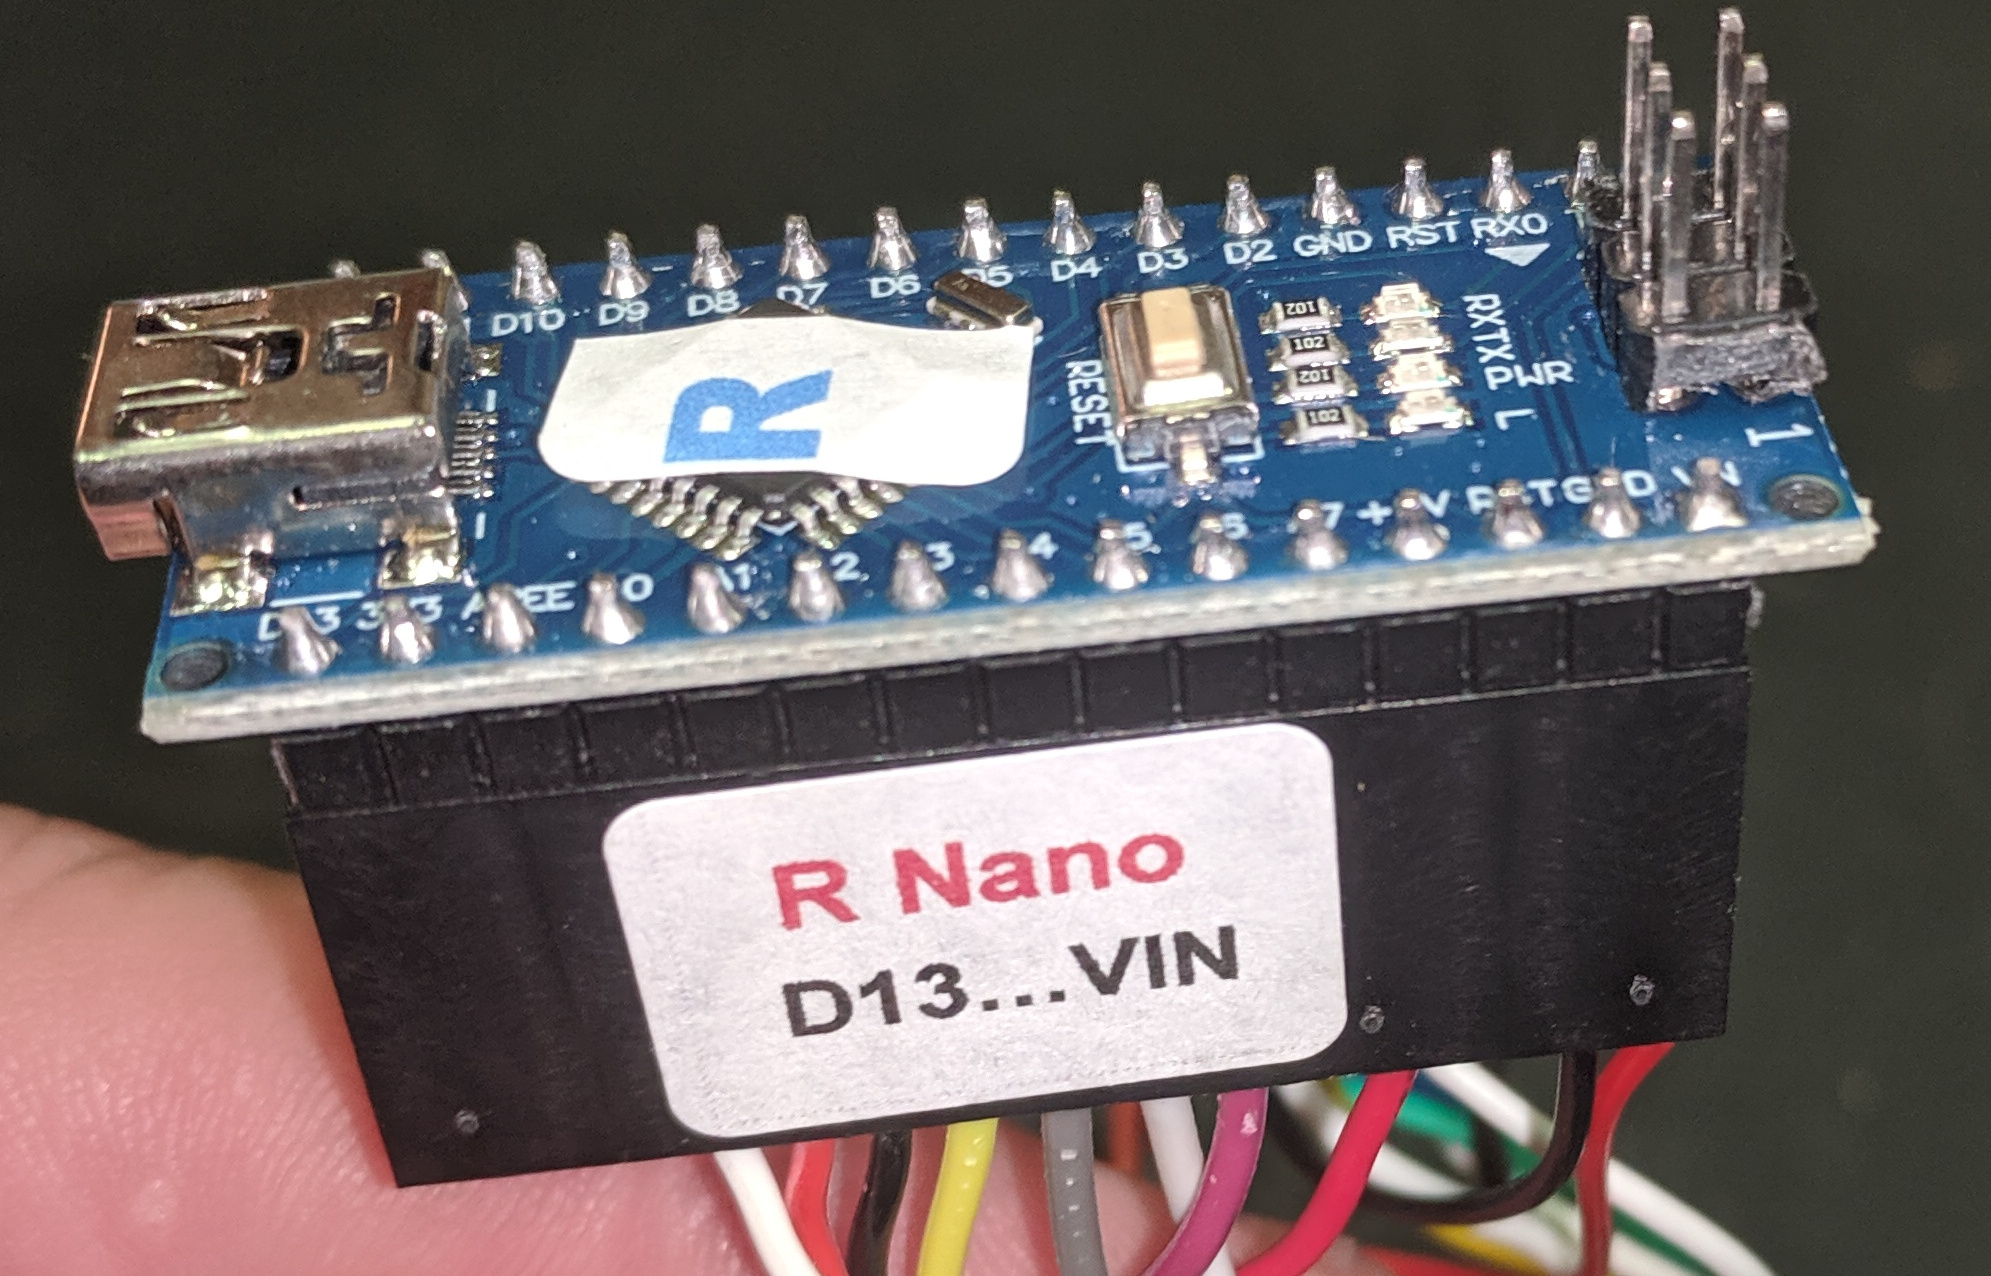
| 13:35, 22 October 2019 | RNANO-D13-VIN.JPG (file) |  |
803 KB | Vorpalwiki | 1 | |
| 18:17, 20 July 2018 | Pose-V2.JPG (file) | 21 KB | Vorpalwiki | 1 | ||
| 15:38, 3 February 2020 | PinchPoint-Warning.JPG (file) |  |
52 KB | Vorpalwiki | 1 | |
| 14:45, 28 September 2020 | PeterSDrang-square-headshot.jpg (file) |  |
69 KB | Vorpalwiki | 1 | |
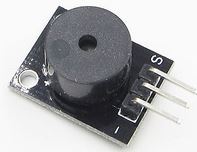
| 23:13, 1 October 2017 | Passive-Piezo-Buzzer-Module.jpg (file) |  |
13 KB | Vorpalwiki | 1 | |
| 00:57, 26 June 2015 | Parts-outer-plate.jpg (file) |  |
29 KB | Vorpalwiki | Mimsy 1.1 Outer Plate rev62 | 1 |
| 01:10, 26 June 2015 | Parts-front-grill.jpg (file) |  |
17 KB | Vorpalwiki | Front grill, used to hide wires. Can be removed without tools to change out batteries. | 1 |
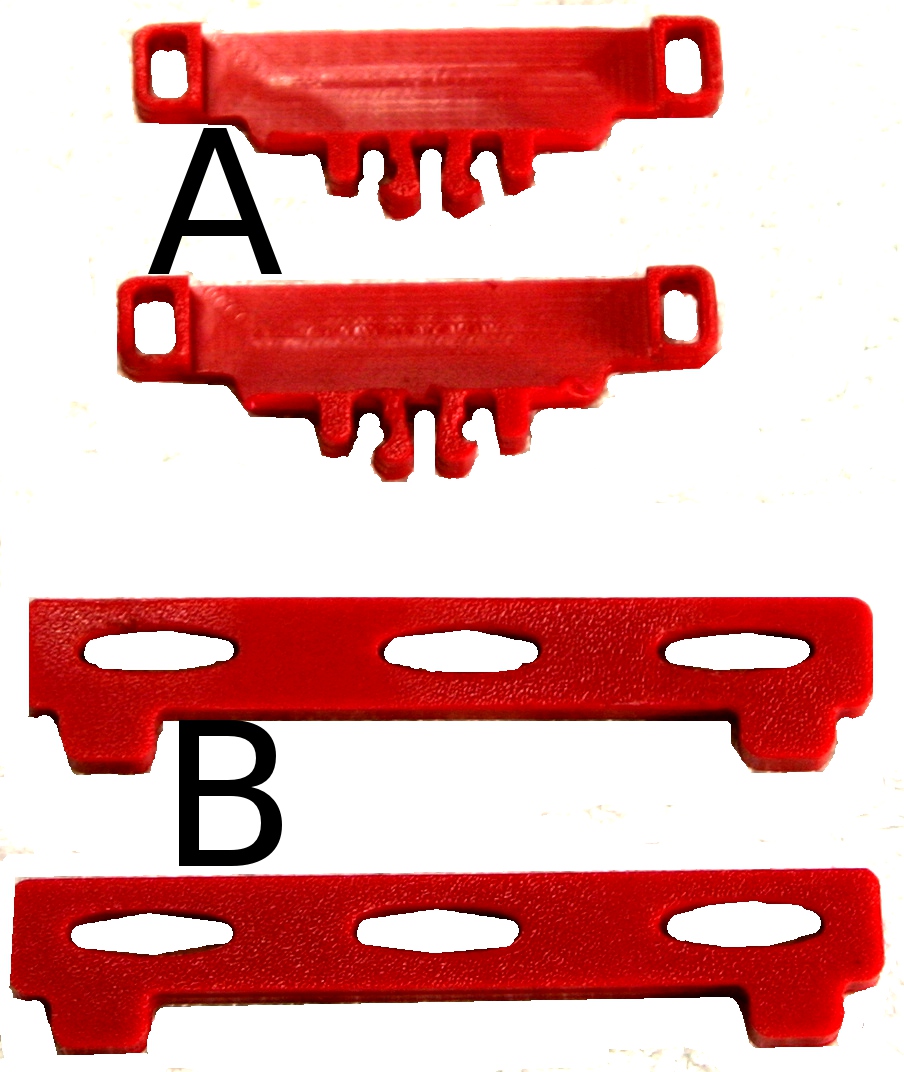
| 01:14, 26 June 2015 | Parts-cross-bar.jpg (file) |  |
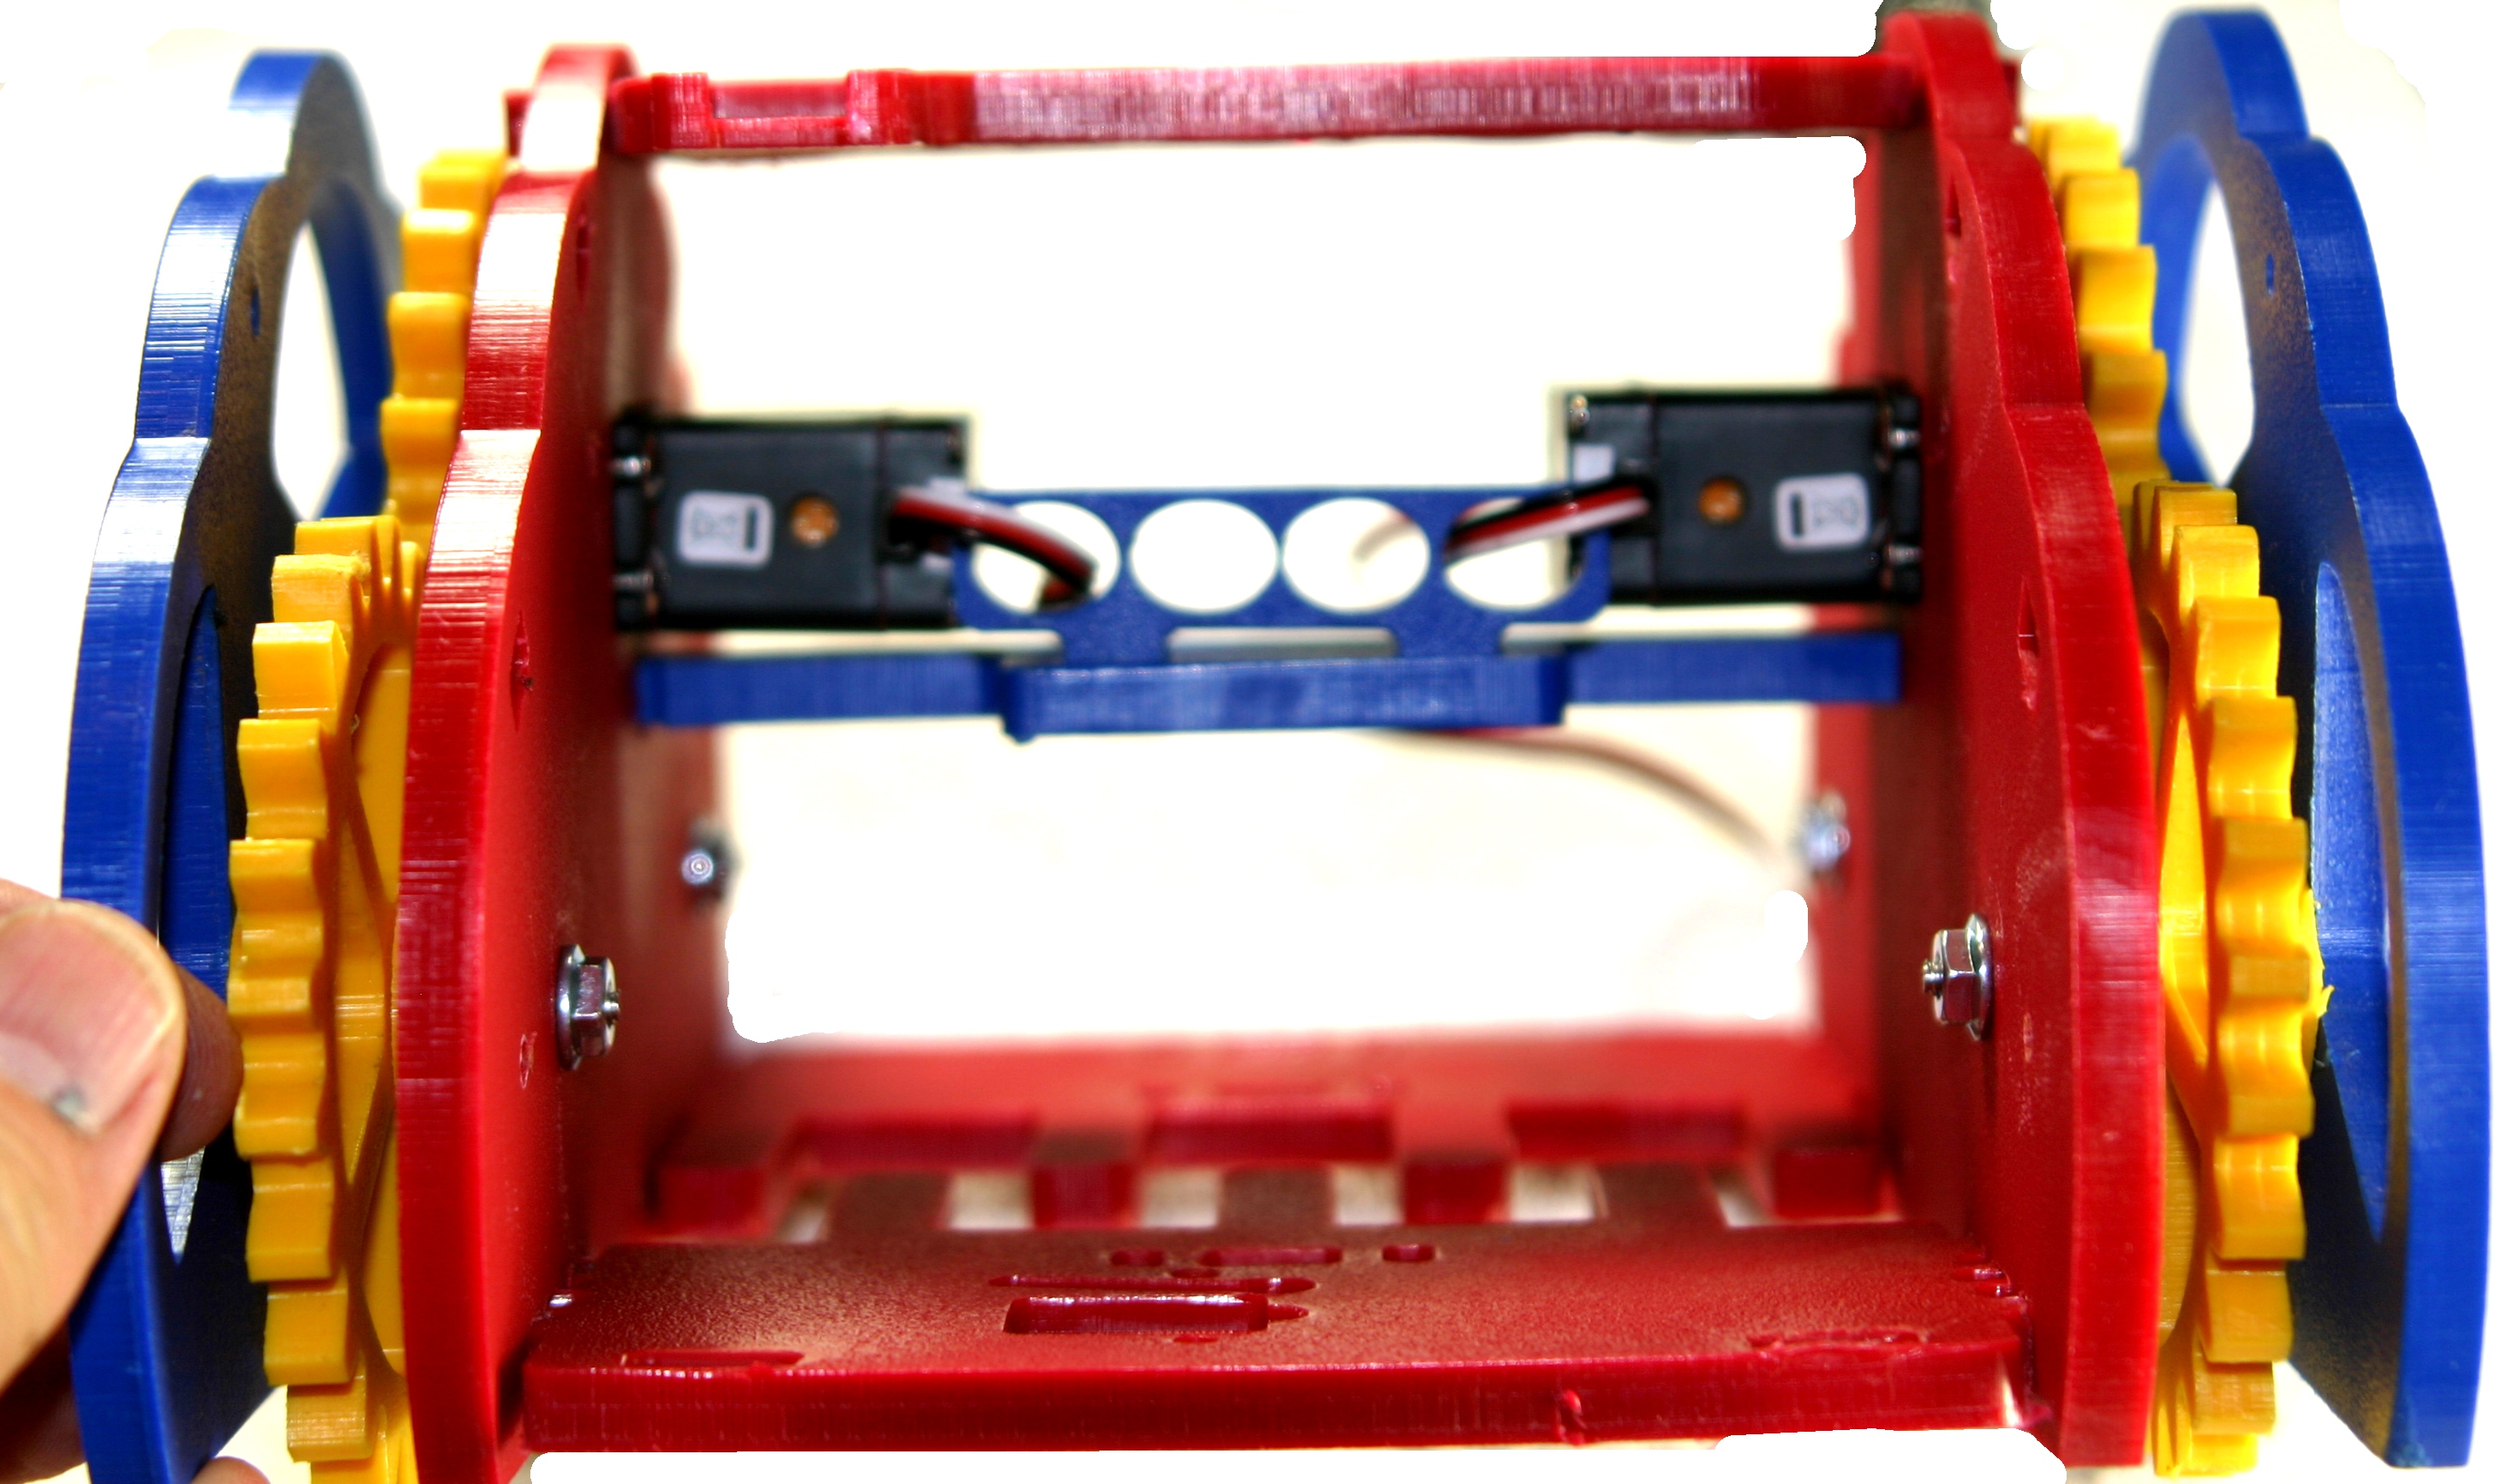
5 KB | Vorpalwiki | Cross bar. This part mounts under the drive train servos and helps lock the two drive train halves together securely. It also keeps sensor and motor wires from falling down on top of the battery pack. | 1 |
| 01:16, 26 June 2015 | Parts-cross-bar-wire-guide.jpg (file) |  |
5 KB | Vorpalwiki | Cross bar wire guide. This part slots into the cross bar and provides oval windows you can feed motor and sensor cables through, keeping them better managed. | 1 |
| 01:12, 26 June 2015 | Parts-console.jpg (file) |  |
25 KB | Vorpalwiki | Console. Provides bezel for LCD display, also the buzzler, Arduino Nano, and IO shield mount on it. | 1 |
| 01:13, 26 June 2015 | Parts-console-wire-plate.jpg (file) |  |
3 KB | Vorpalwiki | Console wire plate. This is simply used to hold down the LCD and buzzer cables on the console. | 1 |
| 15:35, 31 August 2017 | PAGE montage picture.jpg (file) |  |
82 KB | Cpadmin | 1 | |
| 21:11, 16 September 2017 | PAGE-montage-scaled.png (file) |  |
772 KB | Vorpalwiki | 1 | |
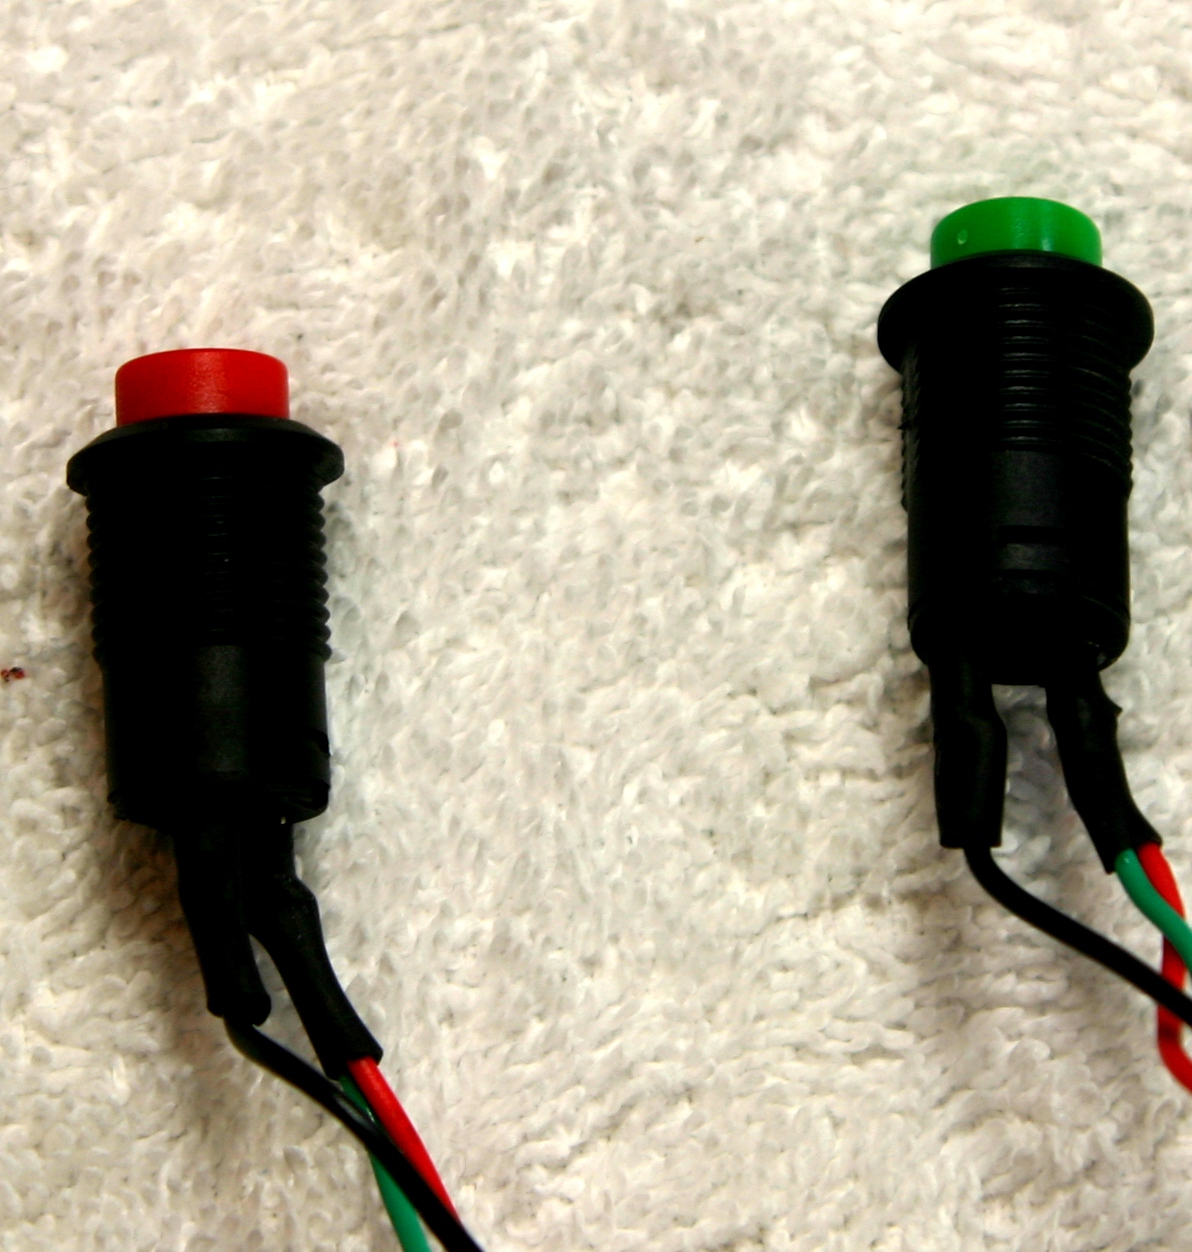
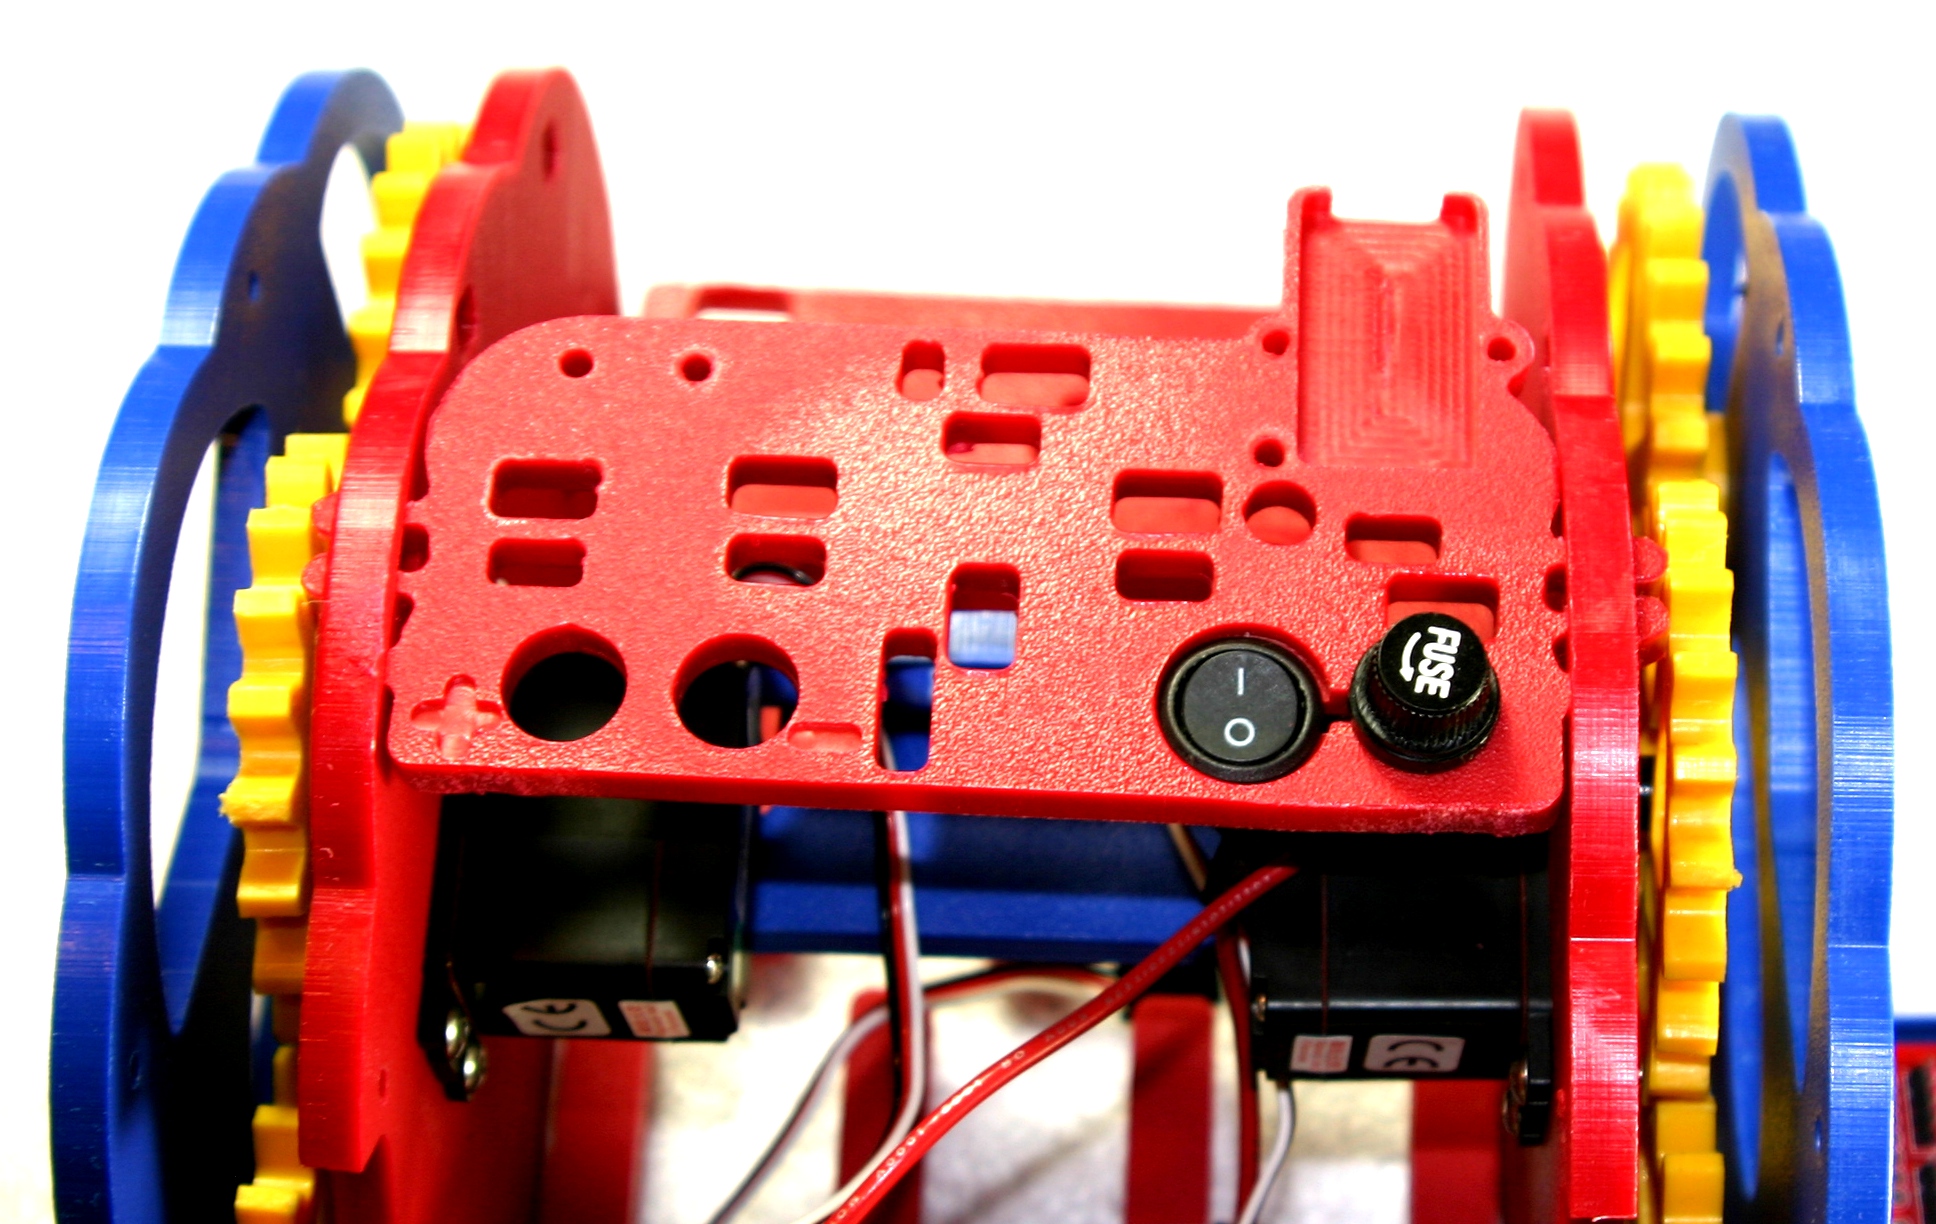
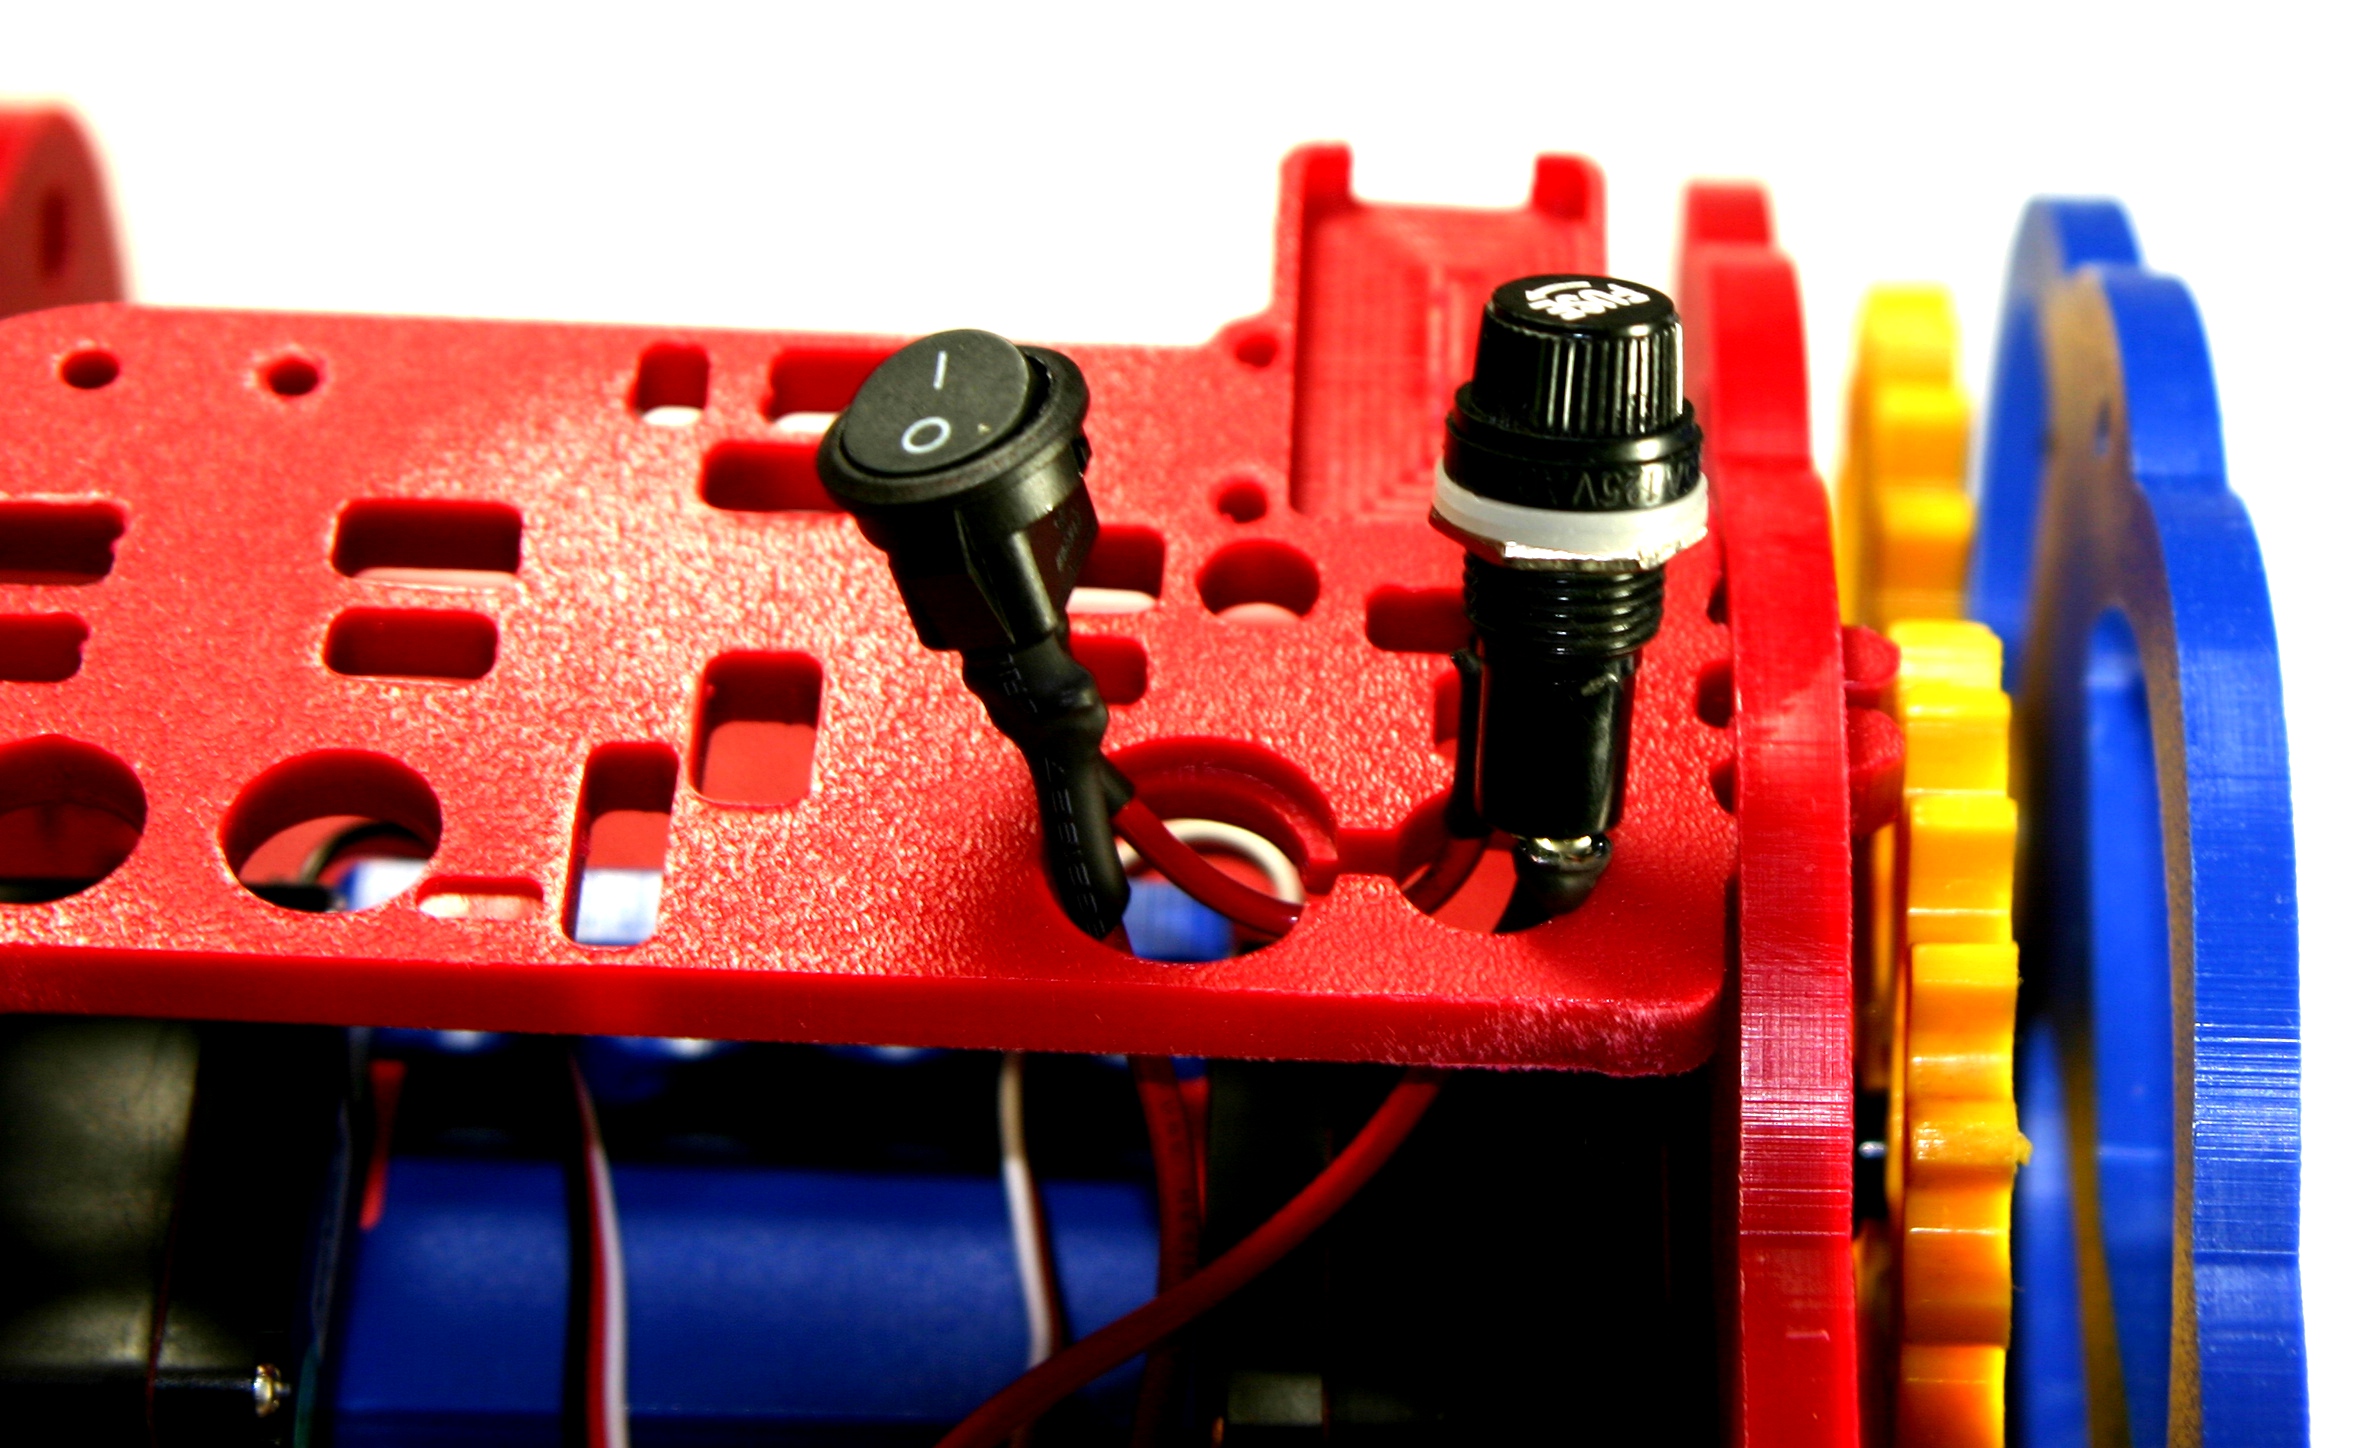
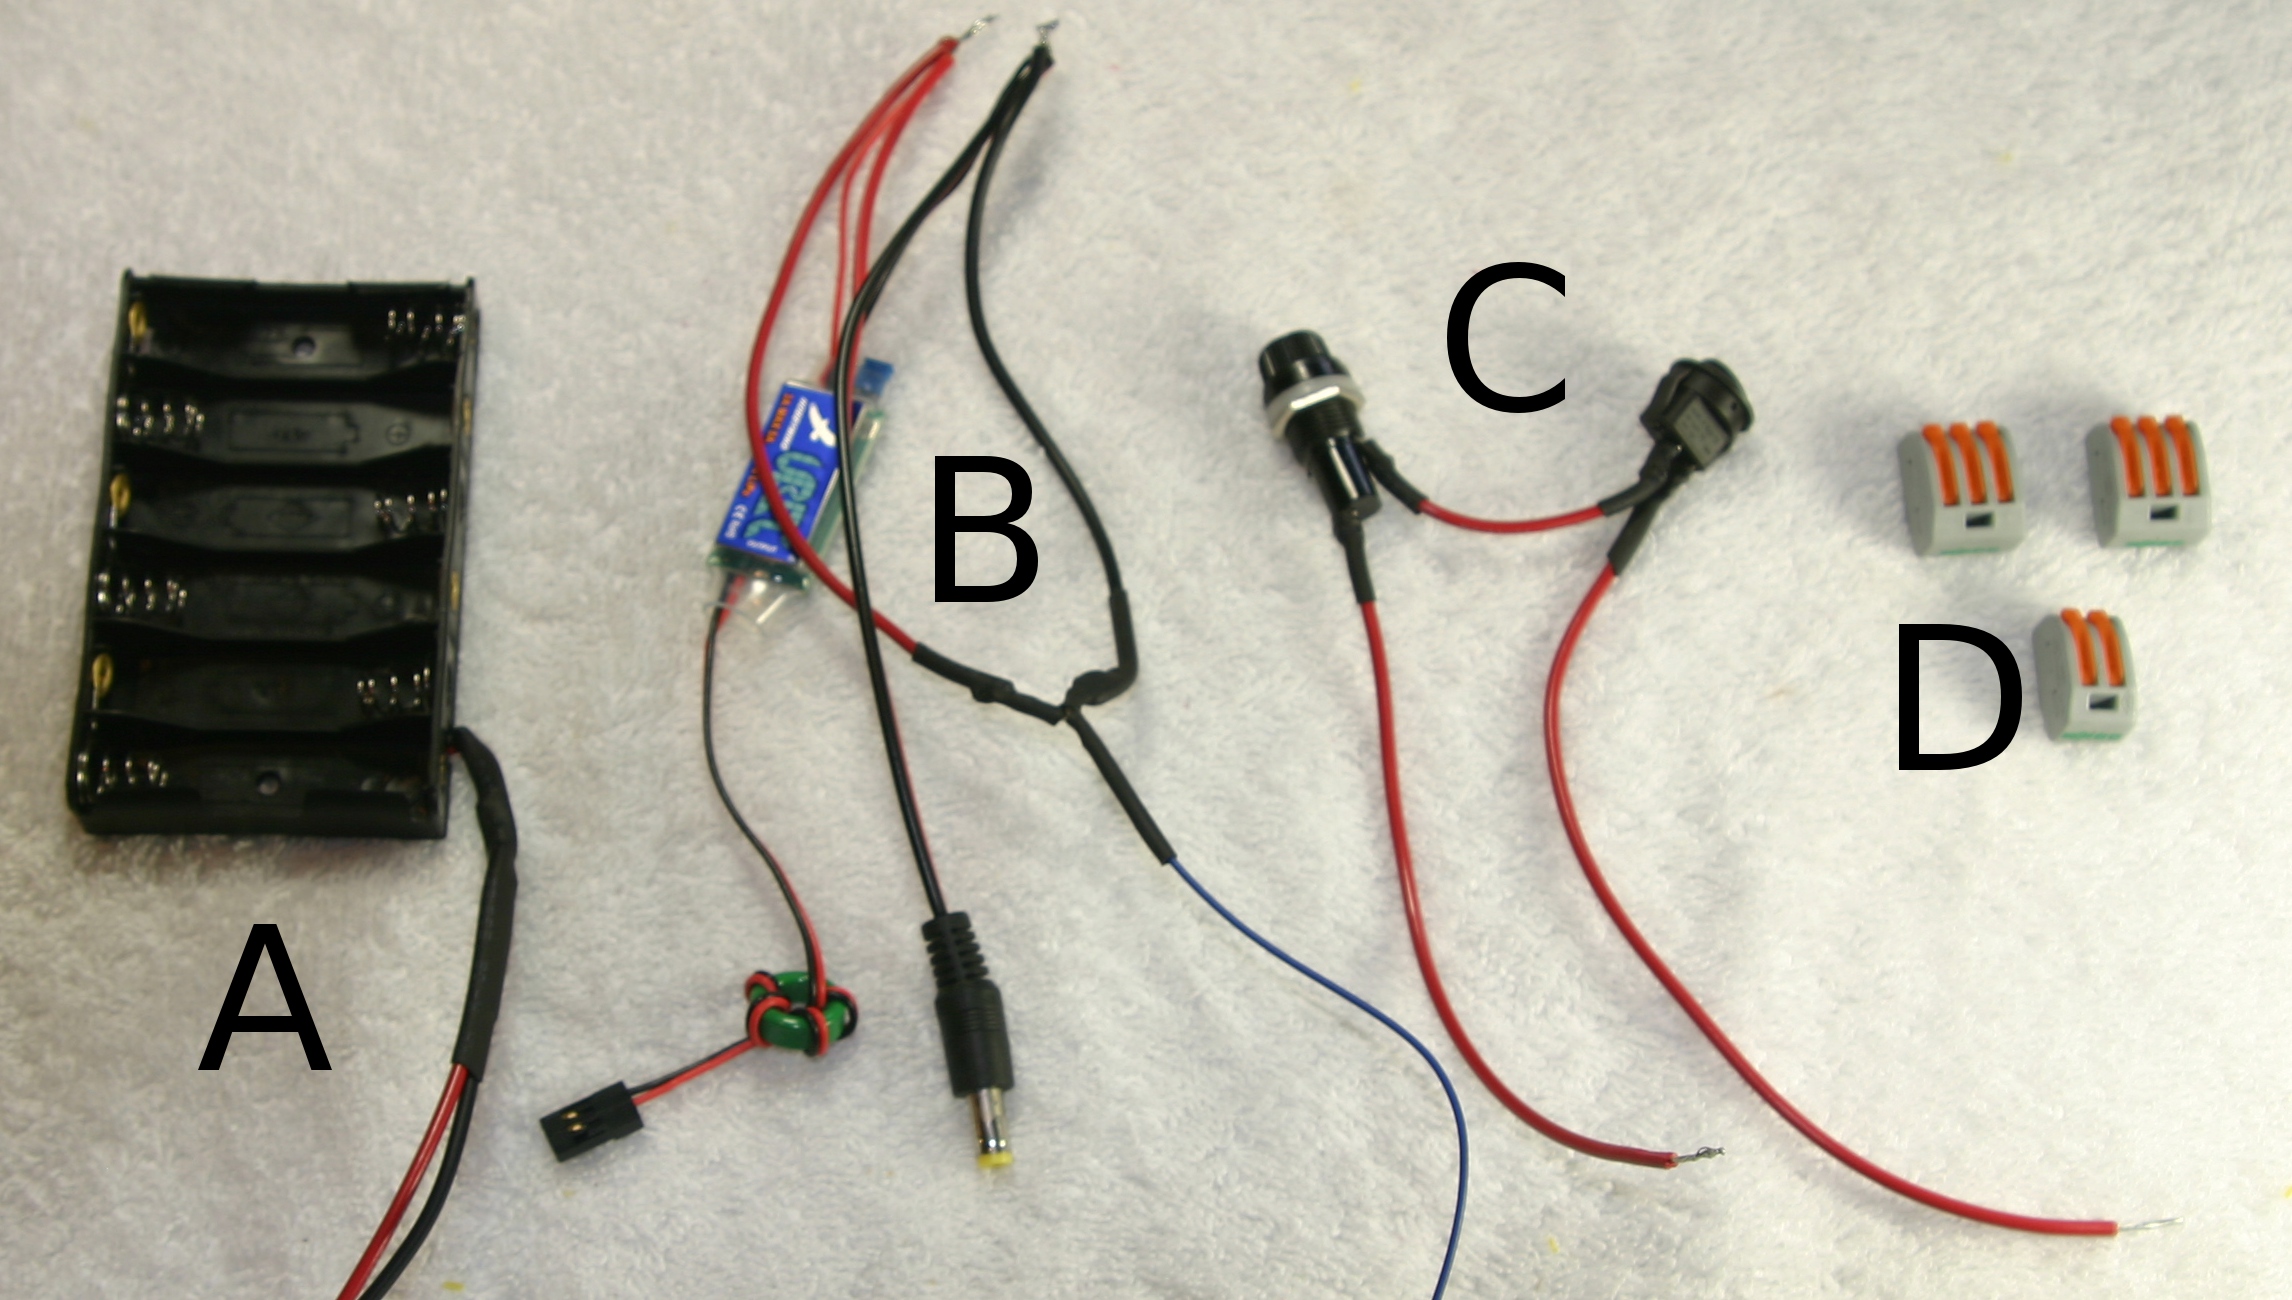
| 00:45, 20 October 2019 | NewSwitchInstall-Step3.jpg (file) |  |
1.67 MB | Vorpalwiki | 1 | |
| 00:45, 20 October 2019 | NewSwitchInstall-Step2.jpg (file) |  |
1.45 MB | Vorpalwiki | 1 | |
| 00:44, 20 October 2019 | NewSwitchInstall-Step1.jpg (file) |  |
2.08 MB | Vorpalwiki | 1 | |
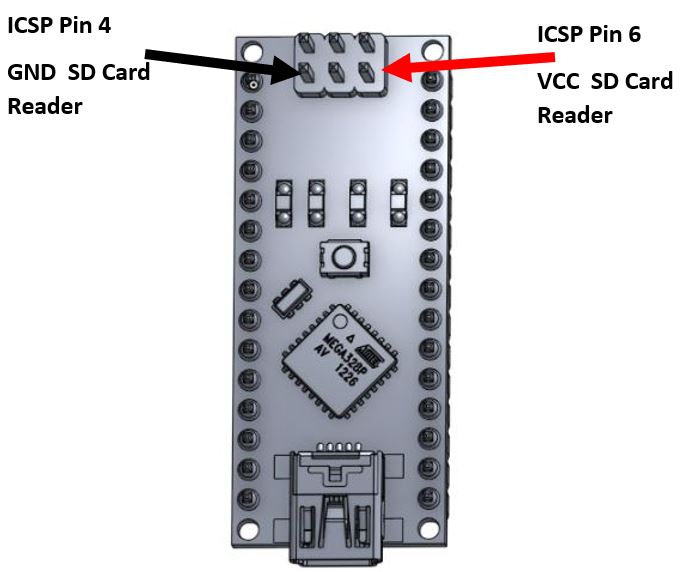
| 20:53, 17 October 2017 | Nano-ICSP-Power-v2.JPG (file) |  |
46 KB | Vorpalwiki | 1 | |
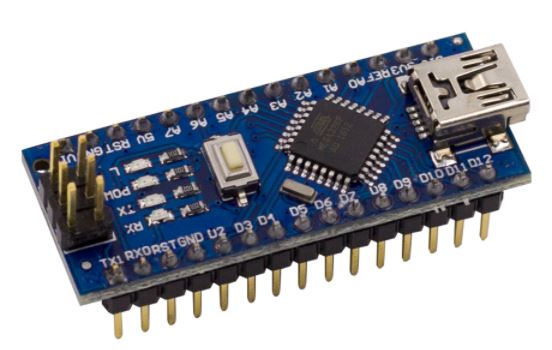
| 12:57, 19 January 2018 | Nano-CH340.JPG (file) |  |
37 KB | Vorpalwiki | 1 | |
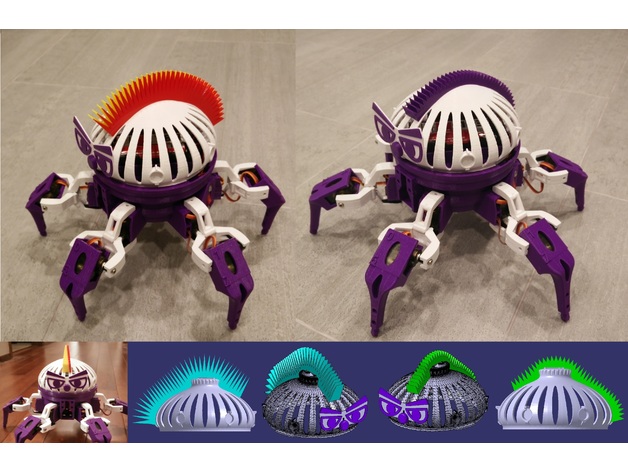
| 12:51, 17 November 2018 | Mohawks.jpg (file) |  |
103 KB | Vorpalwiki | 1 | |
| 18:59, 9 July 2015 | Mimsy-build-fig-42.jpg (file) |  |
459 KB | Vorpalwiki | Mimsy build figure 42. | 1 |
| 18:58, 9 July 2015 | Mimsy-build-fig-41.jpg (file) |  |
492 KB | Vorpalwiki | Mimsy build figure 41. | 1 |
| 18:58, 9 July 2015 | Mimsy-build-fig-40.jpg (file) |  |
676 KB | Vorpalwiki | Mimsy build figure 40. | 1 |
| 18:57, 9 July 2015 | Mimsy-build-fig-39.jpg (file) |  |
984 KB | Vorpalwiki | Mimsy build figure 39. | 1 |
| 18:50, 9 July 2015 | Mimsy-build-fig-38.jpg (file) |  |
862 KB | Vorpalwiki | Mimsy build figure 38. | 1 |
| 18:48, 9 July 2015 | Mimsy-build-fig-37.jpg (file) |  |
302 KB | Vorpalwiki | 2 | |
| 18:31, 9 July 2015 | Mimsy-build-fig-36.jpg (file) |  |
1.2 MB | Vorpalwiki | Mimsy build figure 36. | 1 |
| 17:47, 9 July 2015 | Mimsy-build-fig-35.jpg (file) |  |
1.15 MB | Vorpalwiki | Mimsy build figure 35. | 1 |
| 17:46, 9 July 2015 | Mimsy-build-fig-34.jpg (file) |  |
1.22 MB | Vorpalwiki | Mimsy build figure 34. | 1 |
| 17:44, 9 July 2015 | Mimsy-build-fig-33.jpg (file) |  |
1.39 MB | Vorpalwiki | Mimsy build figure 33. | 1 |
| 17:43, 9 July 2015 | Mimsy-build-fig-32.jpg (file) |  |
822 KB | Vorpalwiki | Mimsy build figure 32. | 1 |
| 17:30, 9 July 2015 | Mimsy-build-fig-31.jpg (file) |  |
941 KB | Vorpalwiki | Mimsy build figure 31. | 1 |
| 17:25, 9 July 2015 | Mimsy-build-fig-30.jpg (file) |  |
834 KB | Vorpalwiki | Mimsy build figure 30. | 1 |
| 02:34, 30 June 2015 | Mimsy-build-fig-29.jpg (file) |  |
1.41 MB | Vorpalwiki | Mimsy Build figure 29. The console fits in the two slots on the rear of Mimsy as shown. | 1 |
| 02:29, 30 June 2015 | Mimsy-build-fig-28.jpg (file) |  |
1.48 MB | Vorpalwiki | Mimsy Build figure 28. Route the cables as shown and use the console wire plate and two 3/8" screws to hold them in place. | 1 |
| 02:15, 30 June 2015 | Mimsy-build-fig-27.jpg (file) |  |
1.38 MB | Vorpalwiki | Mimsy Build figure 27. Install the buzzer using two 3/8" screws, do not overtighten. Connect the LCD cable as shown with the black wire at the top. | 1 |
| 02:03, 30 June 2015 | Mimsy-build-fig-26.jpg (file) |  |
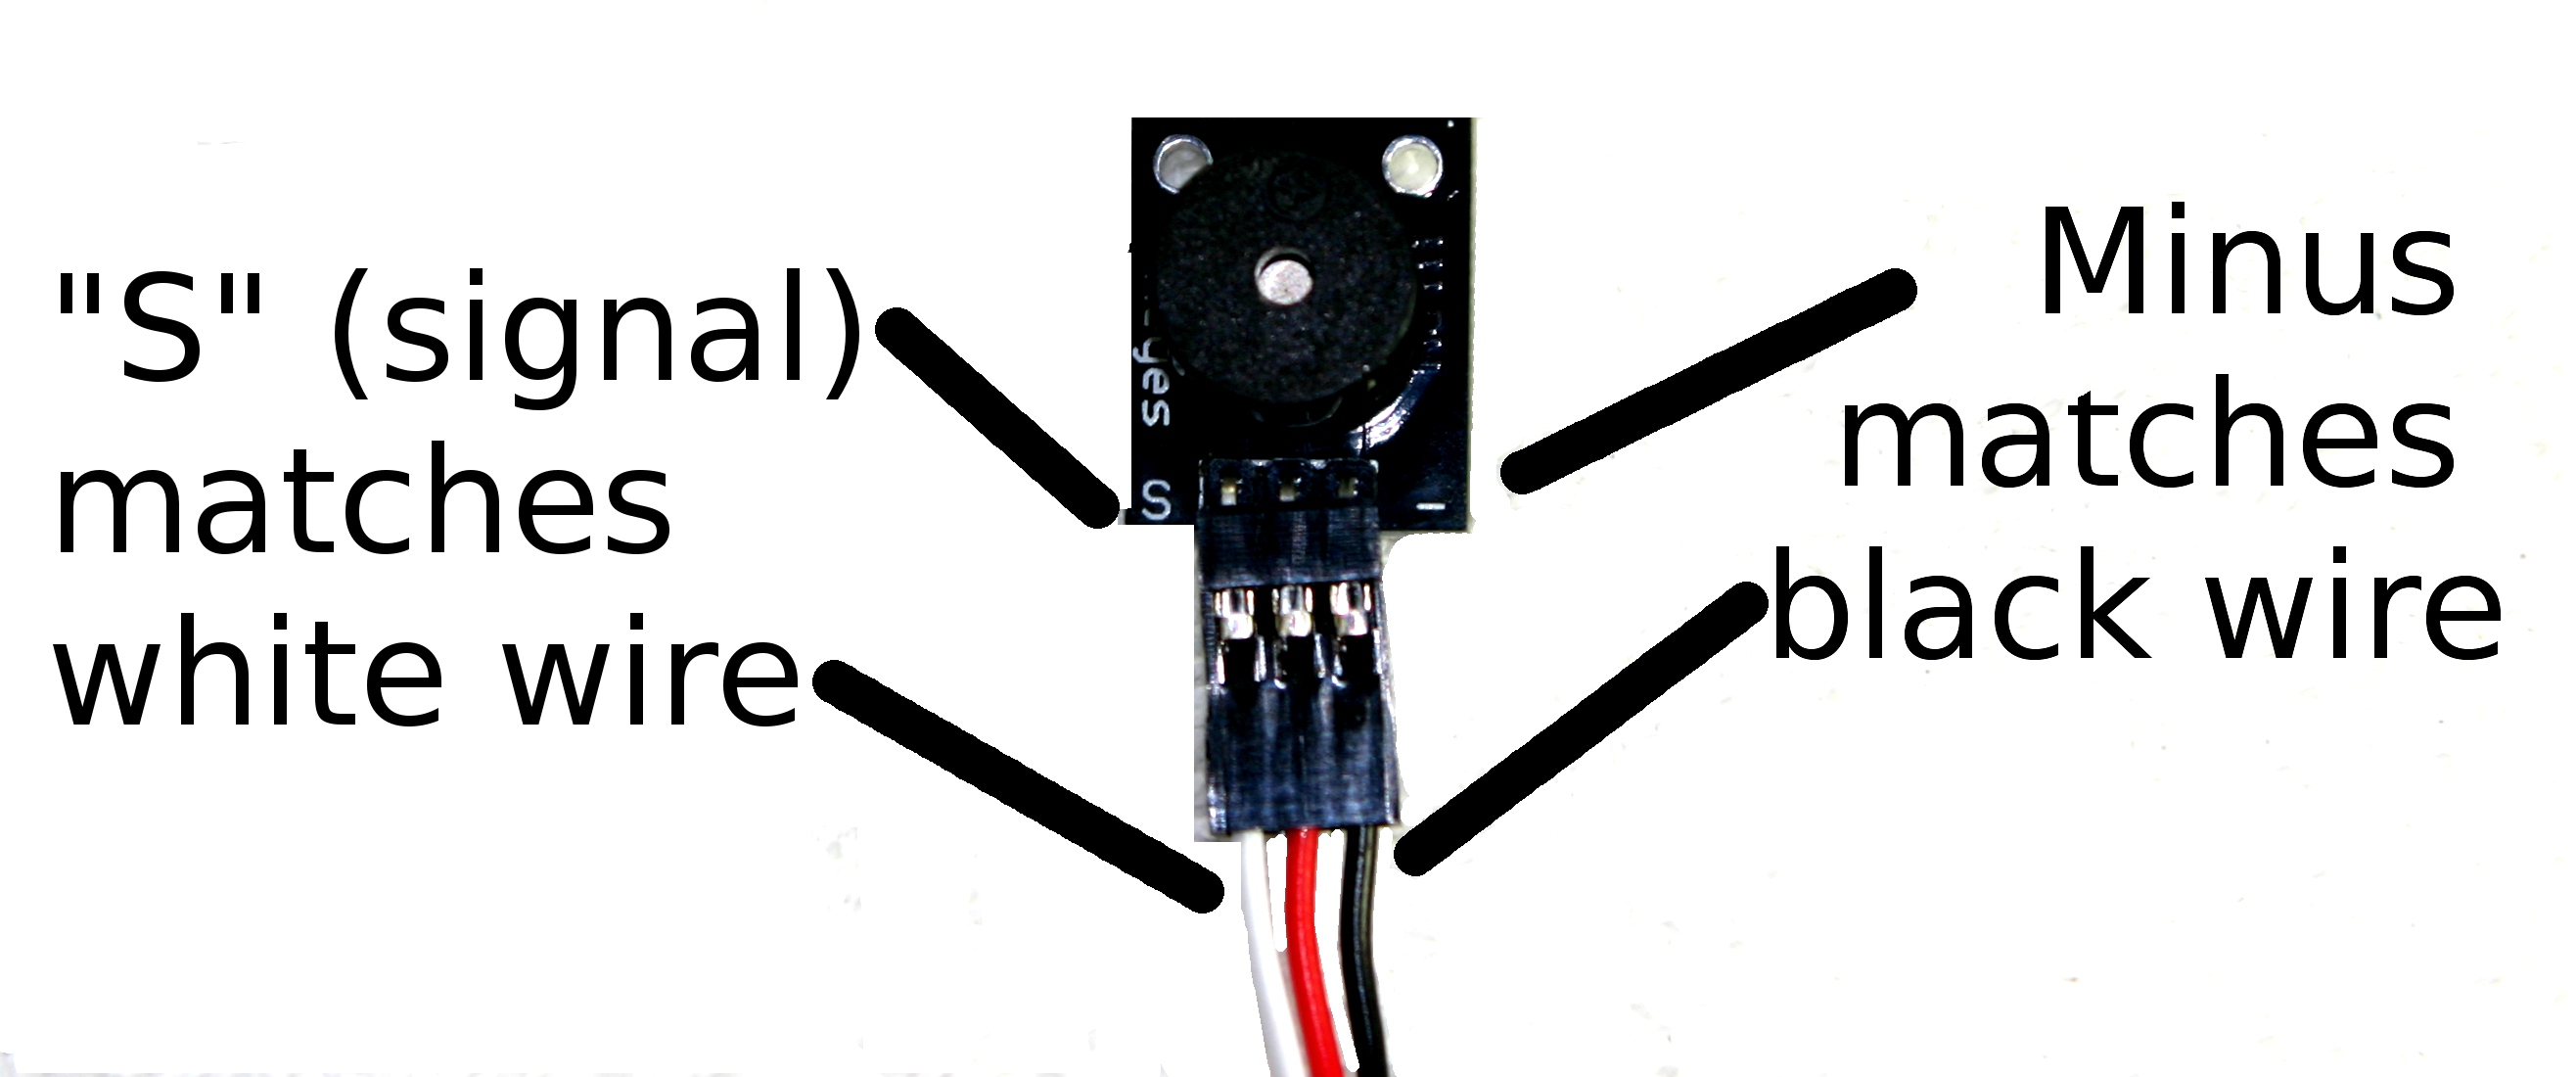
303 KB | Vorpalwiki | Mimsy Build figure 26. Attaching the 10cm 3-wire cable to the buzzer. The black wire matches with the "-" marking while the white matches the "S" marking. | 1 |
| 03:05, 29 June 2015 | Mimsy-build-fig-25.jpg (file) |  |
1.36 MB | Vorpalwiki | Mimsy Build figure 25. The LCD is secured with two screws at the top of the console bezel. | 1 |
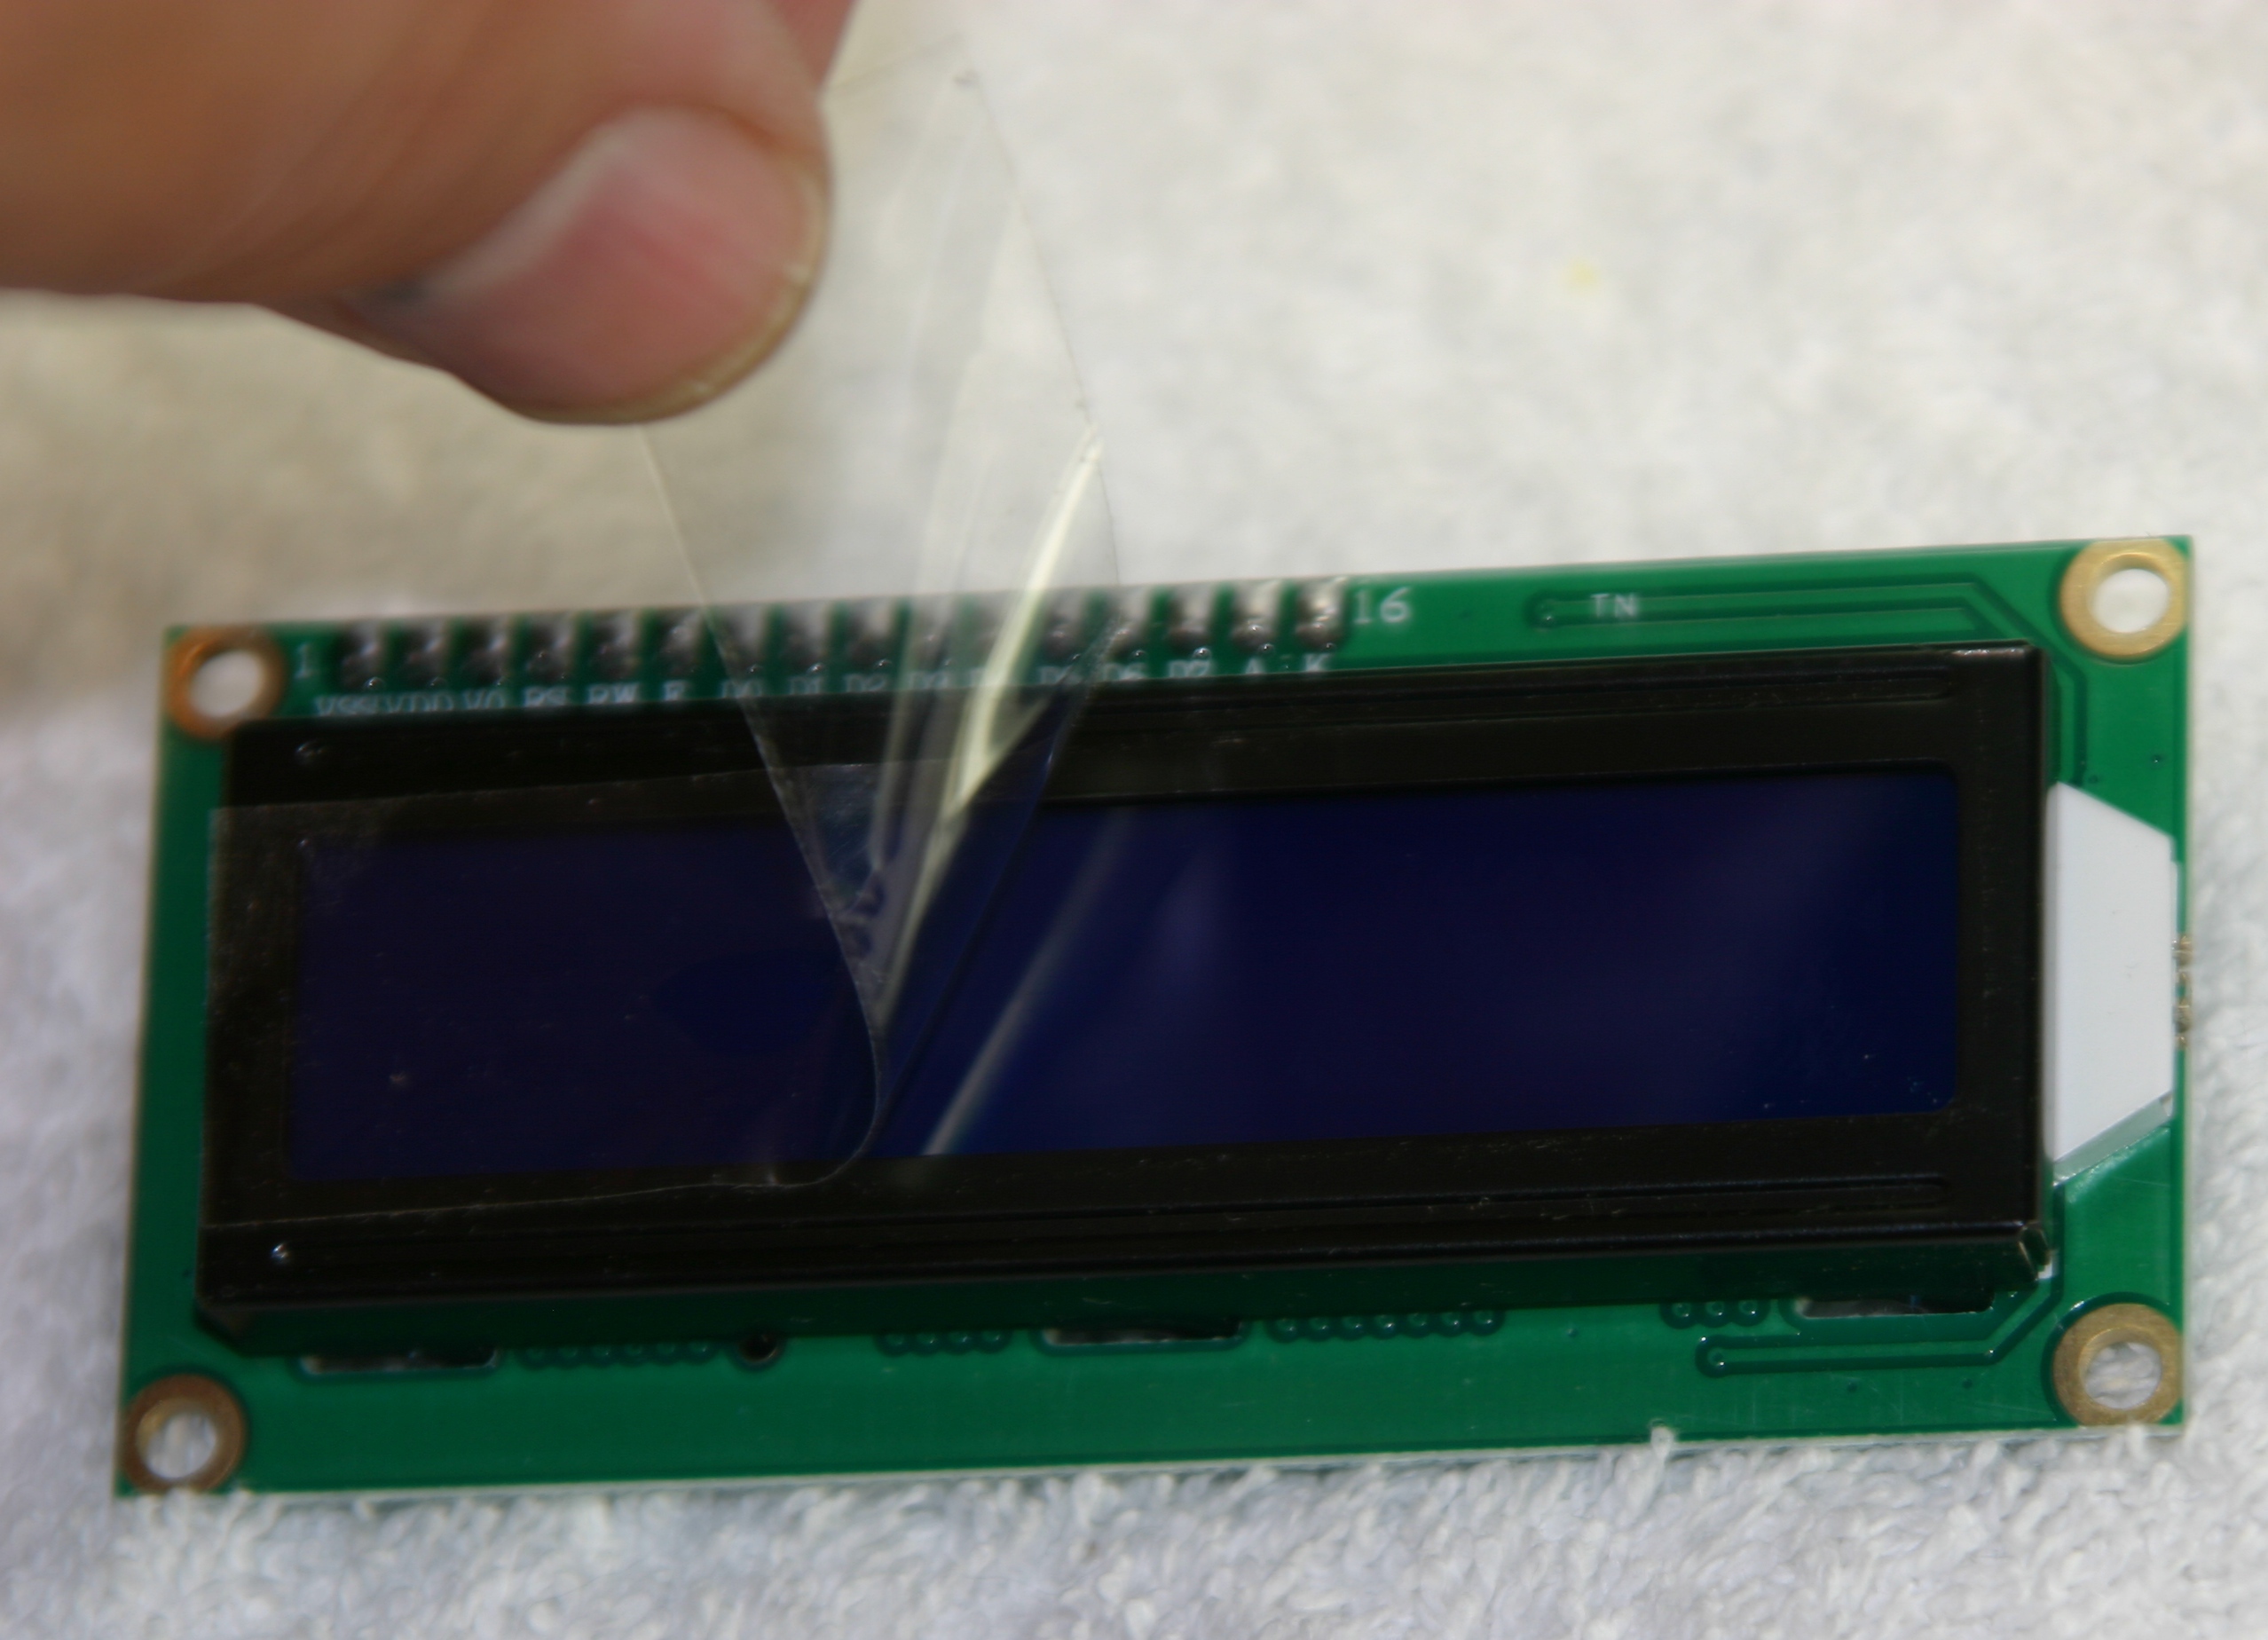
| 02:59, 29 June 2015 | Mimsy-build-fig-24.jpg (file) |  |
965 KB | Vorpalwiki | Mimsy Build figure 24. Remove the protective plastic from the LCD before installing. | 1 |
| 02:53, 29 June 2015 | Mimsy-build-fig-23.jpg (file) |  |
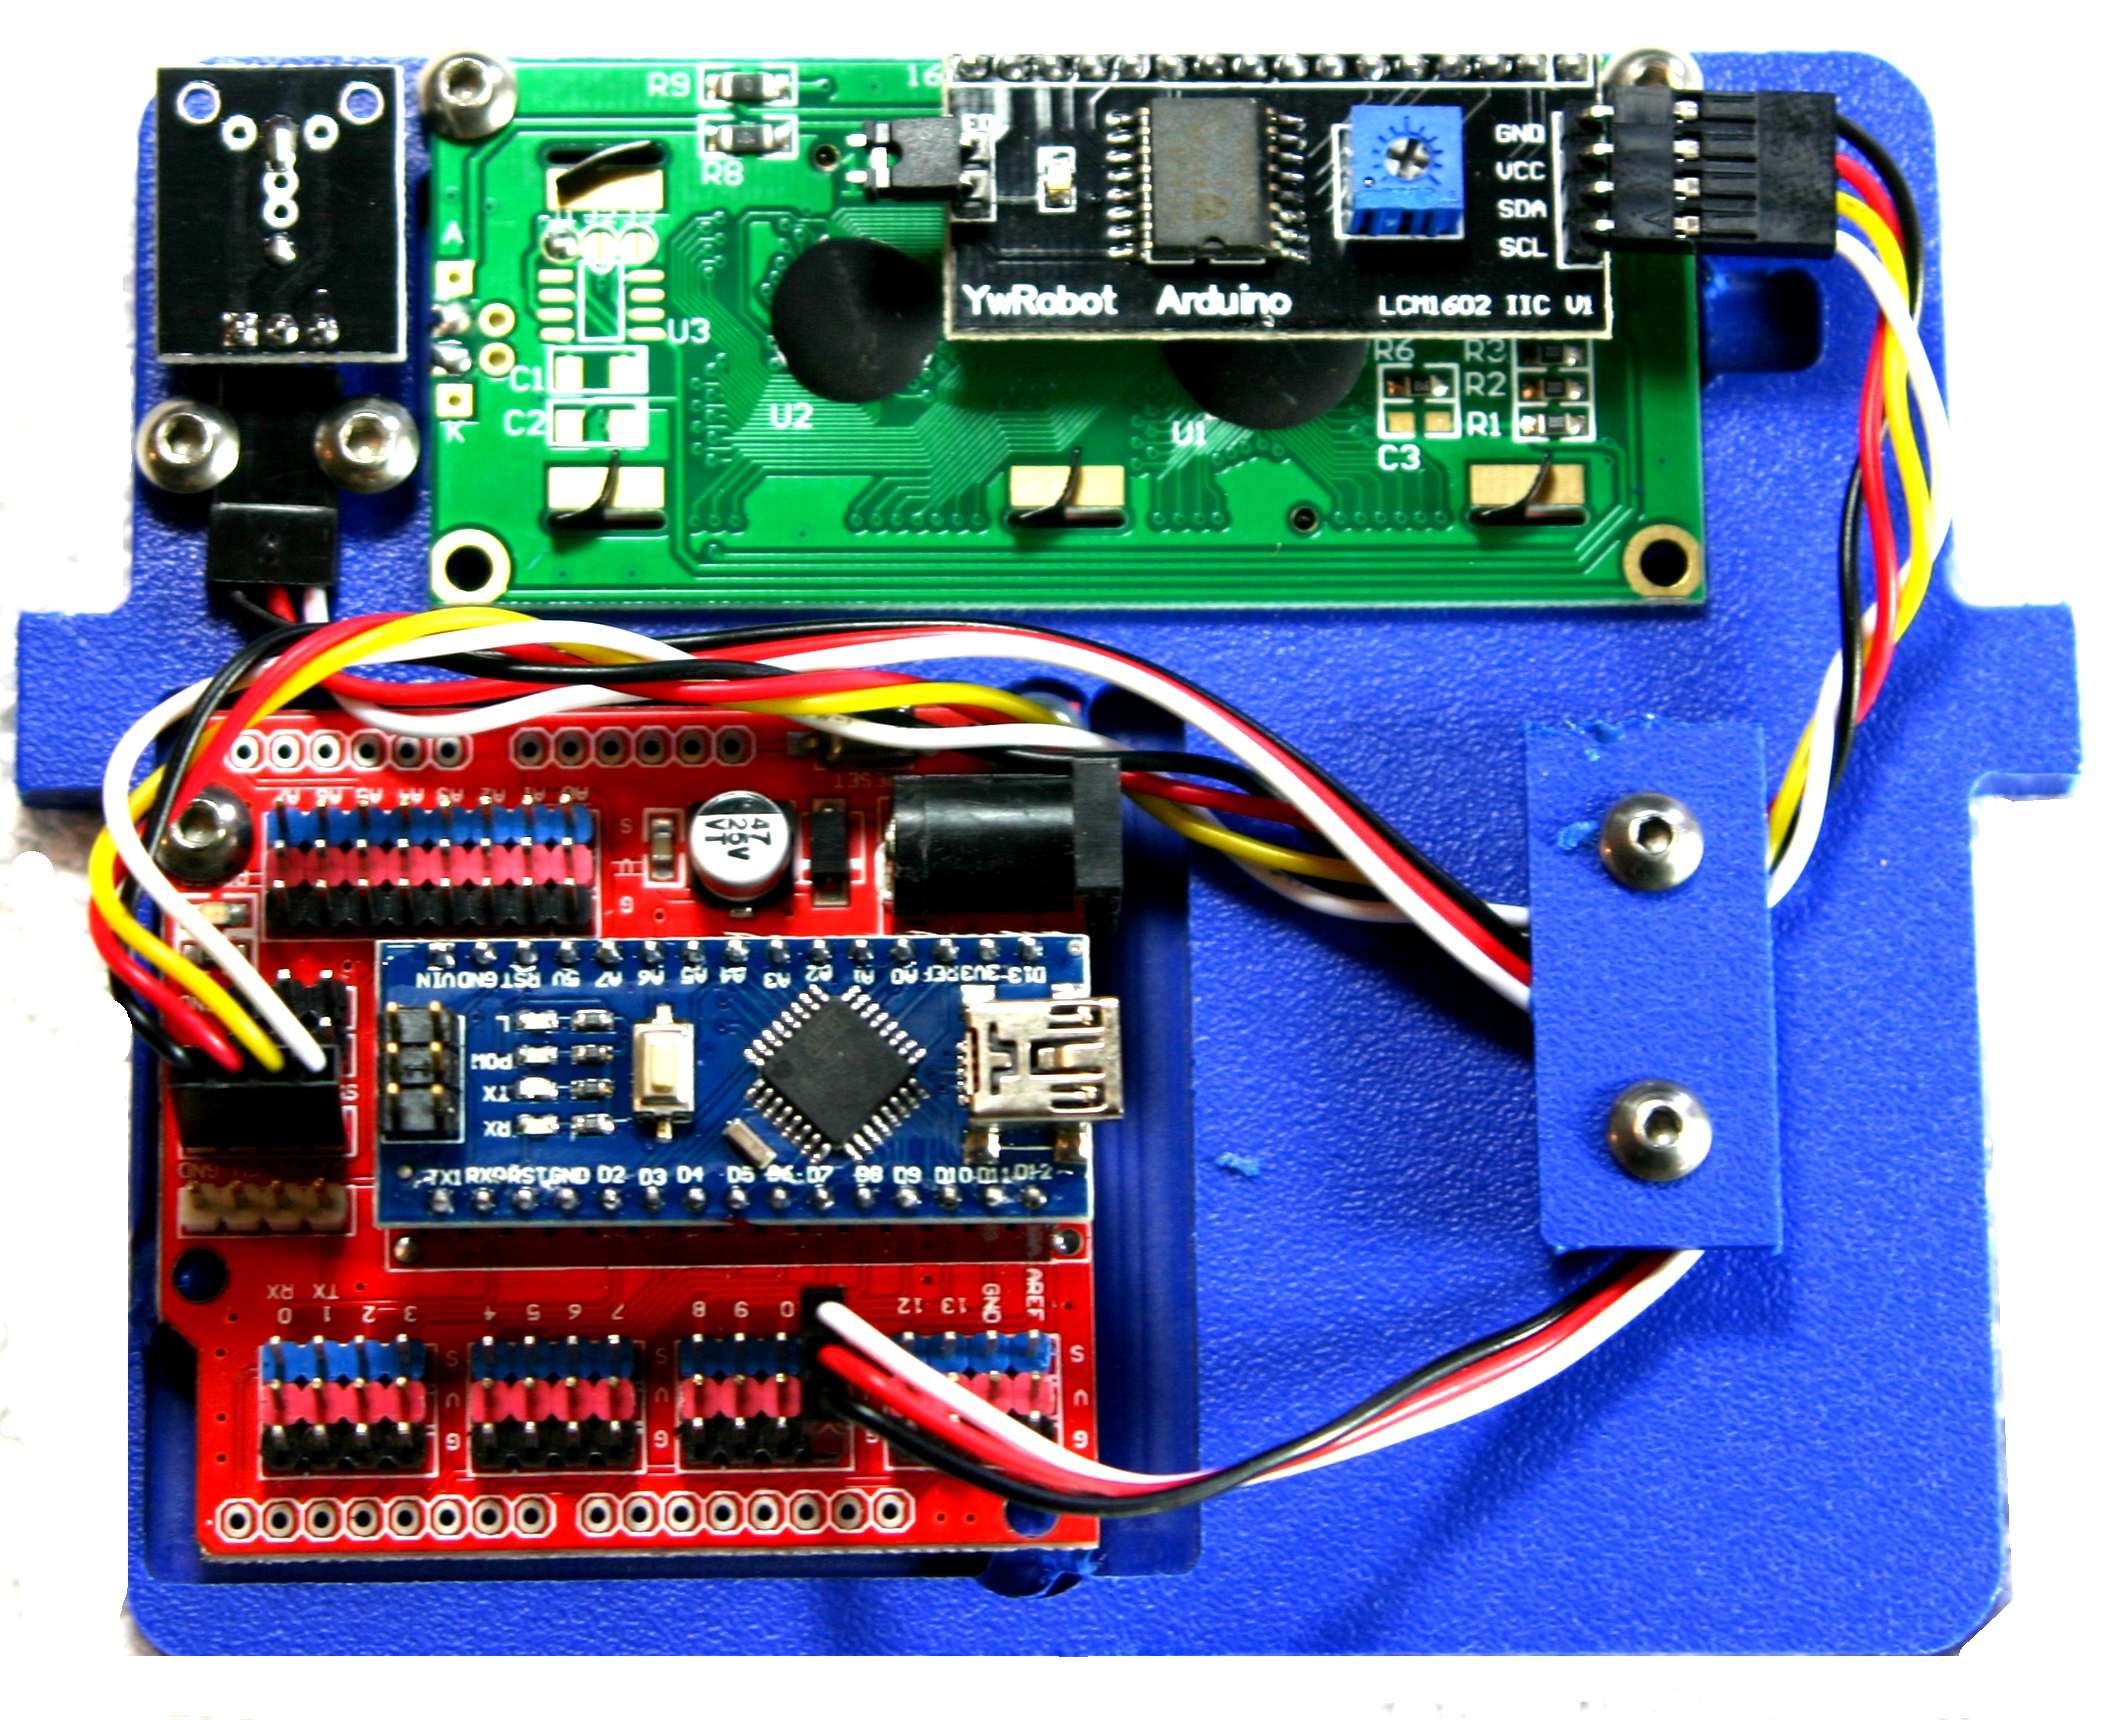
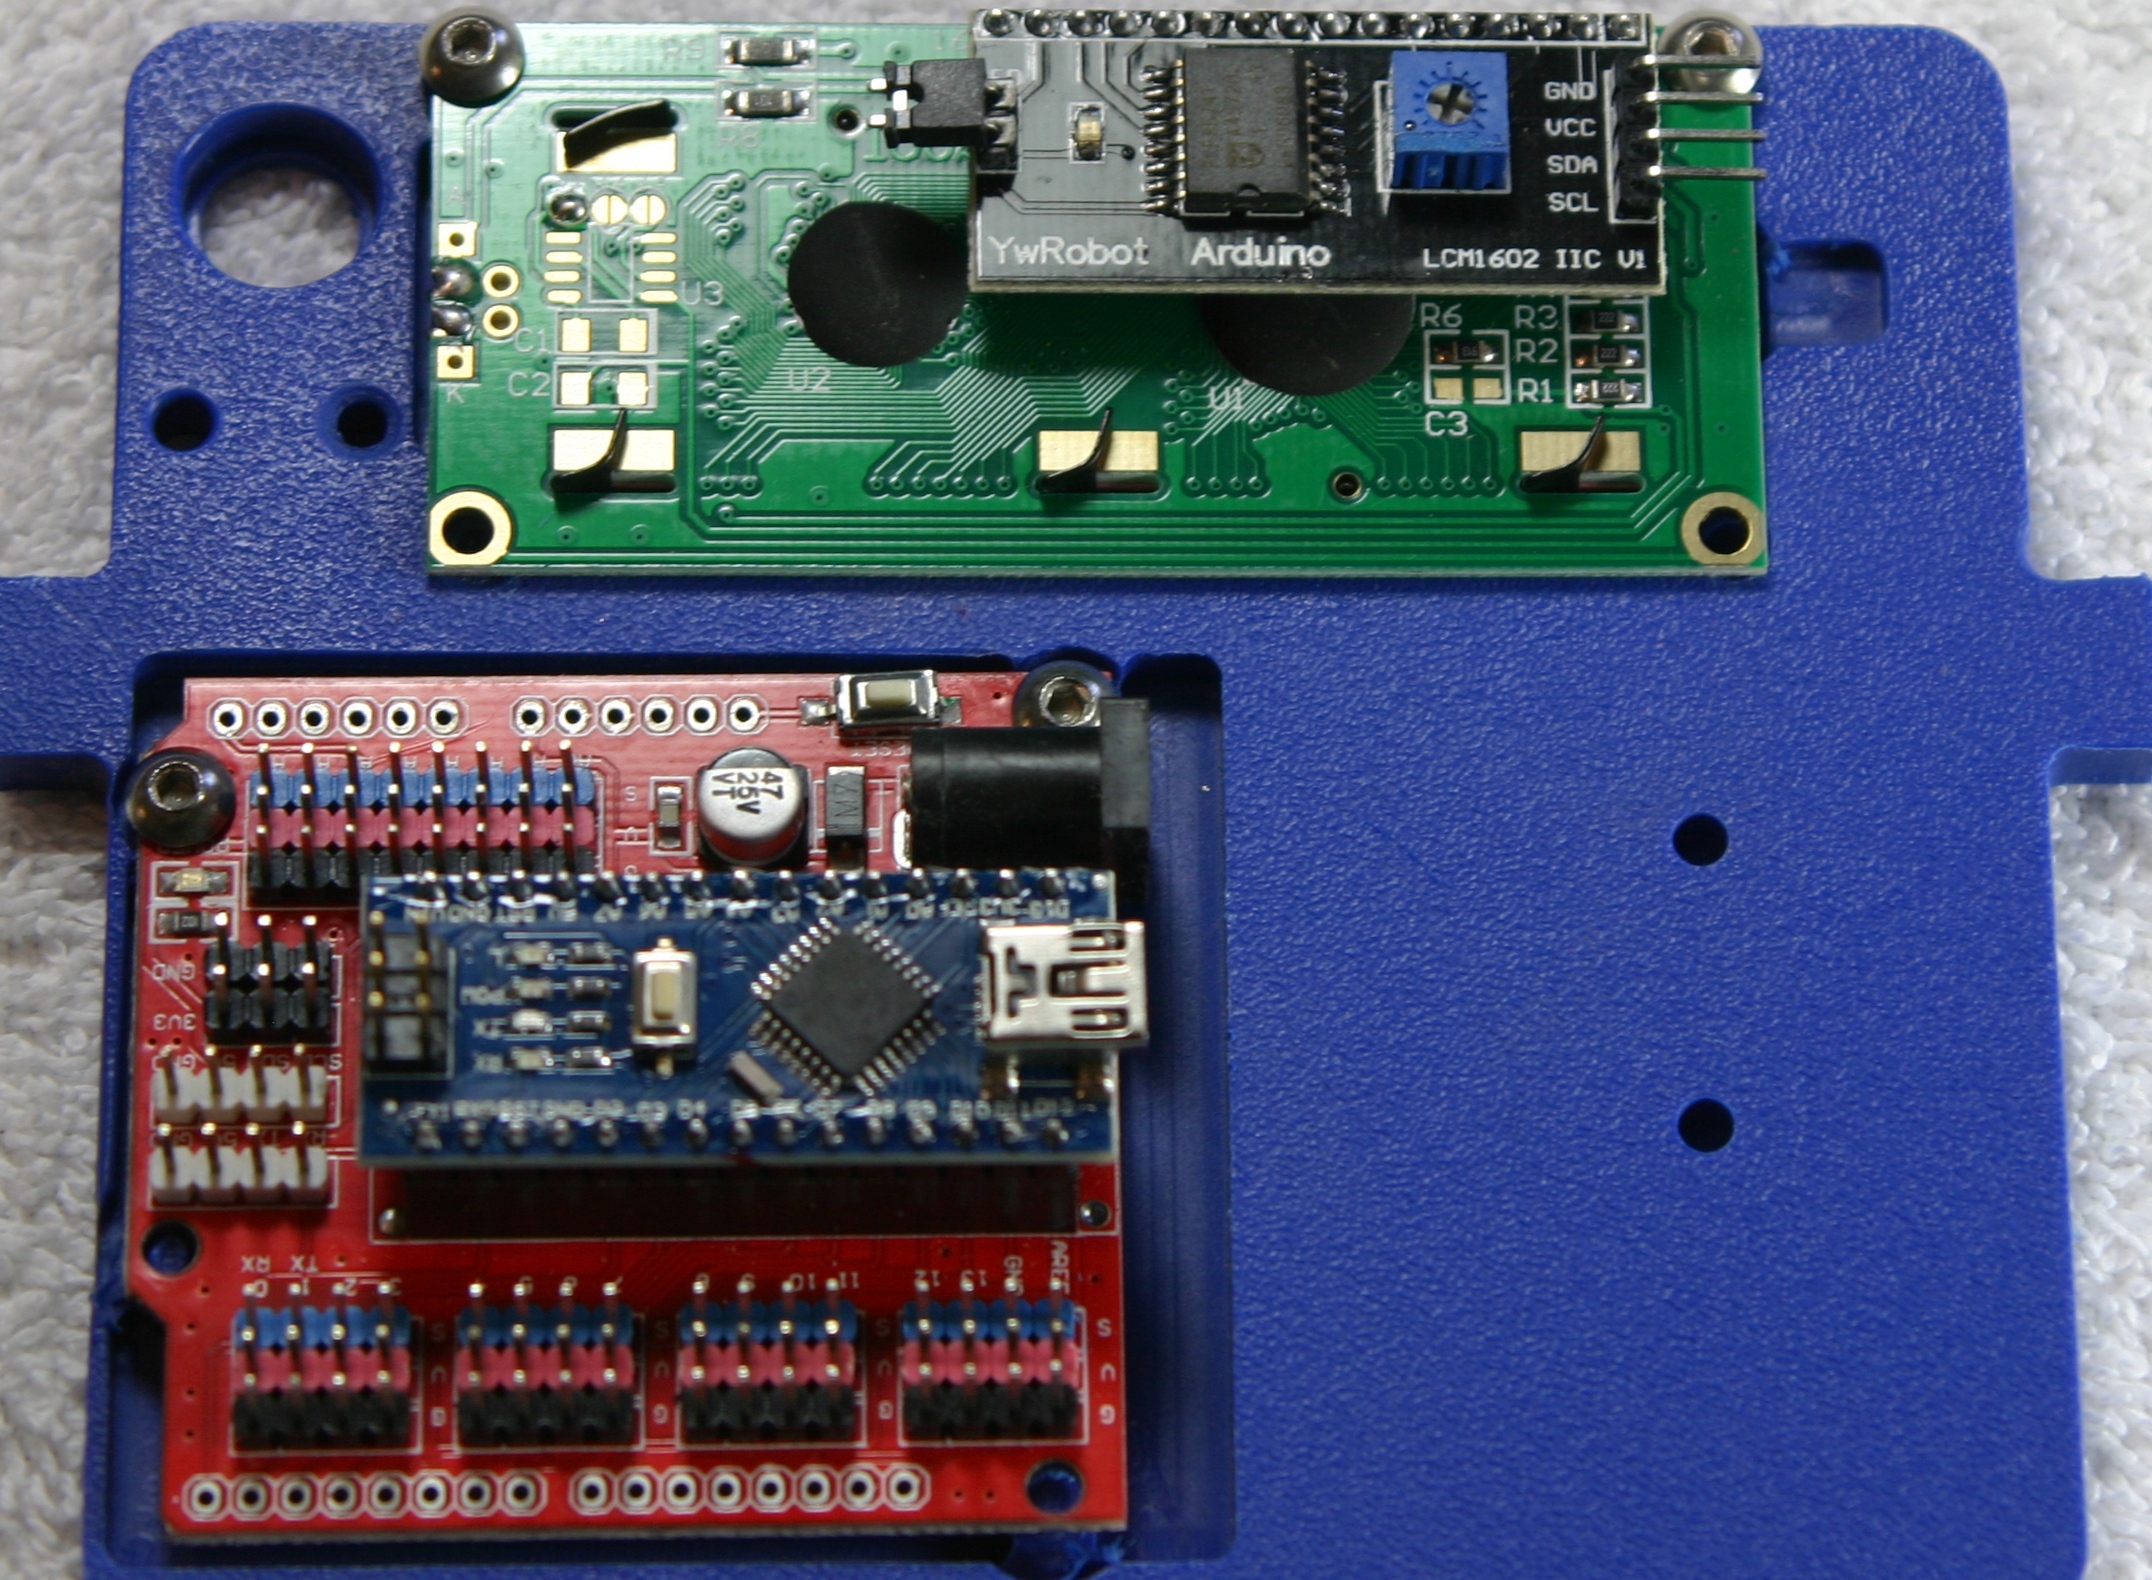
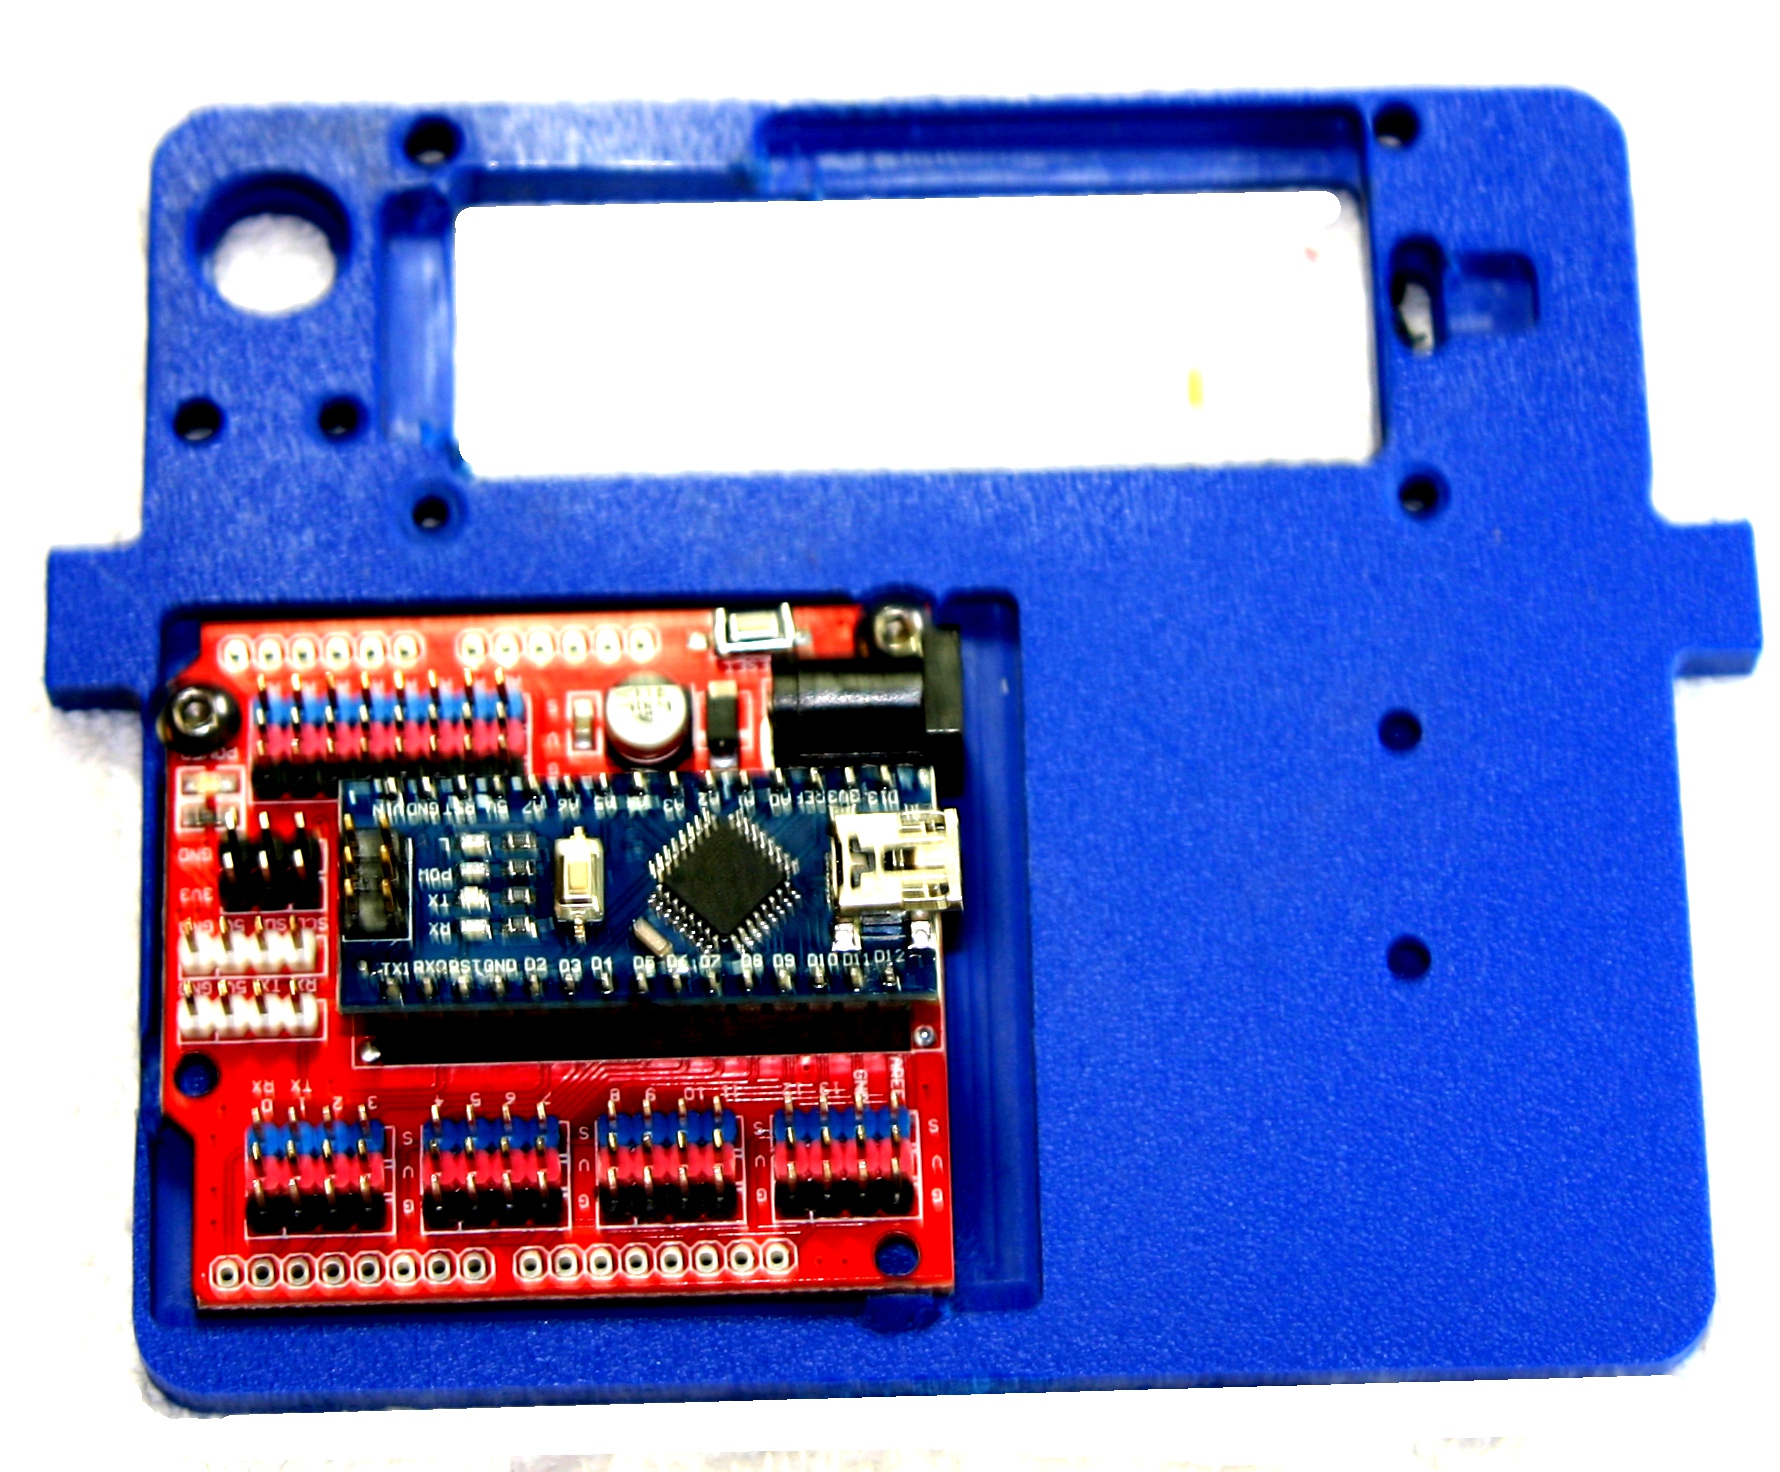
892 KB | Vorpalwiki | Mimsy Build figure 23. Installation of Arduino Nano and IO shield on console. | 1 |
| 02:42, 29 June 2015 | Mimsy-build-fig-22.jpg (file) |  |
1.33 MB | Vorpalwiki | Mimsy Build figure 22. Parts needed to assemble control panel. | 1 |
| 02:28, 29 June 2015 | Mimsy-build-fig-21.jpg (file) |  |
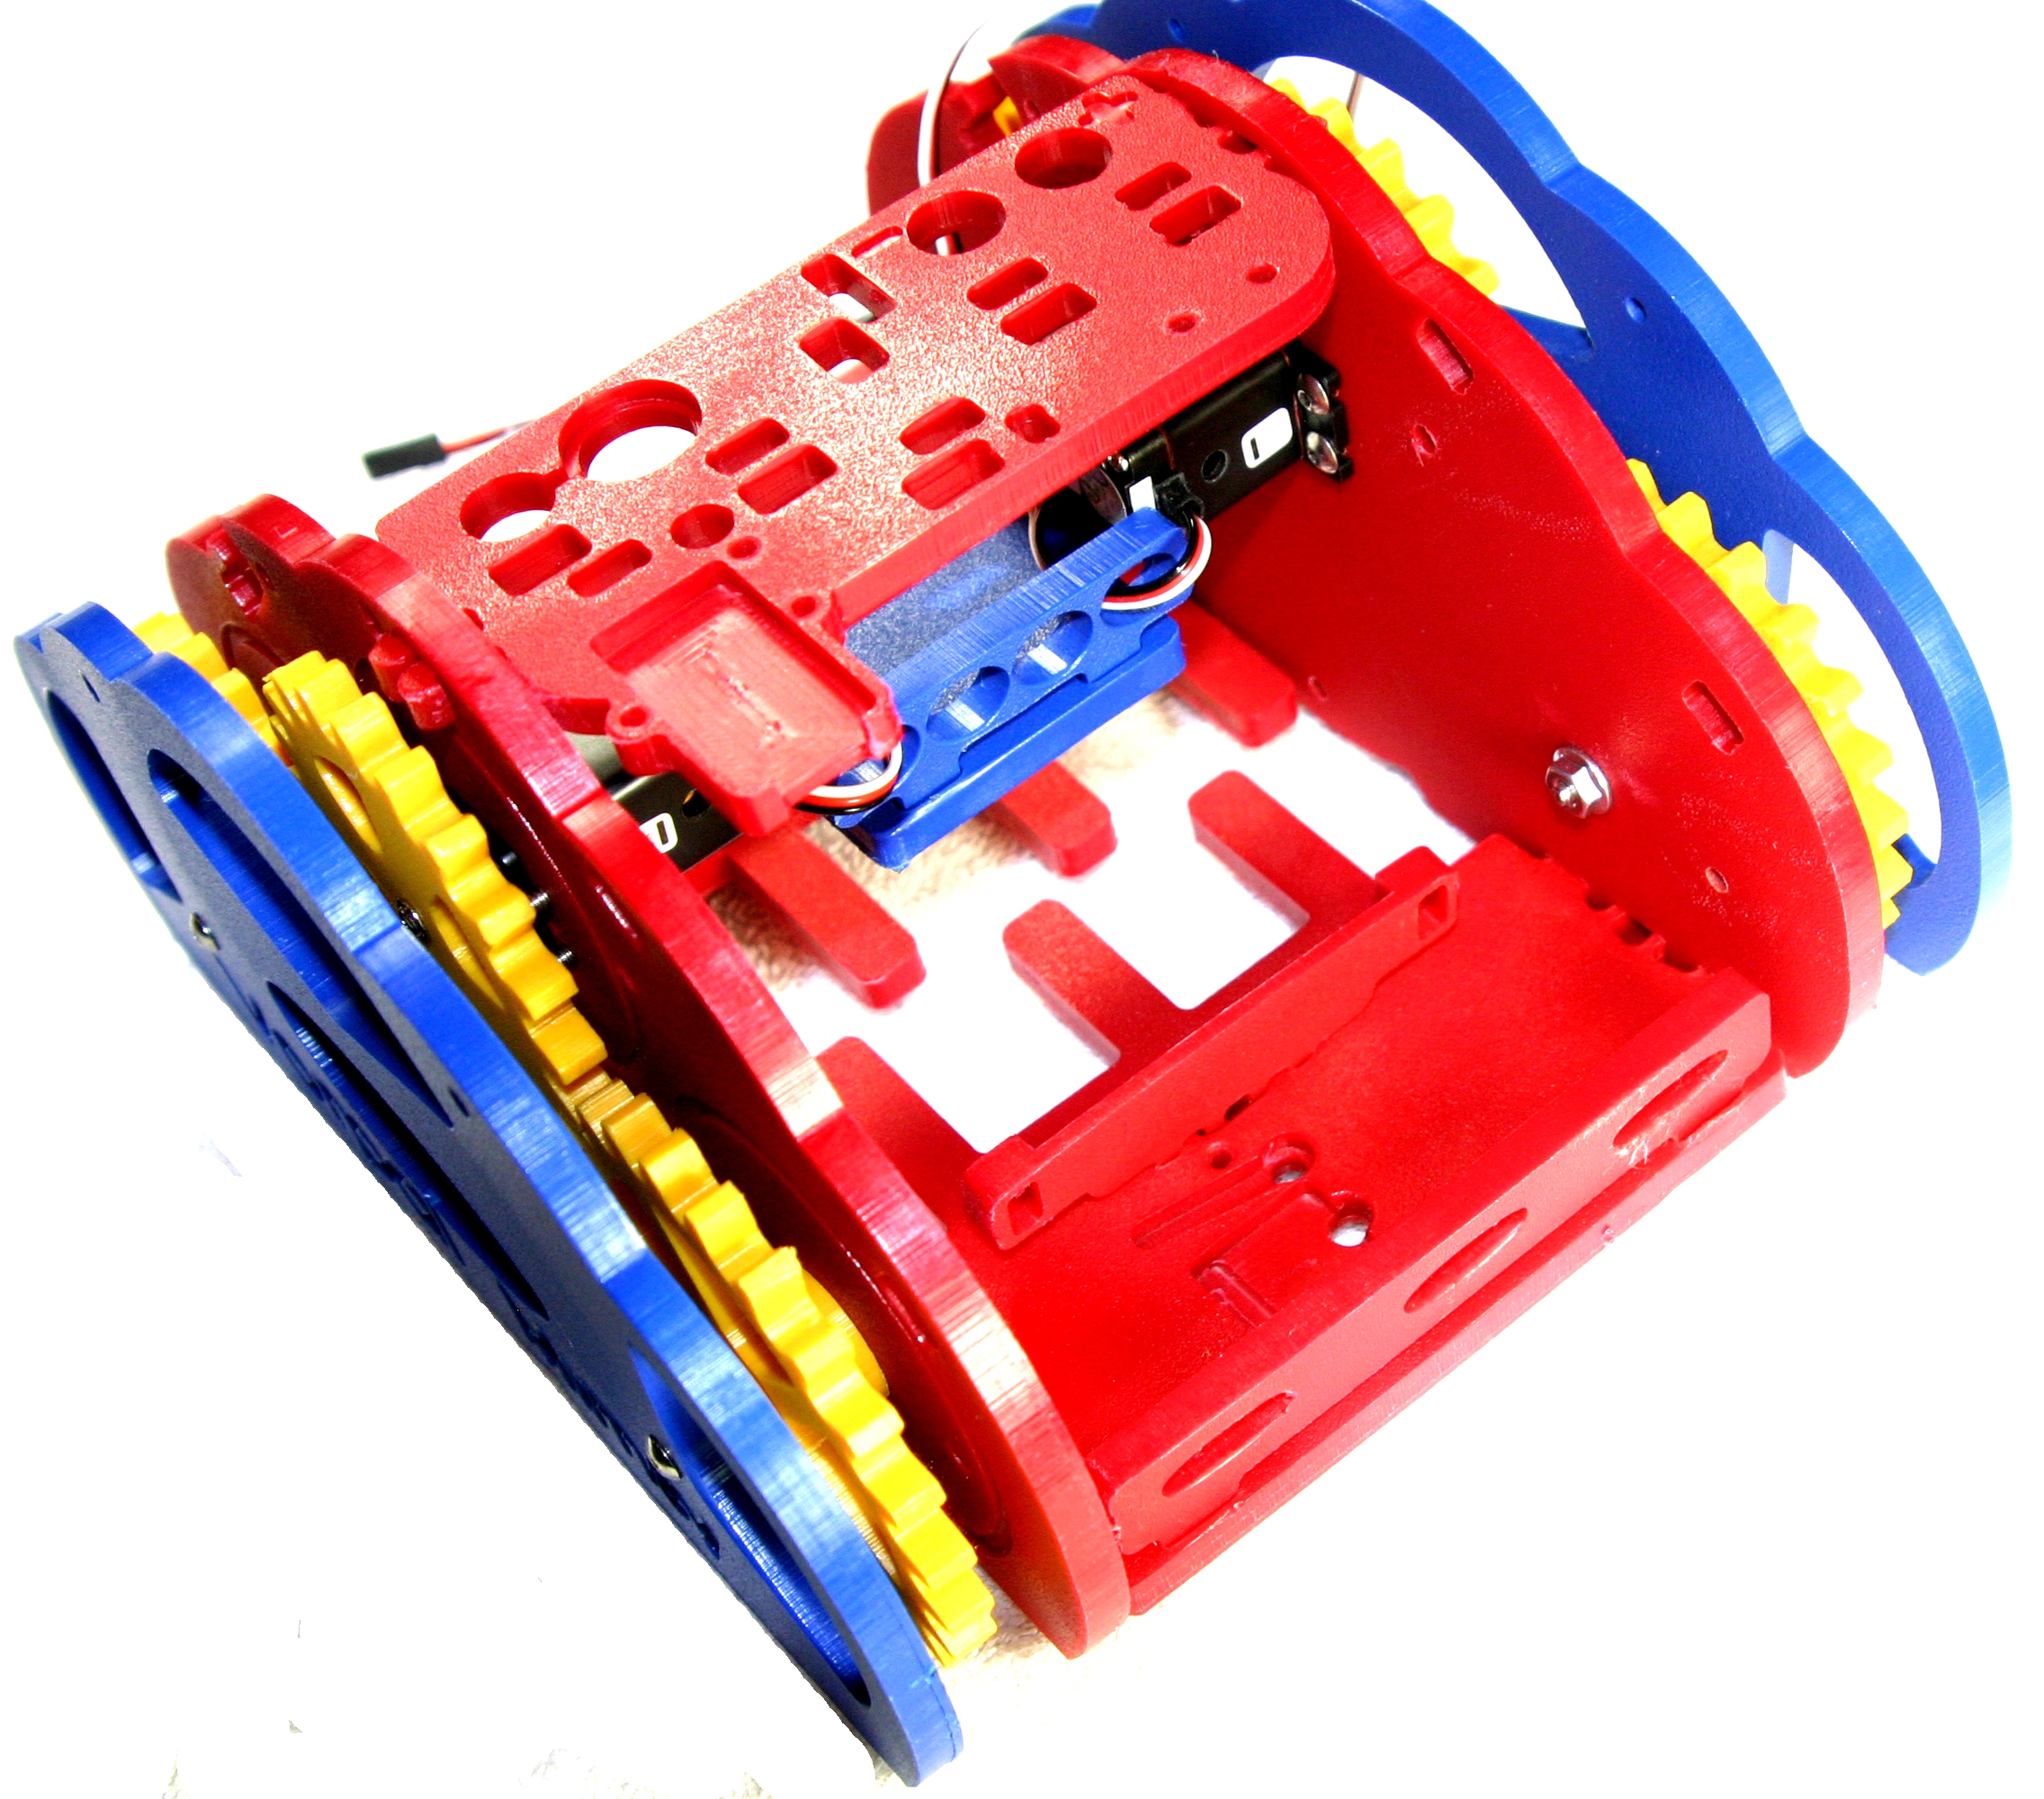
1.37 MB | Vorpalwiki | Mimsy Build figure 21. The front floor is shown with fence installed. | 1 |
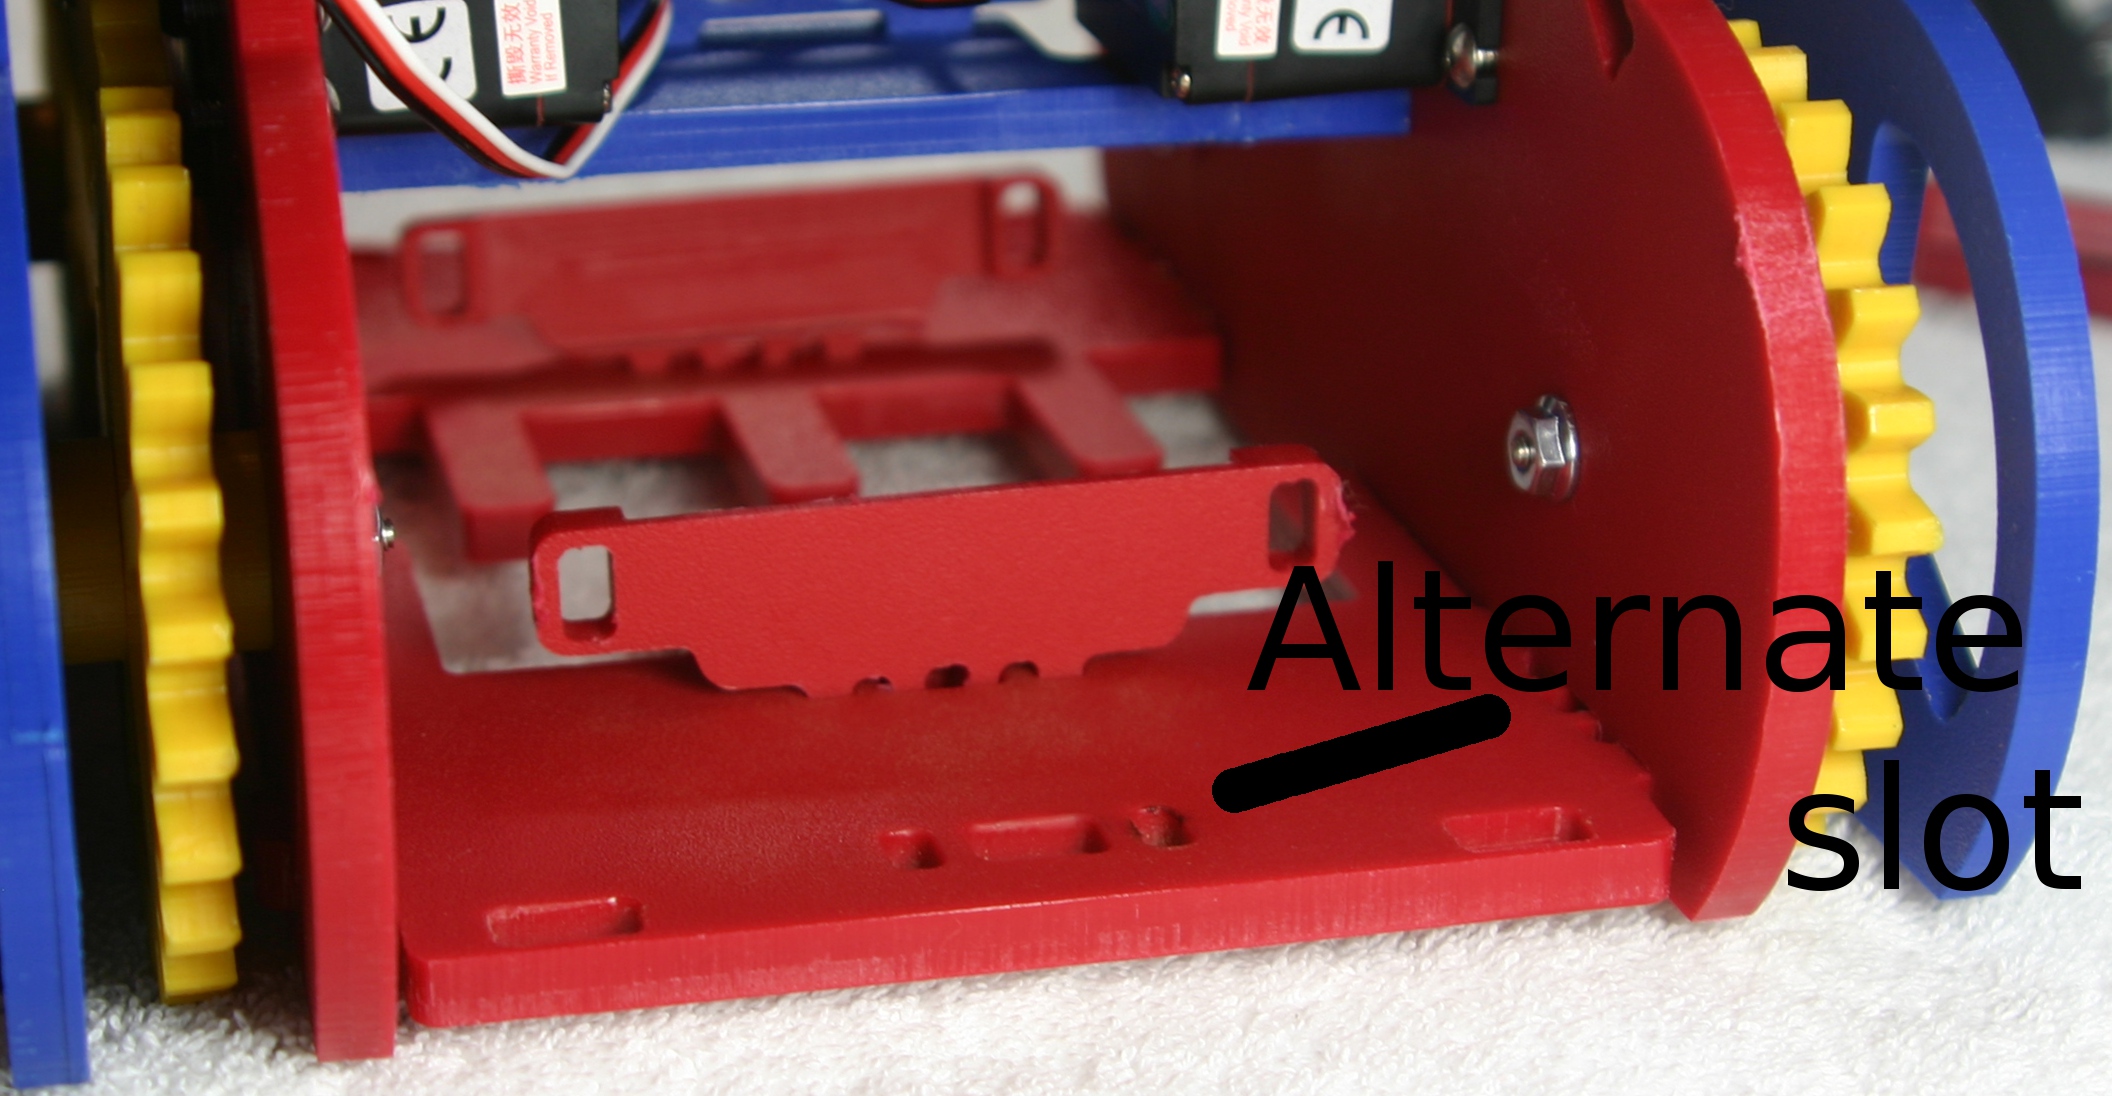
| 02:24, 29 June 2015 | Mimsy-build-fig-20.jpg (file) |  |
652 KB | Vorpalwiki | Mimsy Build figure 20. Installation of battery brackets. Alternate position is for alternative batteries such as 7.2 volt NIMH RC batteries. | 1 |
| 02:23, 29 June 2015 | Mimsy-build-fig-19.jpg (file) |  |
273 KB | Vorpalwiki | Mimys Build figure 19. Parts needed to install battery brackets and fences. | 1 |
| 01:51, 29 June 2015 | Mimsy-build-fig-18.jpg (file) |  |
1.27 MB | Vorpalwiki | Mimsy Build figure 18. Front view of chassis with servo wires routed to the rear. | 1 |
| 01:44, 29 June 2015 | Mimsy-build-fig-17.jpg (file) |  |
1.09 MB | Vorpalwiki | Mimsy Build figure 17: using the same locking tab and slot system, take the sensor bar and align and press in first one side and then the other. | 1 |